Thursday, October 18, 2012

Matte Moments

When it comes to mattifying my manicure I can be pretty resistive. I REALLY like it when my nails are shiny, but sometimes a girl likes change. When the mood strikes me, it helps to have a decent matte top coat to make everything look meticulous. I think I found a good one!

click to enlarge

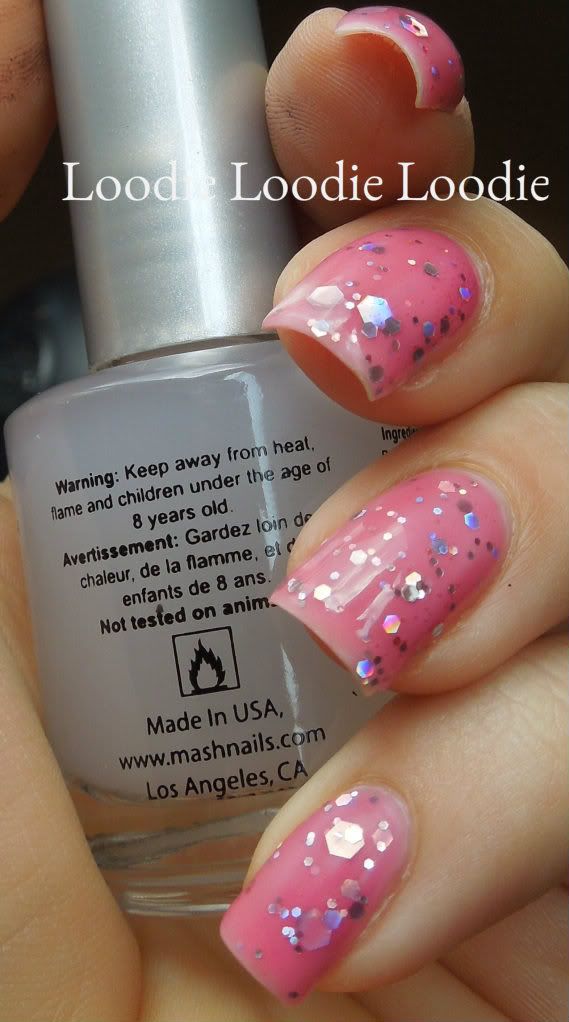
Before I even tell you what matte top coat I am using, can we please read the warning on the bottle?! Go read ... I'll wait...

I would be one pissed 7 year old.

When I first received this matte top coat by MASH, I only dipped one toe in the pool, so to speak, to test the waters. Actually quite literally my pinky is the only mattified finger here.

This was at least 3 coats of KleanColor - Fuschia Glitter

MASH matte top coat is only on the pinky; the rest of the fingers were probably Seche Vite.


click to enlarge


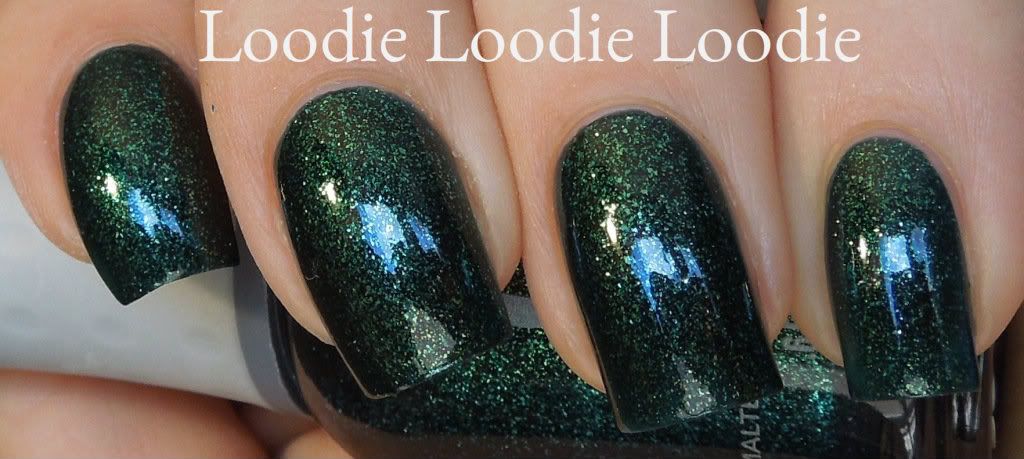
Orly - Meet Me Under The Mistletoe

What a fantastic green!!! Gollie g. 
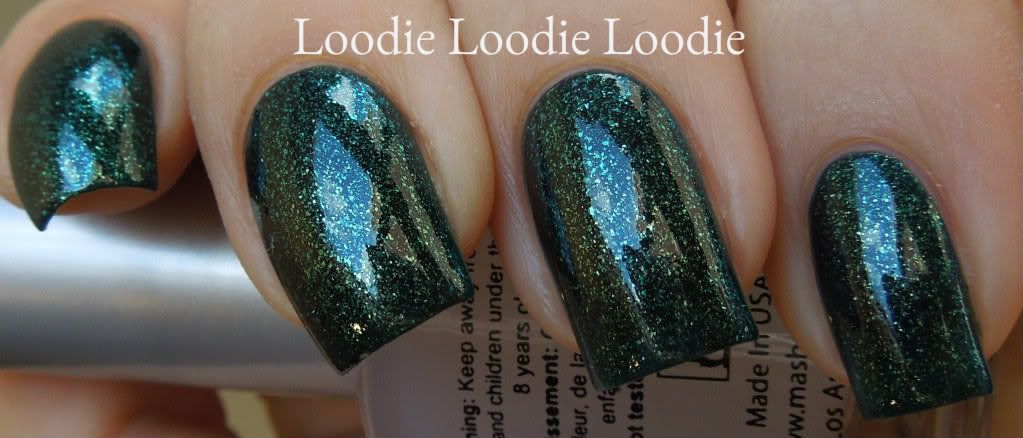
click to enlarge


Right?!


click to enlarge


It is equally as awesome with matte top coat. Good job MASH!
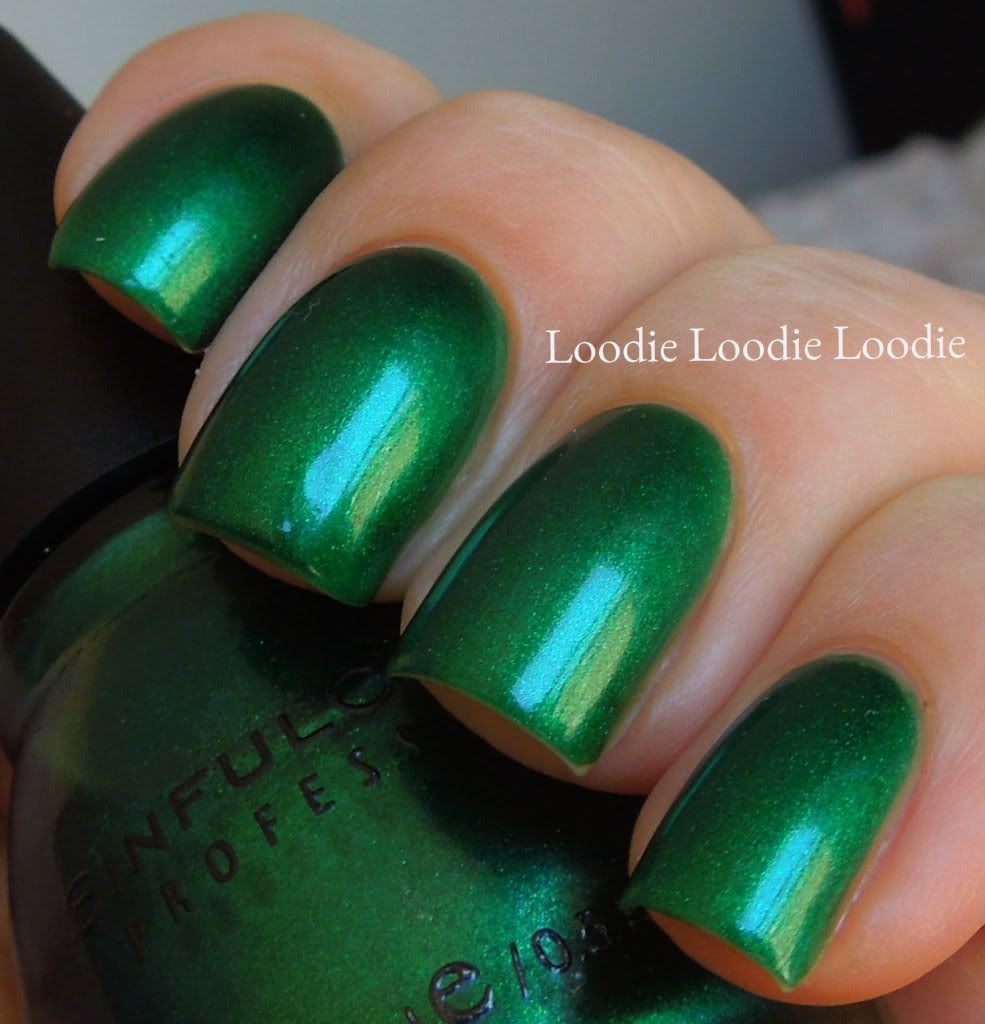


Here is an equally fabulous green (see more here) made LESS FABULOUS...

Sinful - San Francisco
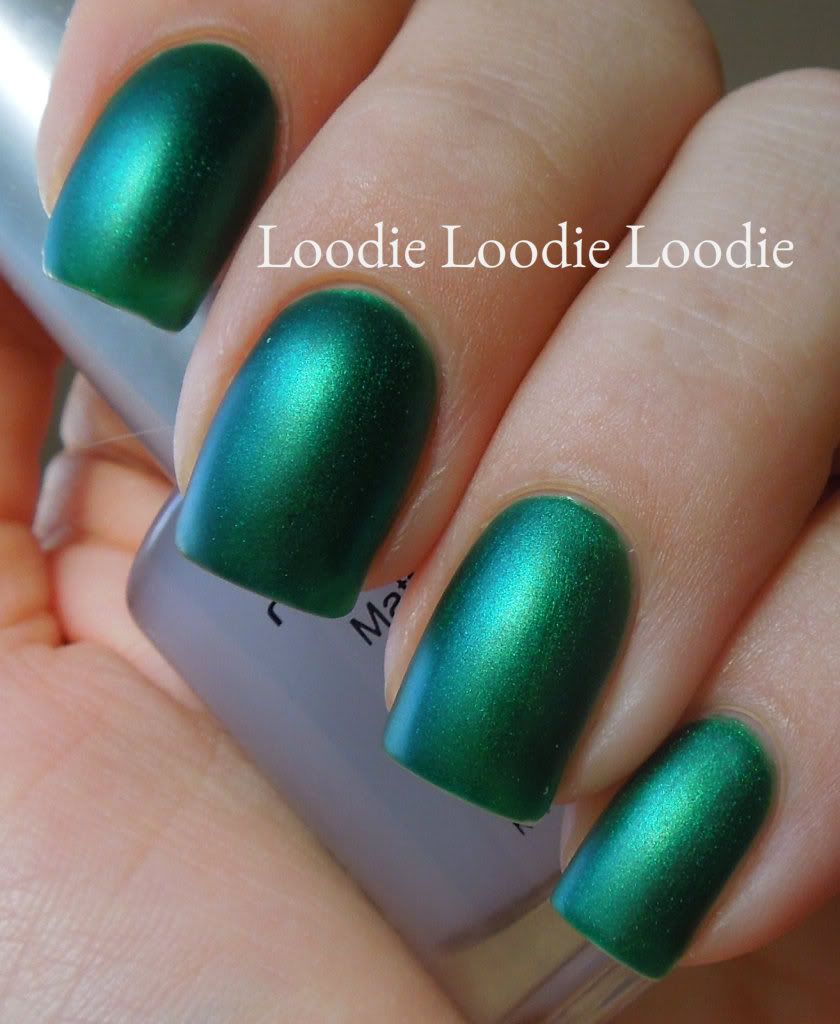
I don't know... it kind of takes the life out of it.

BUT in terms of matte top coat quality... it is superb.
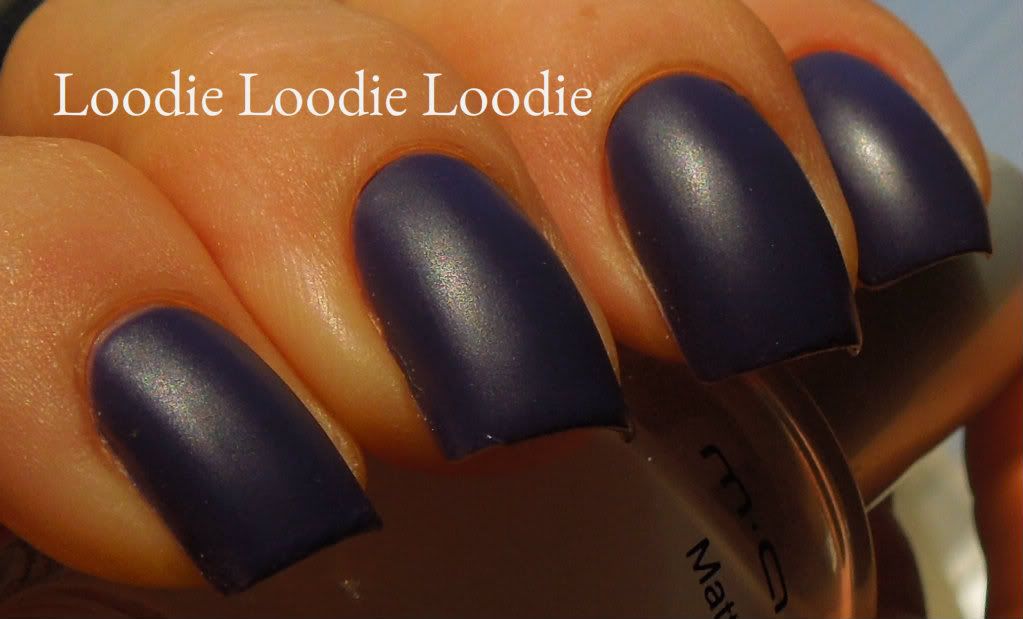


I do like a nice matte cream on occasion. It makes me feel like I am wearing Illamasqua's rubber finish polishes. That dirty post can be found here.

This is Revlon - Rock with MASH matte top coat.
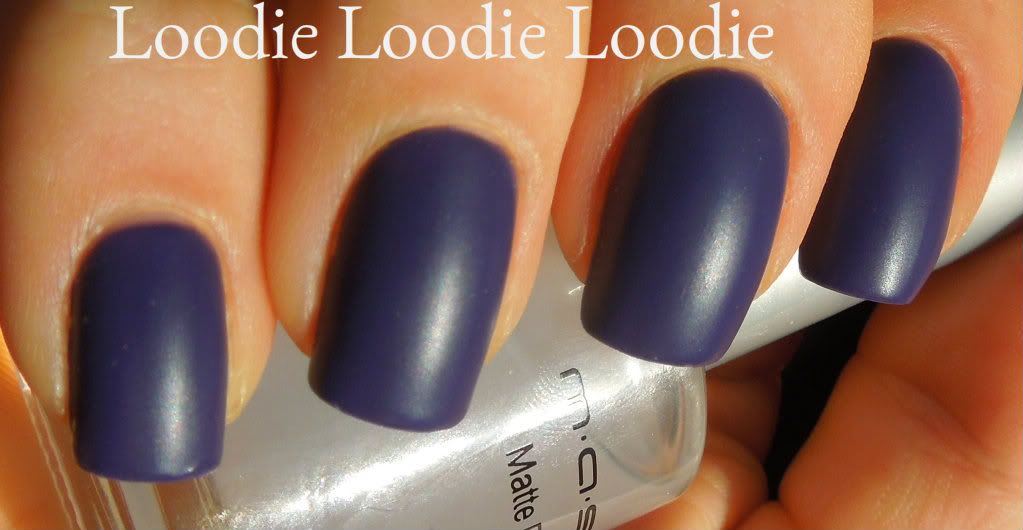


Look how smooth!!


How good is this matte top coat?
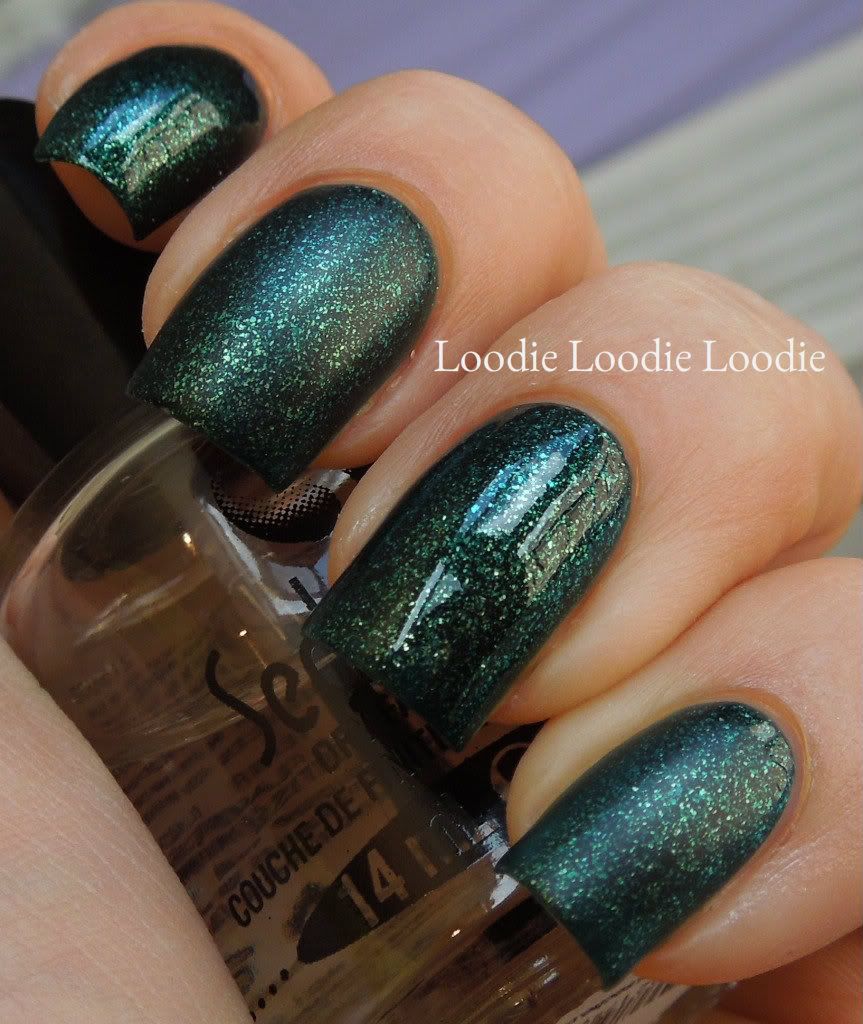

click to enlarge

Battle of the top coats...

Seche Vite vs. MASH

.... uuuhhh, it's like apples and oranges people. They are both great.

 Bonus picture here!


click to enlarge


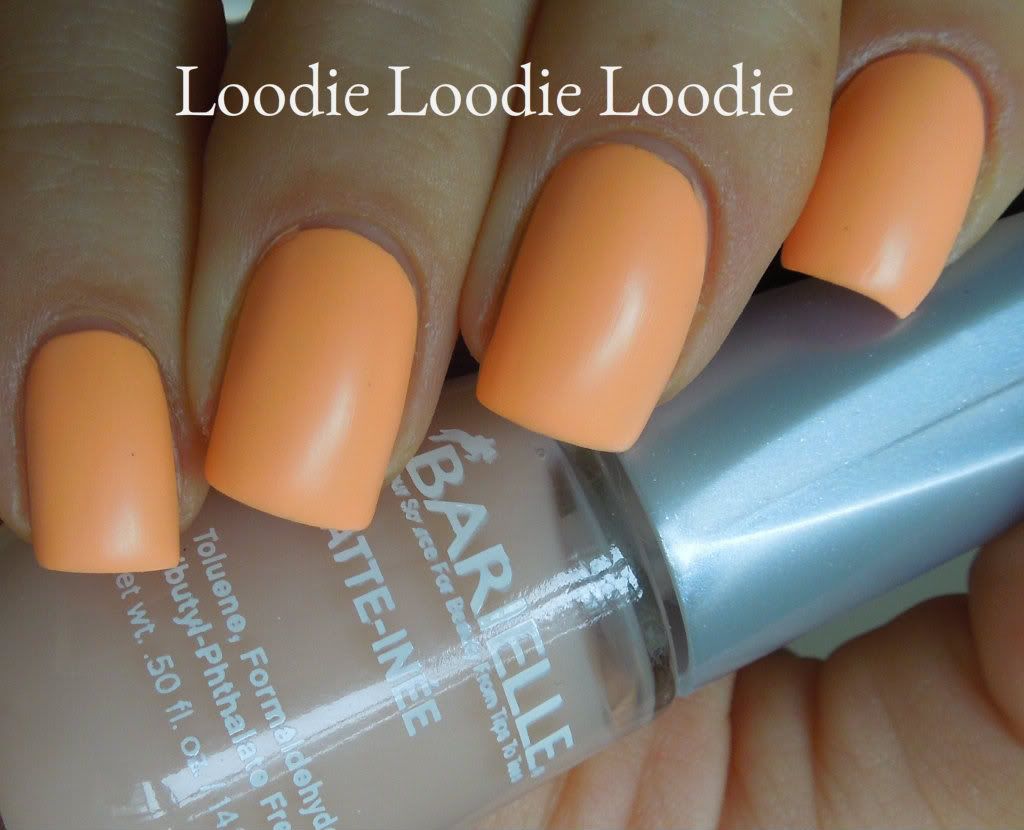
Barielle vs. MASH

Barielle Matte-inee is the only other matte top coat I own.  This is Barielle Matte-inee over Lime Crime - Peaches <3 Cream

You may not be able to tell from the picture, but there were visible streaks in the finish. Sad face. This is probably why I don't use it much. I am not sure whether the problem is the brush (it's horrid!) or the formula, or a combination of both.
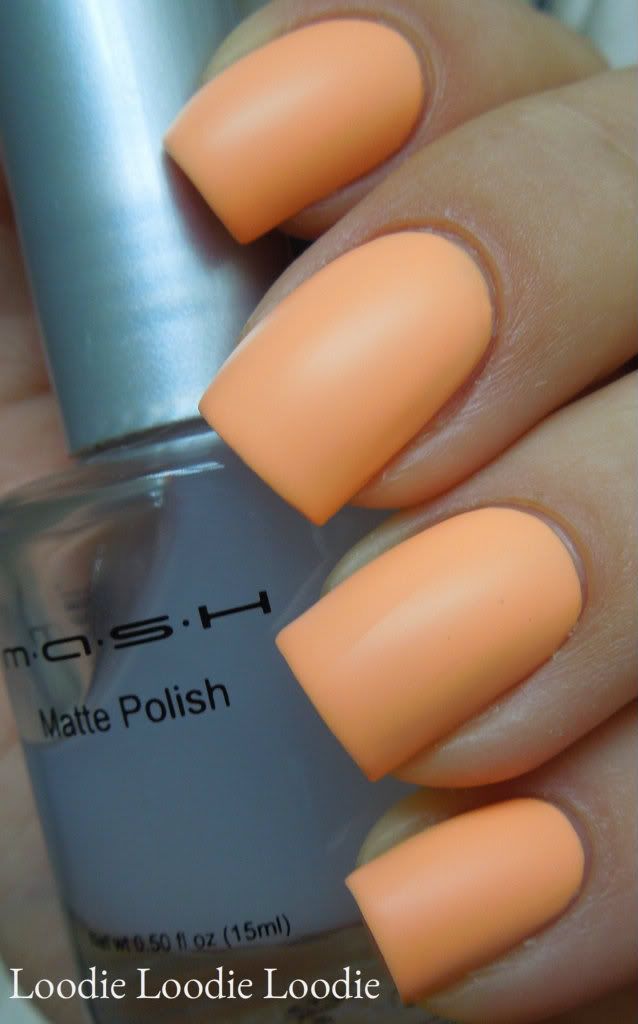


click to enlarge

MASH matte top coat is like butter. The brush and formula worked like a charm EVERY time.


Can I just say how much I enjoy a mattified pastel!

More Lime Crime Pastels can be found here.


More manicures with MASH...
click to enlarge

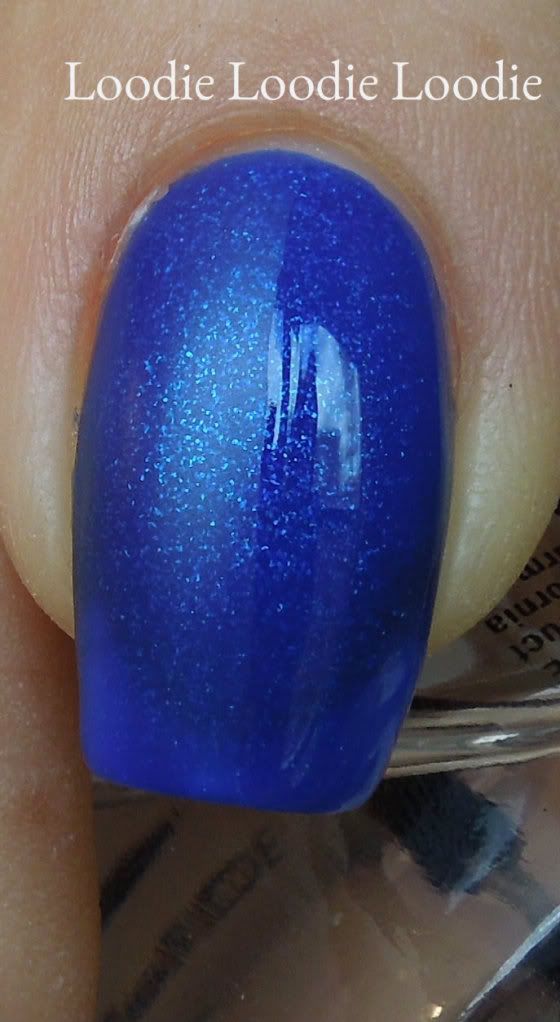
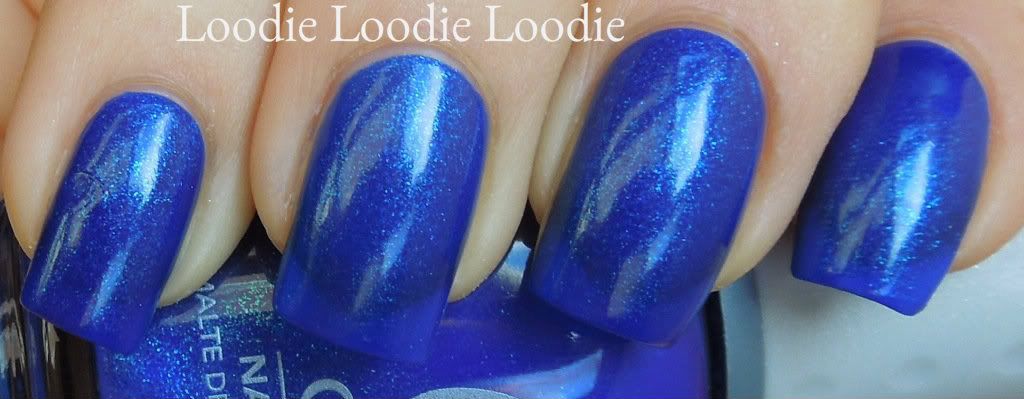
I decided to layer Orly - Royal Navy with a bunch of glitters and mattify them!

Bonus picture here!


click to enlarge


Left to Right:

Pinky: Finger Paints - Asylum
Ring: Revlon - Galaxy
Middle: Revlon - Radiant
Index: Orly - Royal Navy shiny!
Thumb: Orly - Royal Navy matte!


I am completely convinced. Not only does MASH deliver a high quality matte finish, but the dry time was great too. What is your favorite matte top coat?

MASH matte top coat is $7.99 for 15mL (0.50 fl.oz.)

*This product was sent for review*

Sunday, October 14, 2012

Stop me if you've heard this one...

I love sheer whites. I think I have said this probably 347 times on this blog. Here, here, here, here, here, here. So what's another post...


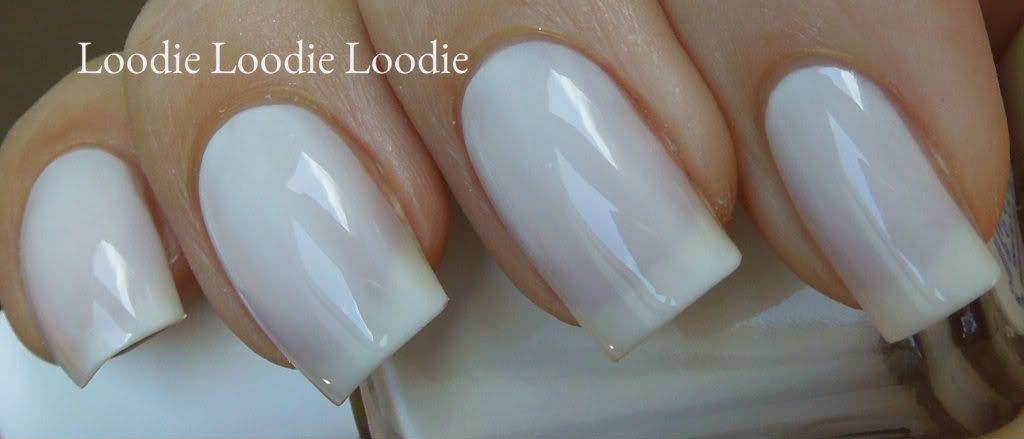
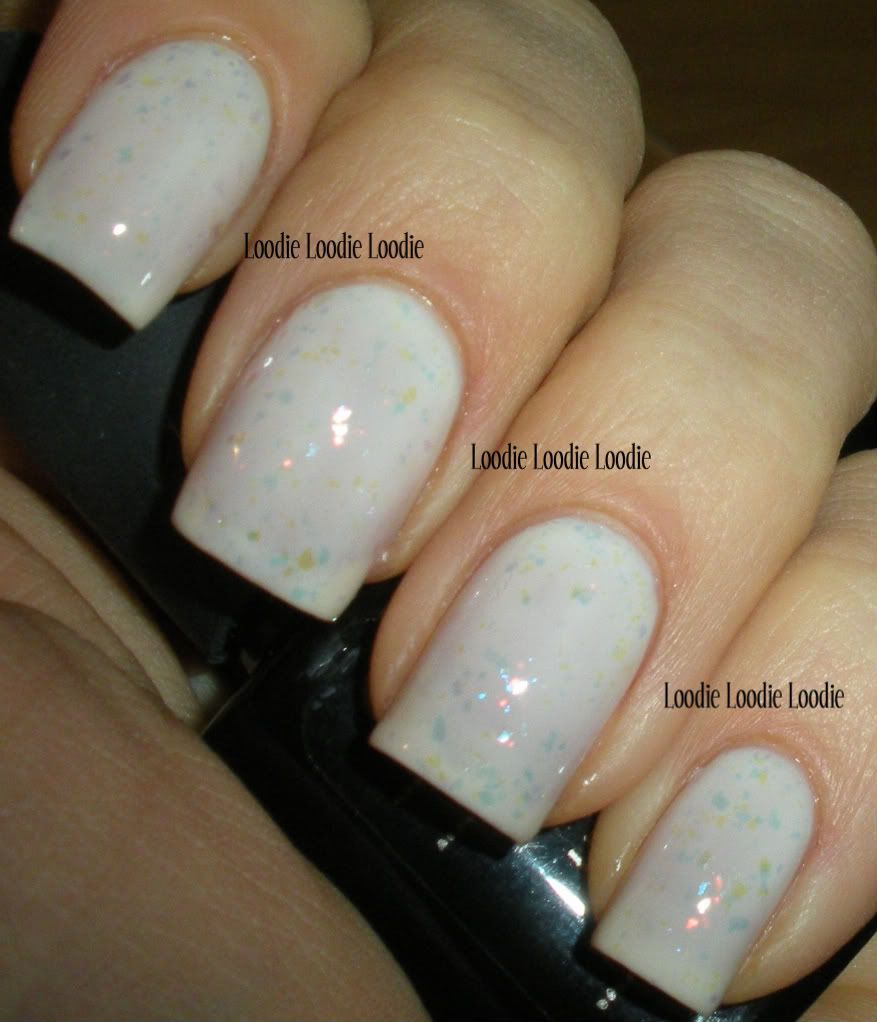
Essie - Marshmallow

I don't remember how many coats this was because this was from a while back. I would venture to say the standard 2-3 coats.


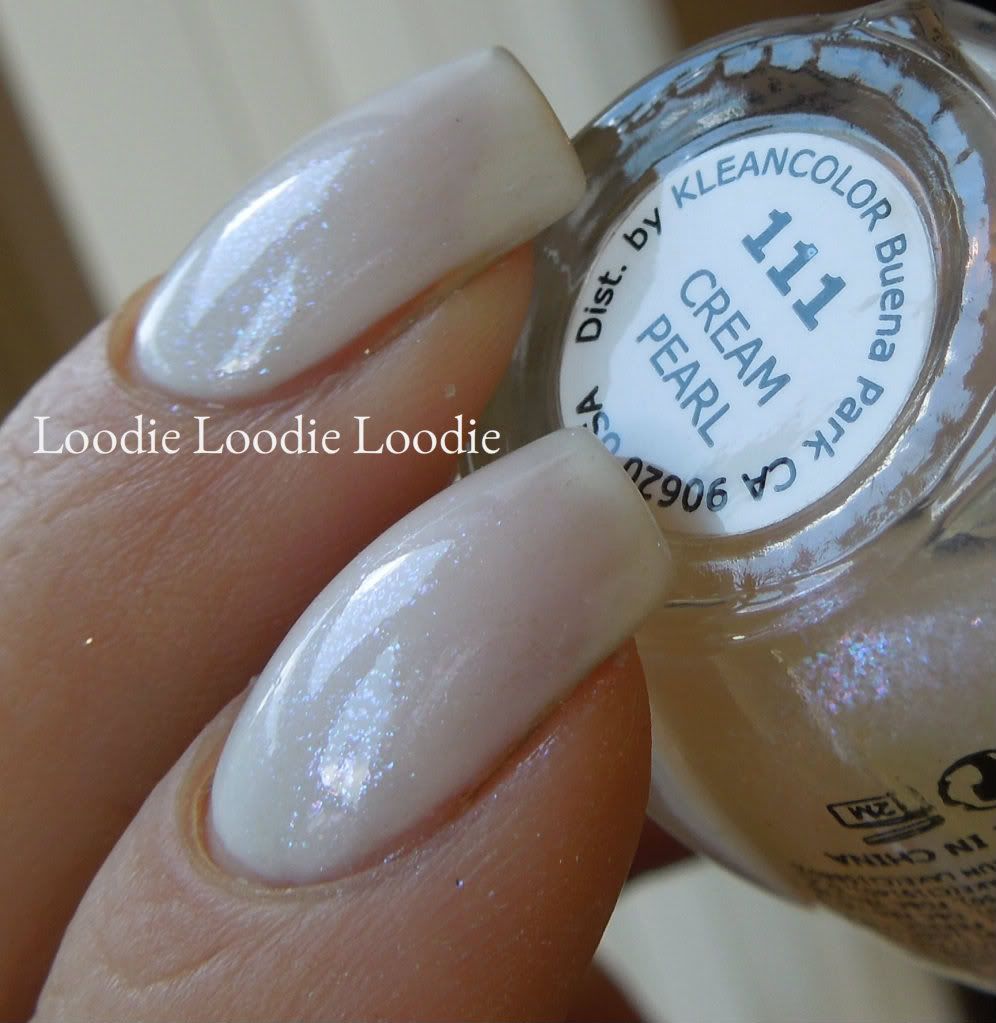
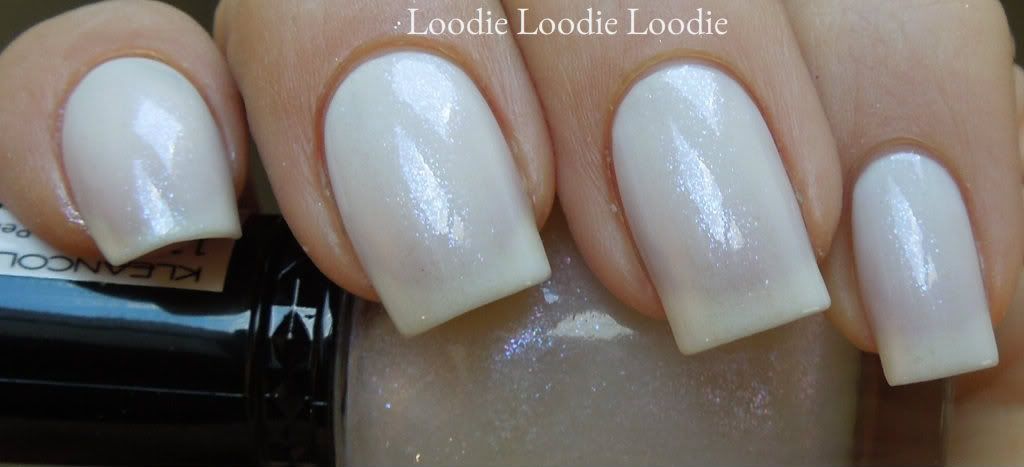
I do like to dress up my sheer whites on occasion. One of my favorite KleanColors is Cream Pearl. I have never worn it alone, but do like it over other colors. It has blue and purple sparkles.

I have shown it over a barbie pink in this post.


Very subtle and pretty.


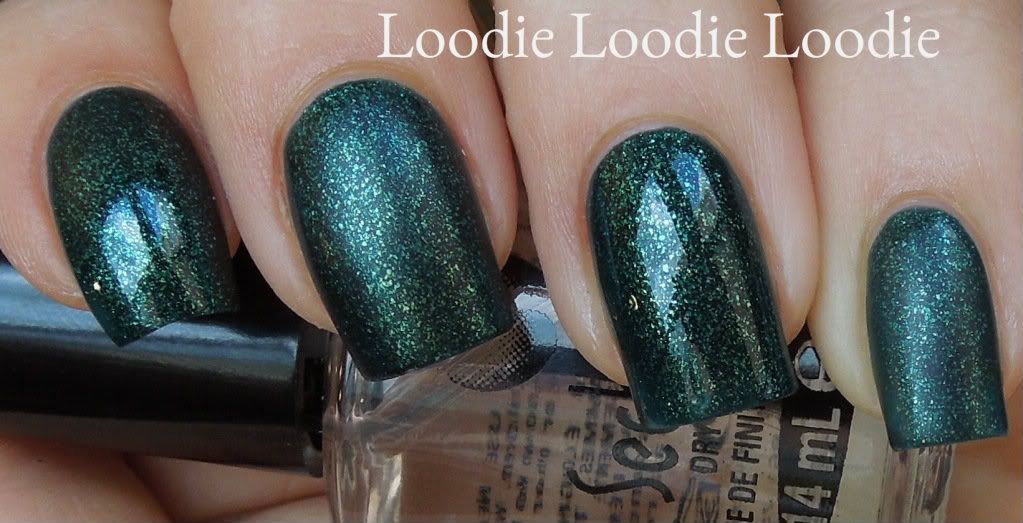
I also have enjoyed NYX - Spotlight on top.

If you want to see NYX - Spotlight over a dark green check out this video... here. I put it over Nabi - Teal


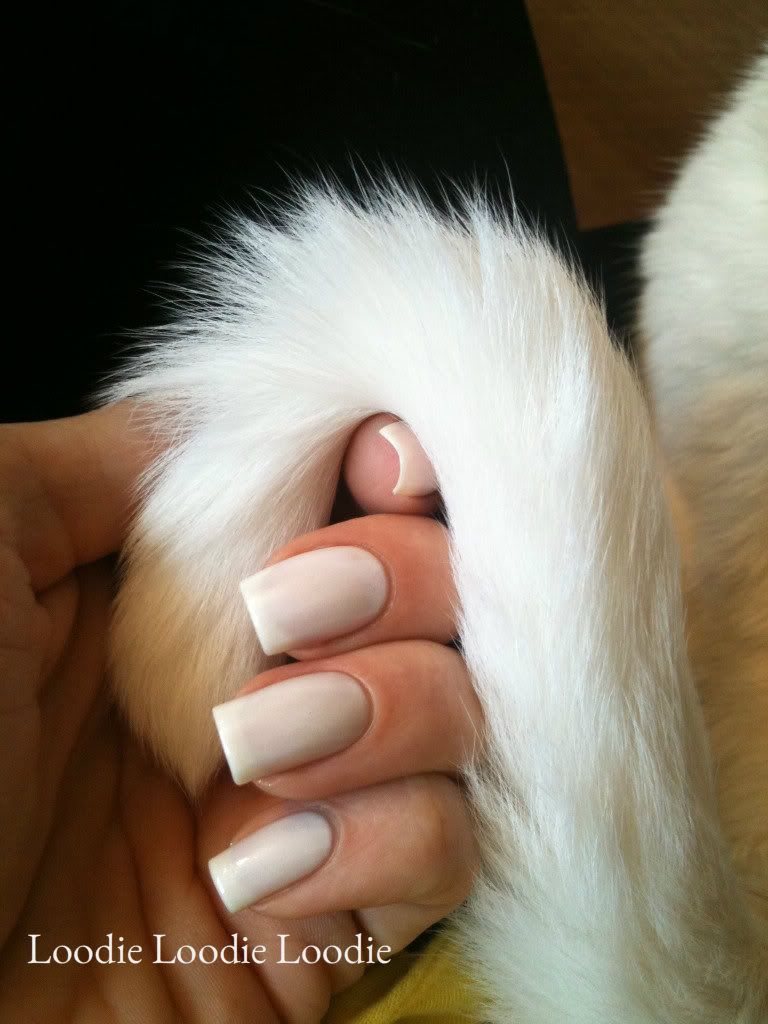
I have a white cat. She gets jealous of my sheer white obsession.


She screwed up my mani last time I wore a sheer white.


Saturday, October 6, 2012

Barnacles off a hull

On this random night I decided to push back my cuticles. But the usual method was not good enough. For whatever reason I felt compelled to break out the metallic instruments. I was reminded why I rarely use them and in general recommend them only under adult supervision, or never.

My usual method:
There are two parts to the cuticle area, the live skin (eponychium) and the dead skin (true cuticle). I have discussed them in great detail in this post and many others. I push back my live cuticle everyday; I have a problem, I know this. The reason is well documented in this post. In short, I apply moisture and massage and push them back. It's glorious and gives me longer nail beds. Now, the dead skin is a bit more difficult to remove. Here, I resort to chemicals; they are my friends and there is no reason why they should not be yours. They rarely disappoint. Take it from a chemist ;) ... I'm slightly biased, clearly. I showed how I remove my true cuticle in this video and post. To summarize, I like to be really gentle and use a q-tip to apply the product and remove the true cuticle. I think a wooden stick is also safe, but personally don't use if very often.

My regrettable method:
The following got me into some trouble...

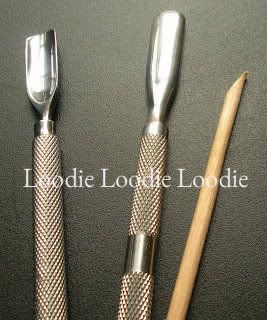
The perpetrators:
Ignore the innocent bystander (wooden stick). He's an okay chap, but if you use him, be careful nonetheless.

It's true some metal scrapers are sharper than others. I thought I was safe. These felt pretty smooth to me.


I still used Blue Cross cuticle remover, but decided to use the metal scrapers instead of my usual q-tip. Here was the result...

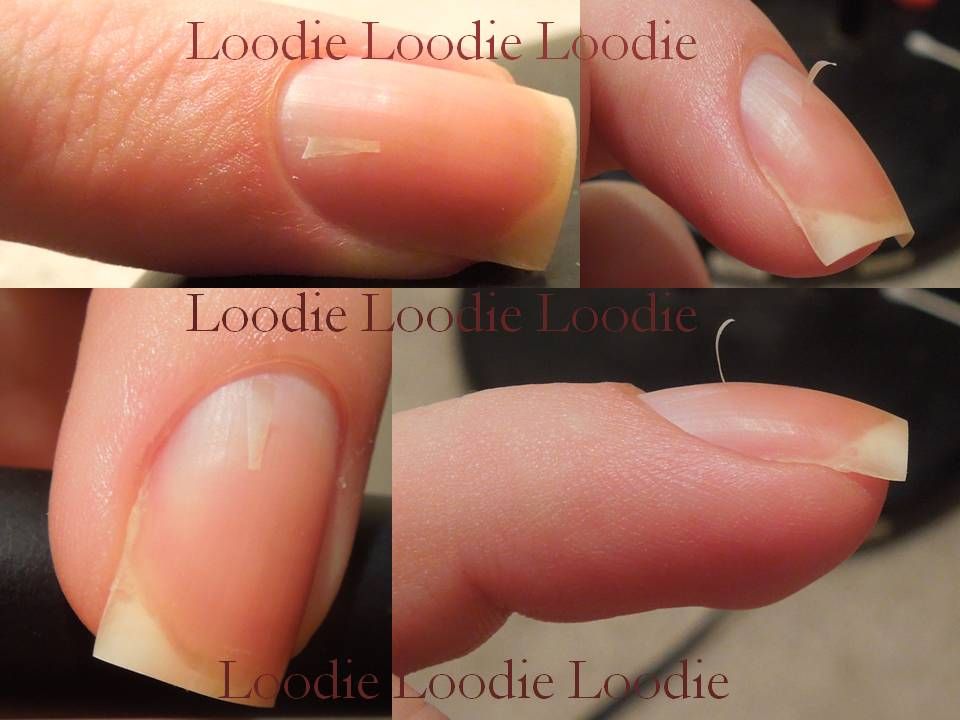
WOOPS!

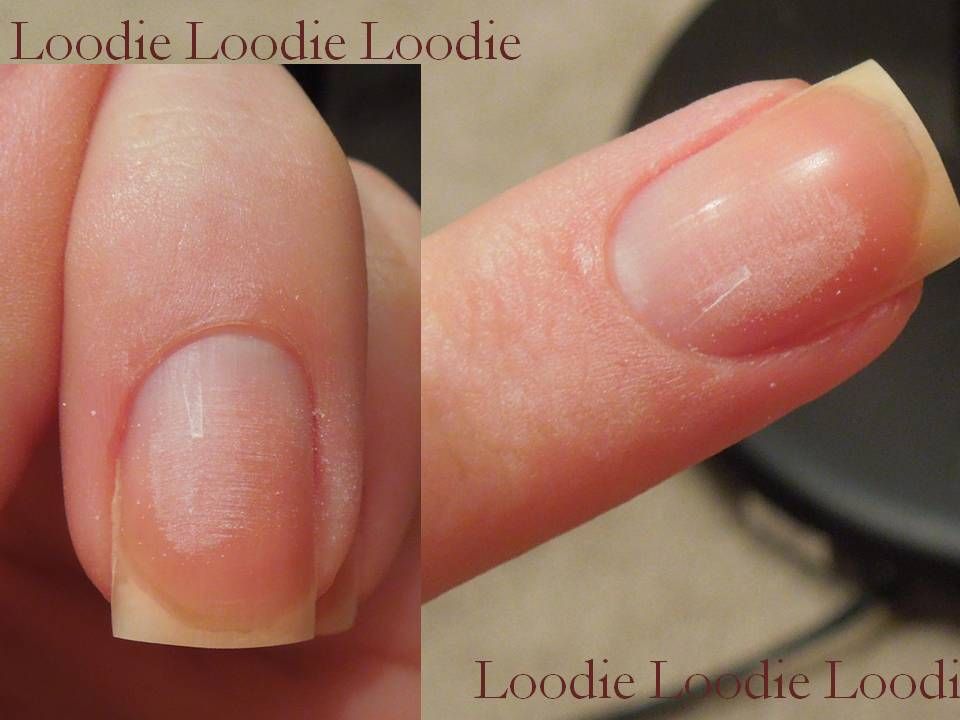
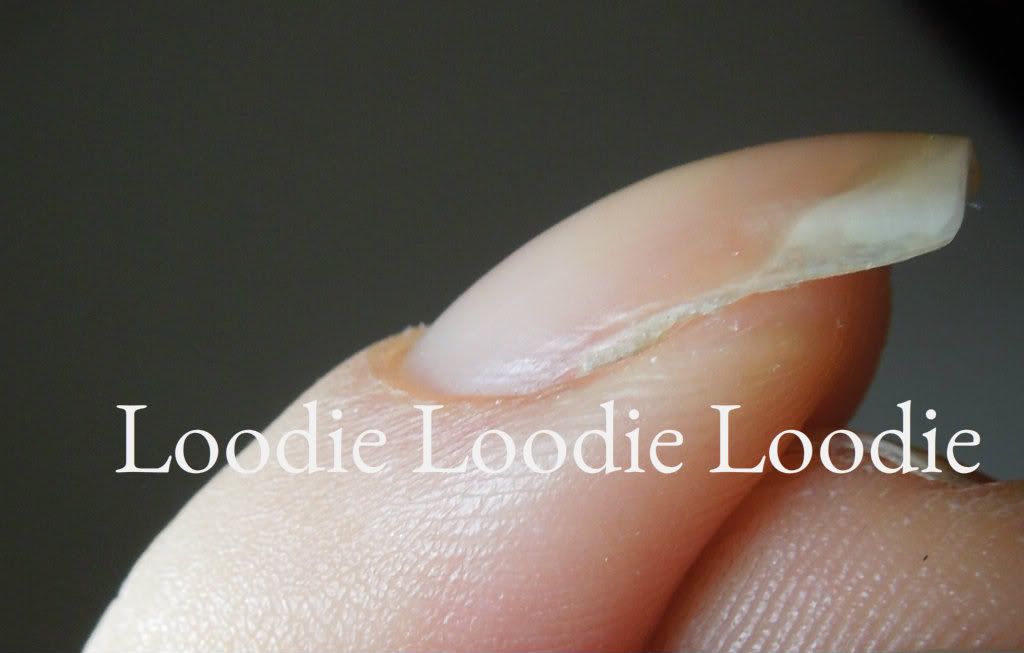
Ugh. PANIC! NAIL DAMAGE!

IDIOT.

Of course this needs fixing PRONTO!
DON'T PULL IT!! It may pull off more nail deeper down.

Instead...


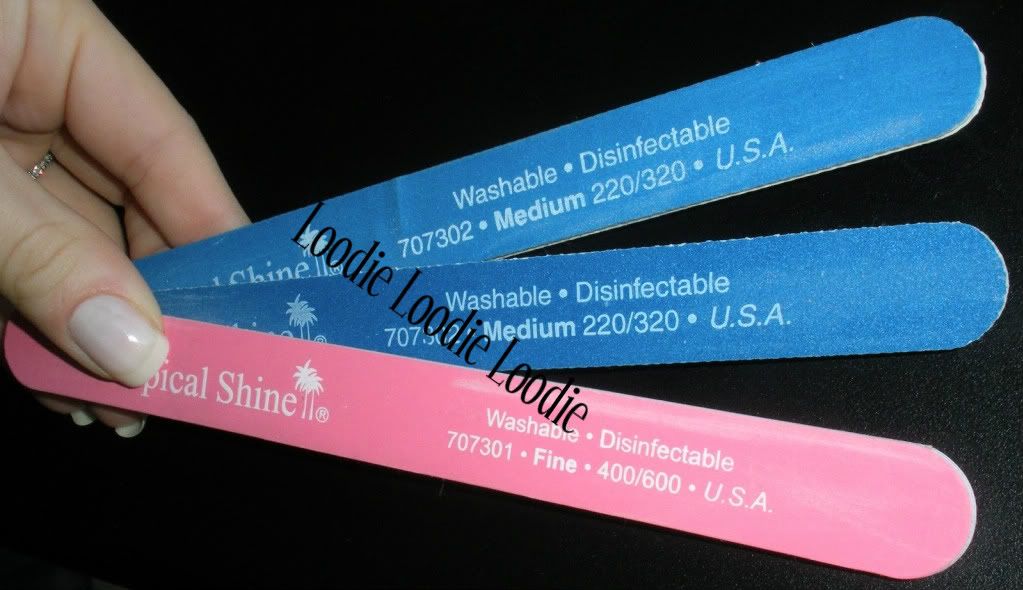
Grab a semi rough nail file or buffing block, somewhere in the 220/320 or 400/600 range. I like the files from Tropical Shine for these types of jobs.


The first order of business was to remove that large flap. My nails are fairly healthy. I used the blue 220/320 file from Tropical Shine.


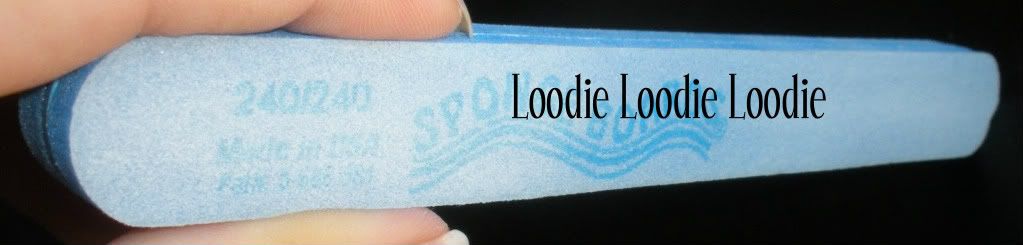
Next, I evened out the rest of the nail plate with a buffing block.


I am still in love with this sponge board. I used the 240 grit strength.


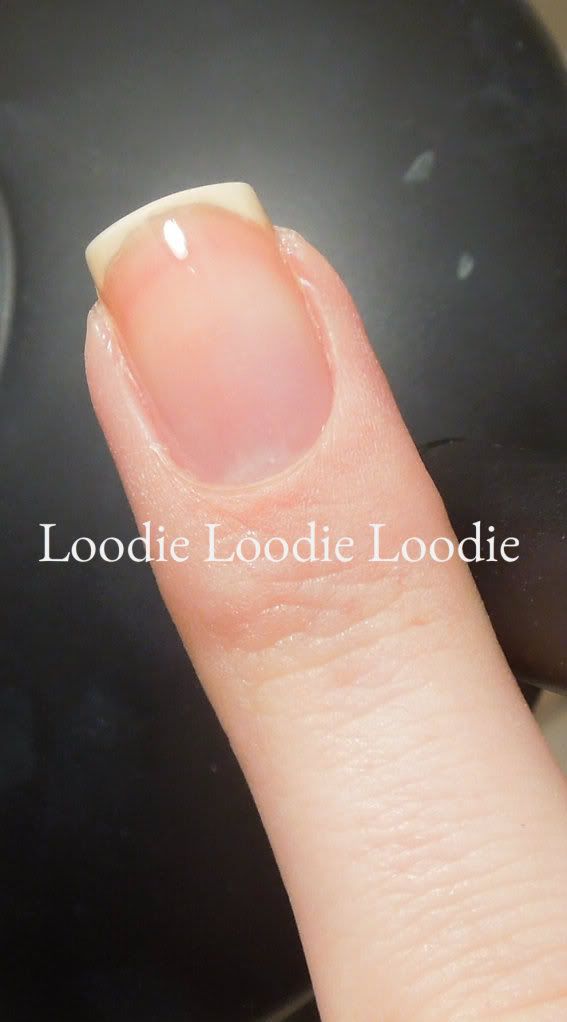
TA DA! Beautiful!

right?

NO. The following week I saw what those metal implements did to me...


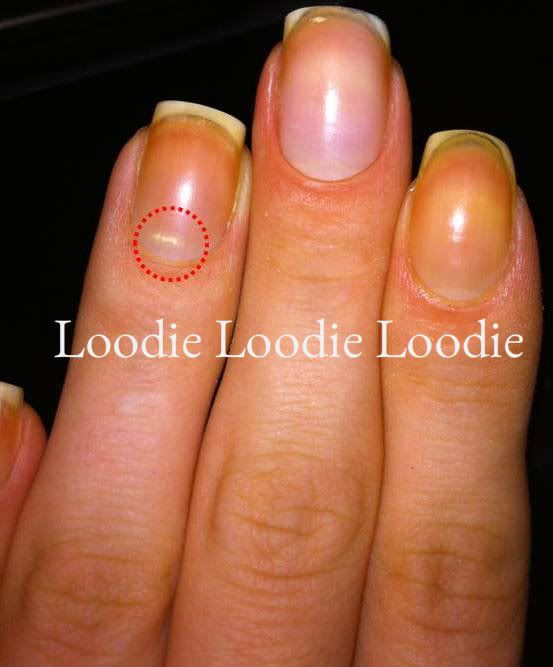
OMG! Yes, my nails are yellow from Sinful - San Francisco. Don't judge me. Instead see the full story here.

The red circle shows the trauma the implements inflicted.

With time the damage will grow out.


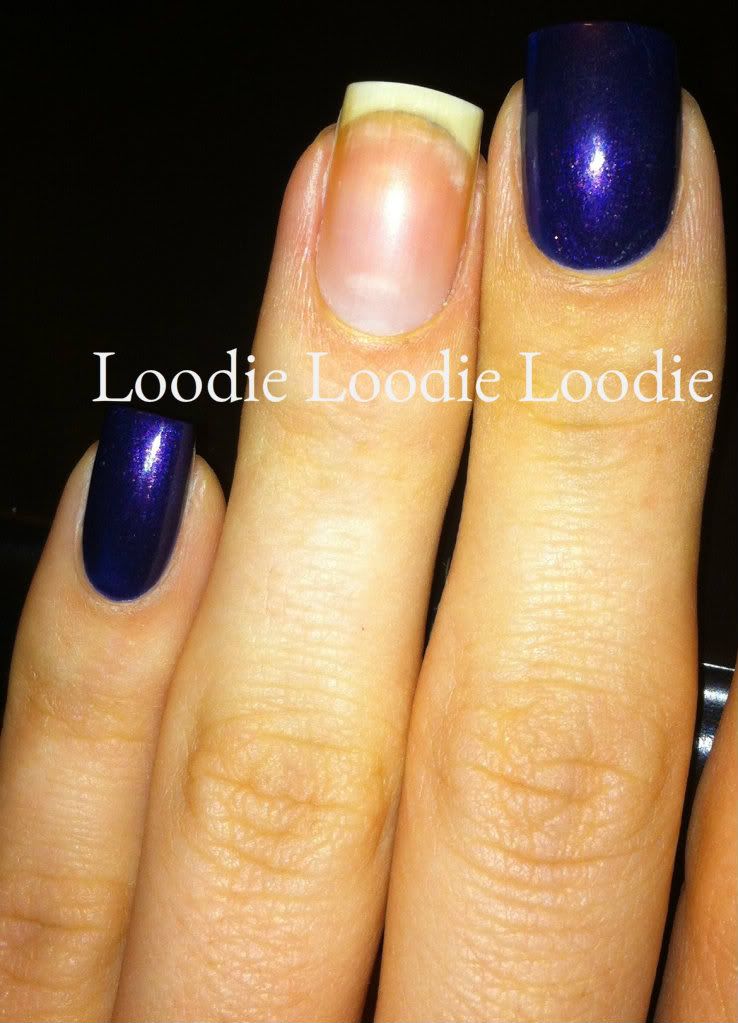
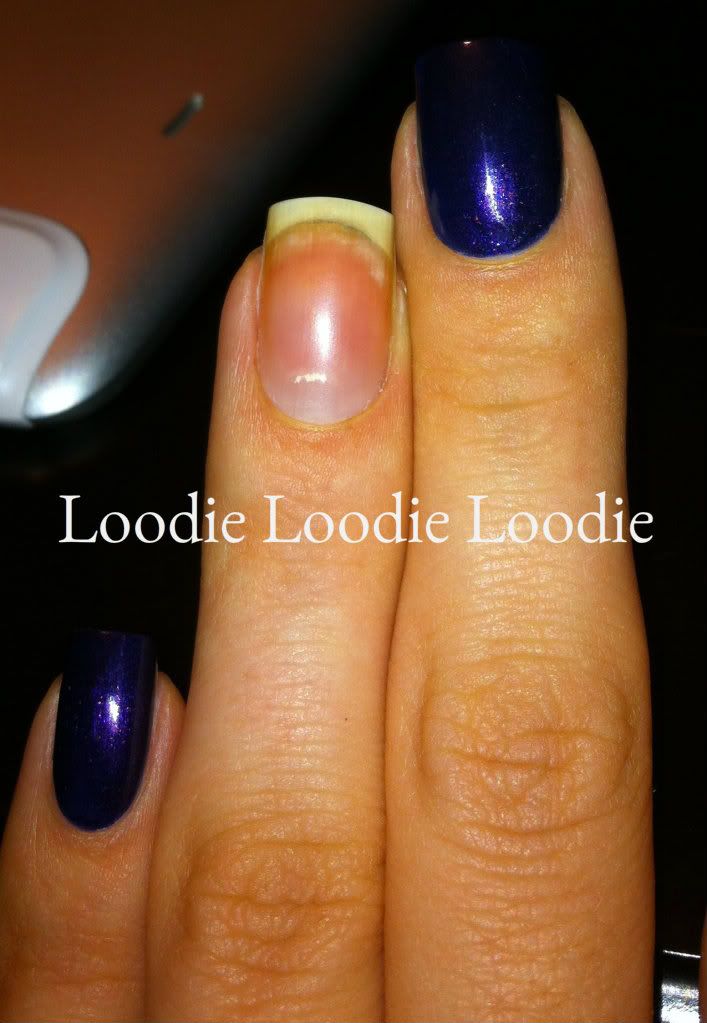
As the damage grows out, the white spot appears and disappears depending on how moisturized my nail plate happens to be.

Here my nail was moist, the spot appeared to dissipate.

**Side note** 
Isn't MOIST the best yet worst word ever?!


Here my nail was more dry, the spot appears more solid.


Moral of the story? I prefer to leave long hard metal objects for self defense purposes OR scraping barnacles of a hull, not cuticle removal.

How do you remove your cuticles?

Wednesday, September 26, 2012

Green fungus ... Not really

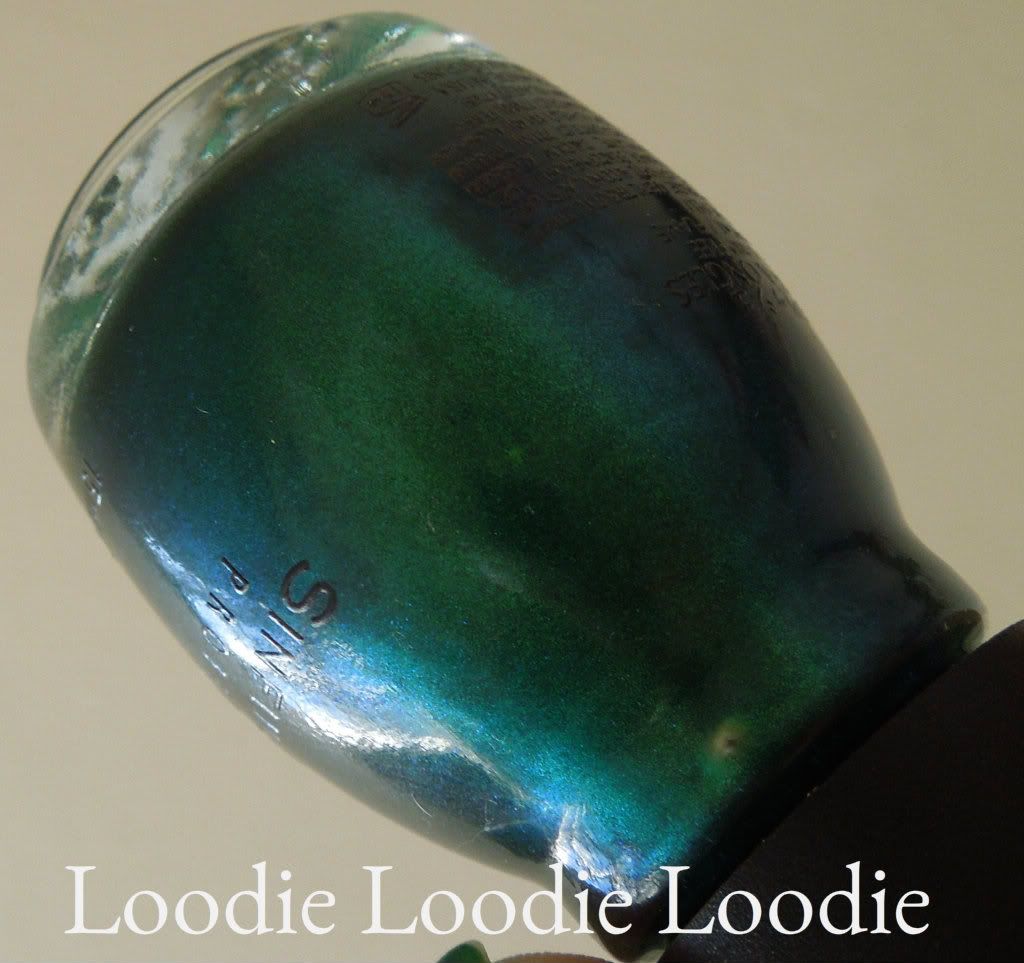
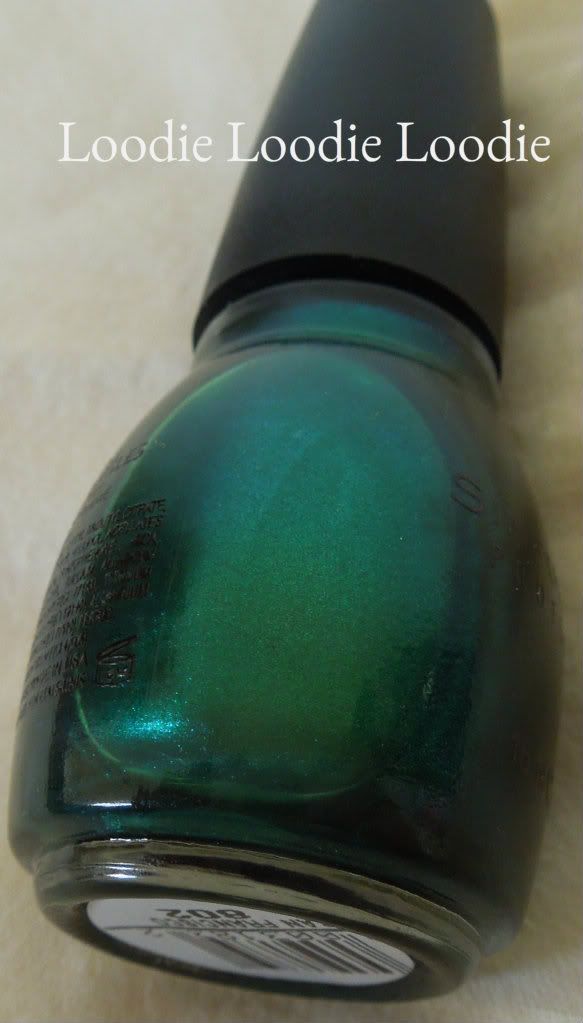
I came across a Sinful bottle of green polish. It made my fingers look pretty and then it made them look gangrenous. First, let's oooh and aaah...


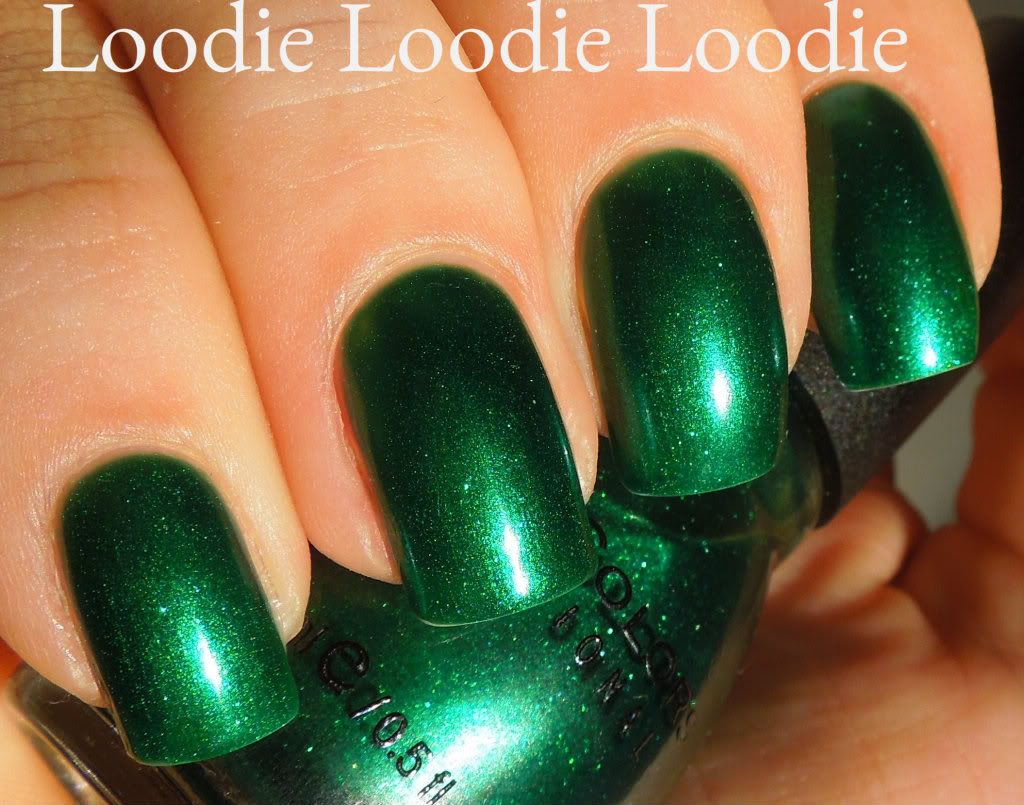
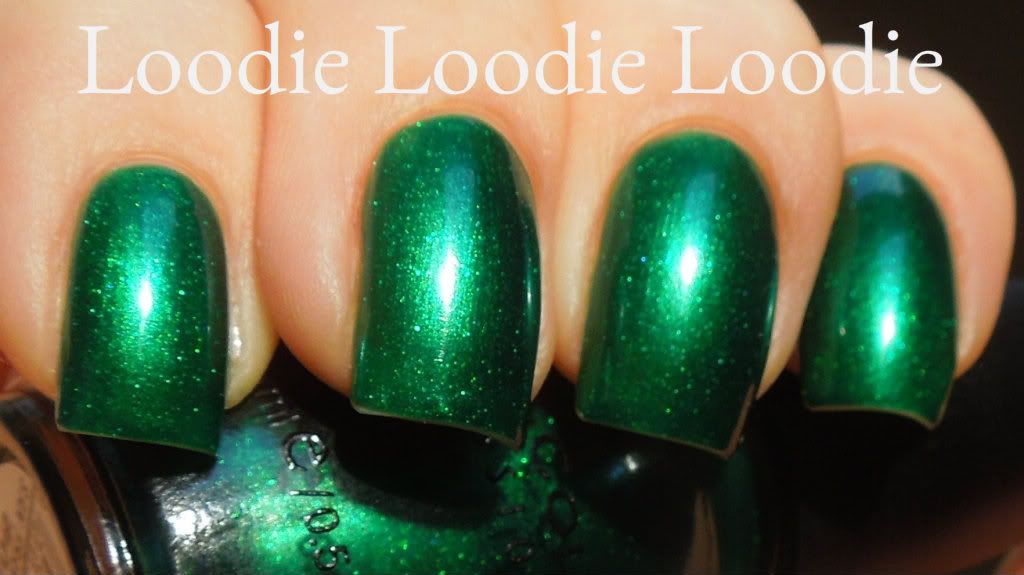
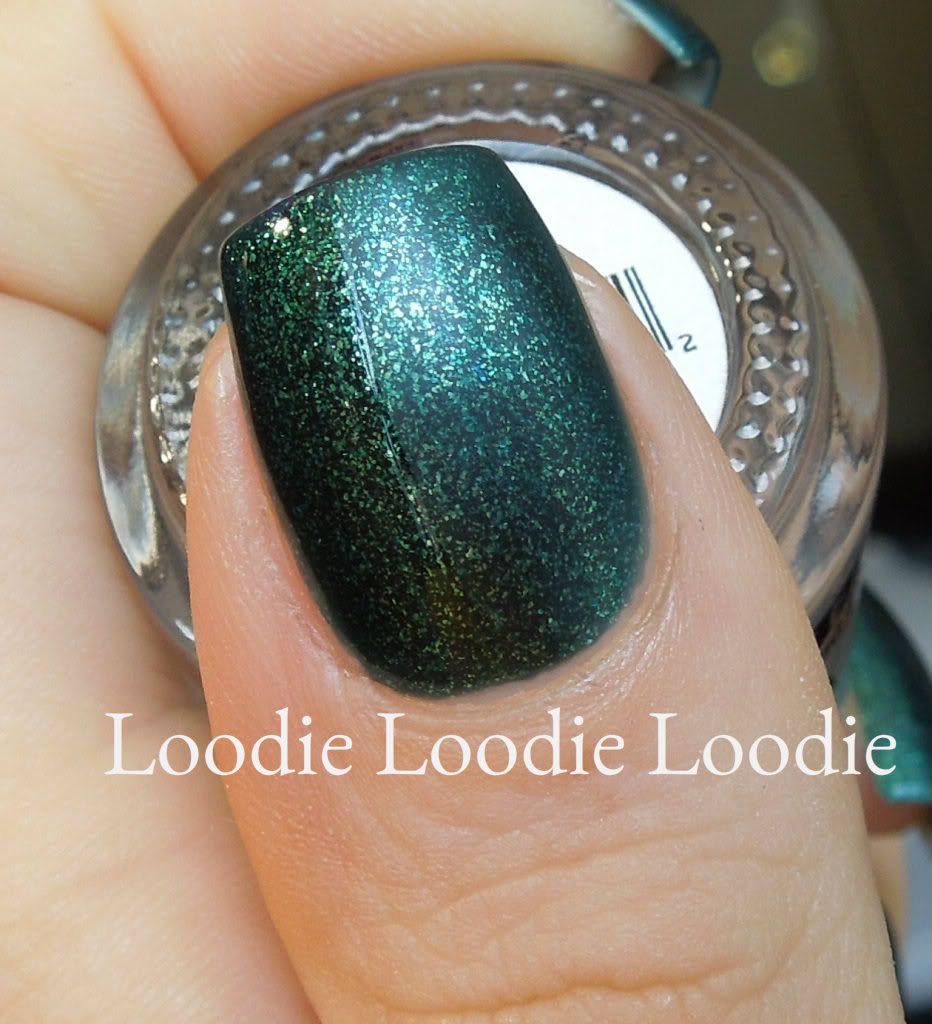
Sinful - San Francisco


A warm tone deep green with a shimmery jewel type finish. I love this type of finish and want one in every color!


I was hoping it would look like the bottle color... sadly the duochrome was not visible on the nail.

*sigh*

Still awesome though!


In the shade... 
This is my other hand. My nails are shorter on this hand because I had a nail break. :(

If you can't tell, I have a nail fix on my middle finger. This will come into play later.


How to for nail fix using Shellac here.


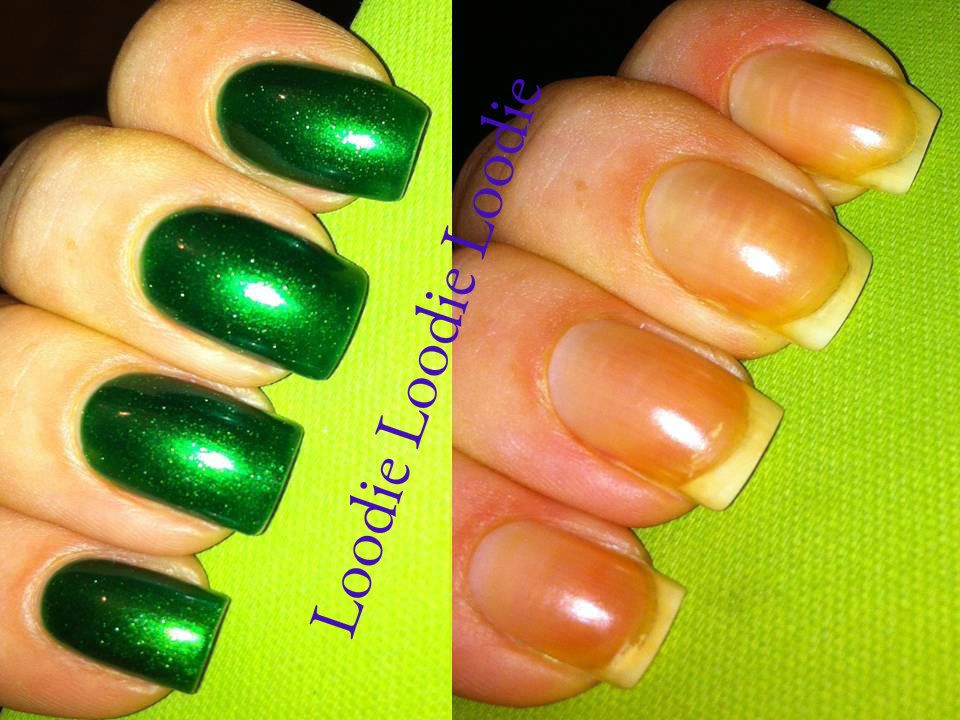
But basically, this polish made this happened. Holy freaking jaundice fingers!!


So that nail fix.... it got beat in the face and turned GREEN! On the bright side, the break had already grown out and I could remove it.


I discovered the nail fix protected the nail from turning yellow! Thanks Shellac! Which is more than I can say for the 2 coats of regular basecoat. Watch out for this beauty!

See that white spot I circled in red? There is a reason I have it and I will tell you about it soon.


Thursday, September 13, 2012

Pastels done right

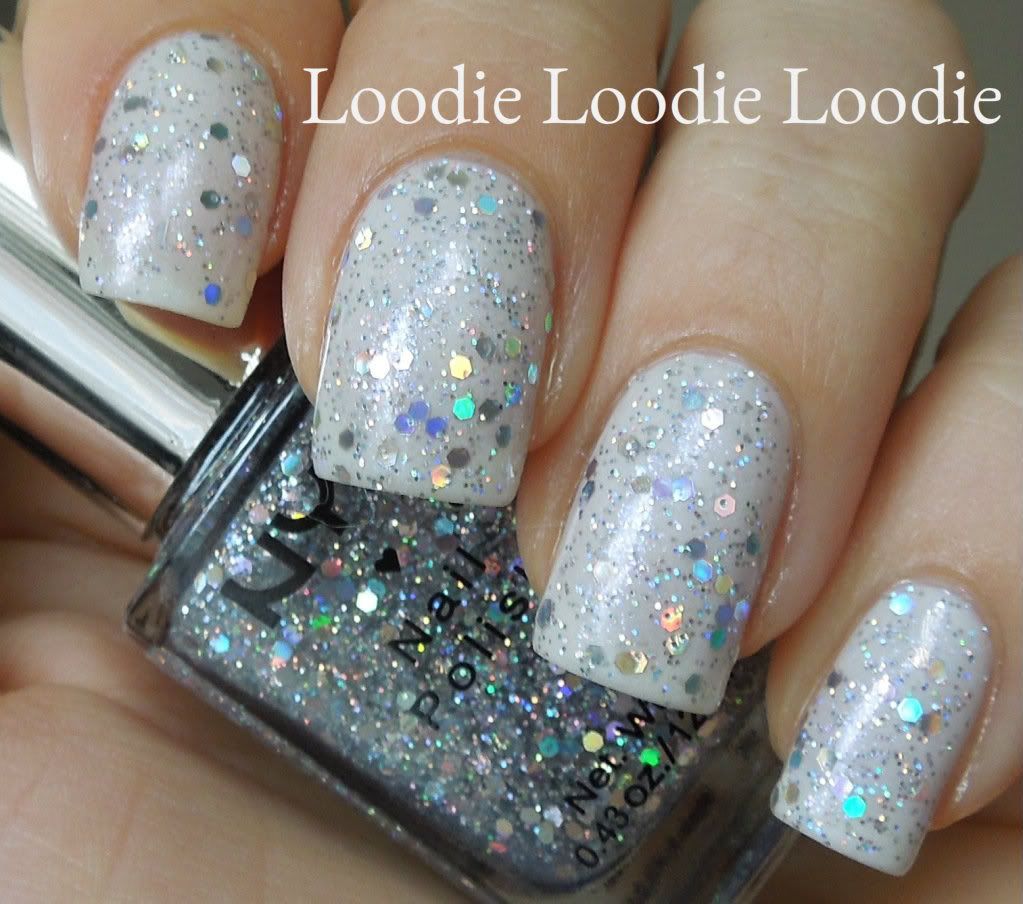
When I was asked to review Lime Crime's Les Desserts d'Antoinette Nail Polish Collection I was hesitant as they are all pastels. I thought, oh great, seven chalky difficult to apply polishes here I come!

The first thing I notice with these polishes were the names. I loved them all.

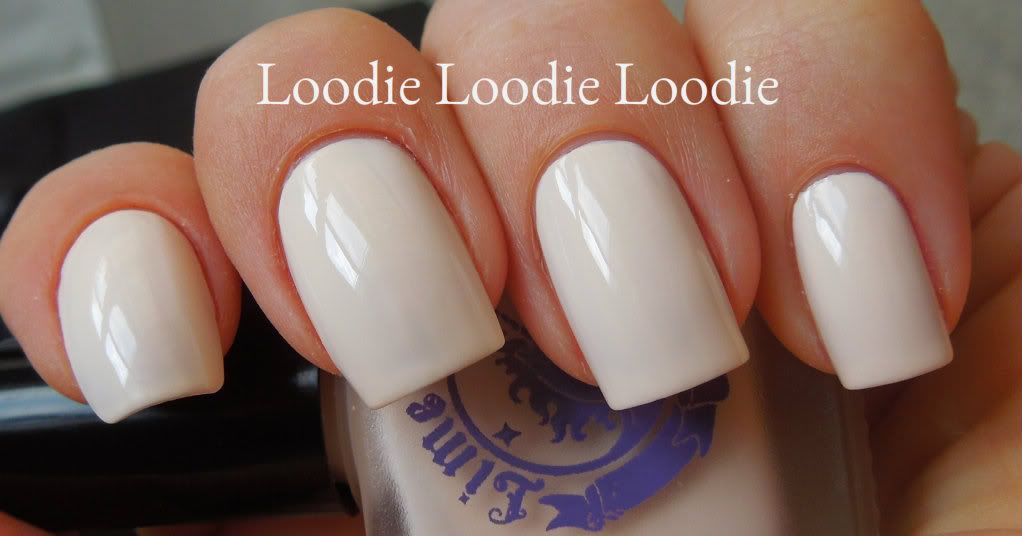
'Milky Way'

Is it surprising I chose to wear this one first? I love sheer whites so this was the next best thing. It ended up flawless in two coats! It leans slightly beige pink.


Even the first coat was pretty amazing. Quickly, I began to realize these were not your average pastels.


'Lavendairy'

Standard bright lavender lilac pastel.


'Once In A Blue Mousse'

Oh man, I really loved this one. It reminded me very much of those Tiffany's like colors. See here.


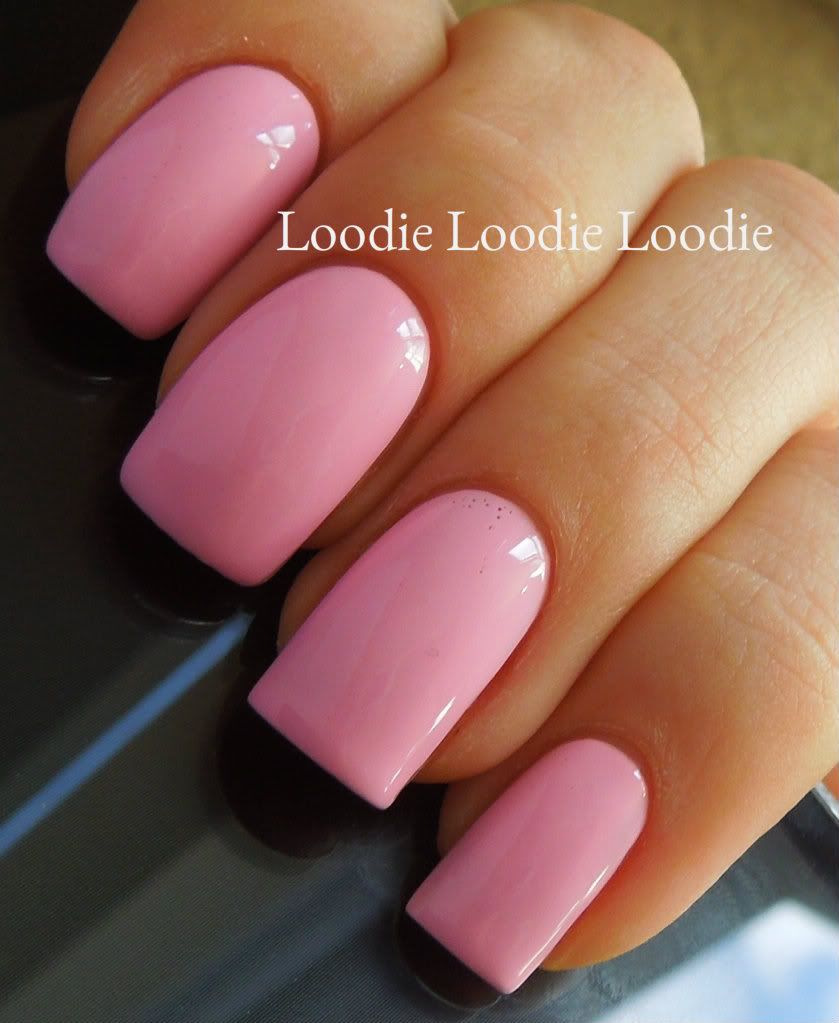
'Parfait Day'


This pink is not quite as bright/neon in real life. Also, do you see the bubbling on my ring finger? That is an application issue; more on that later...


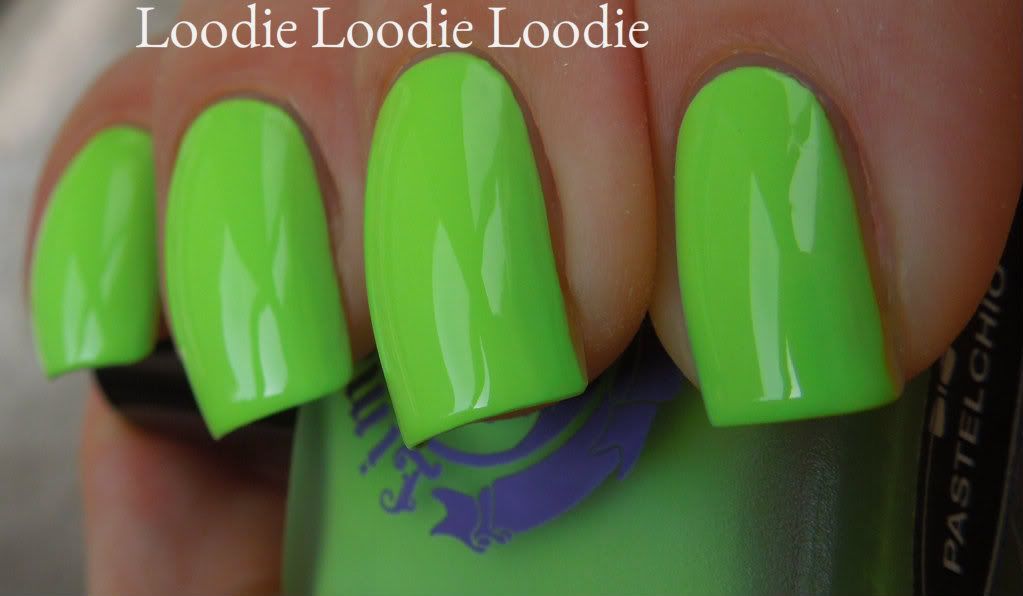
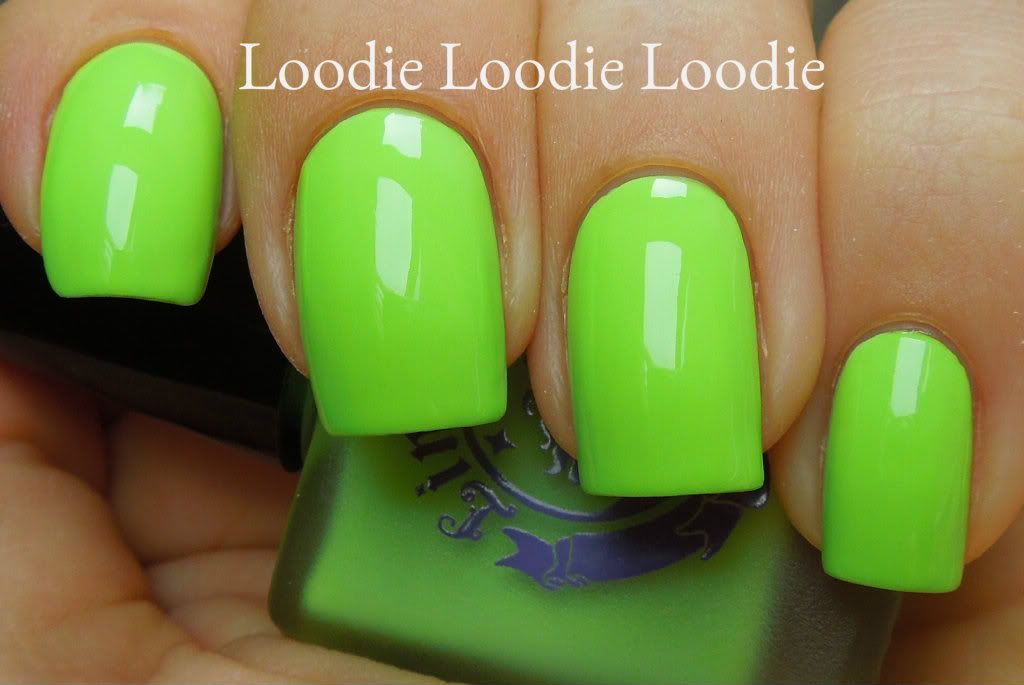
'Pastelchio' <---tee heee!

Woah MAMA! You like green? You like it LOUD!? Well this is your kind of green pastel then. This picture is in the shade too!


I was definitely self conscious wearing this bad boy.


'Peaches <3 Cream'

Seriously, that's the name. Someone asked what I was wearing. I had to pause and think of what to say...
"Peaches heart symbol Cream?!"

Somehow that doesn't quite have a ring to it. I substituted "and" for <3

This might be my first orange... I can't complain.


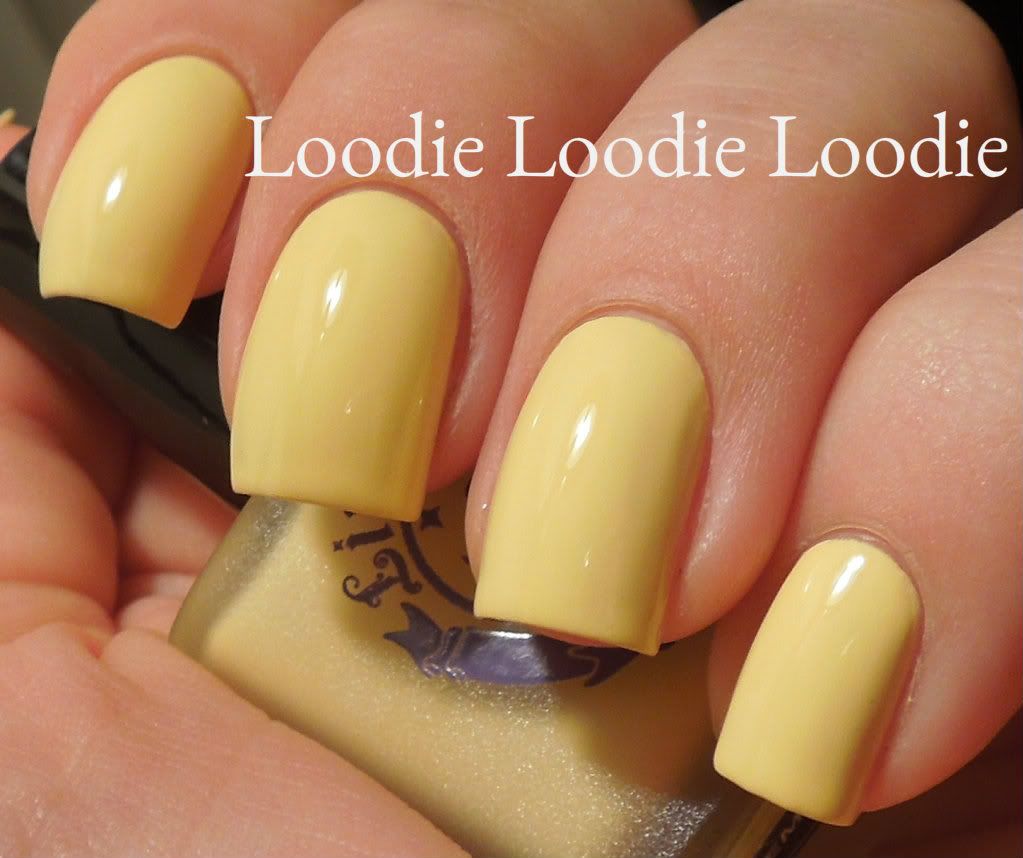
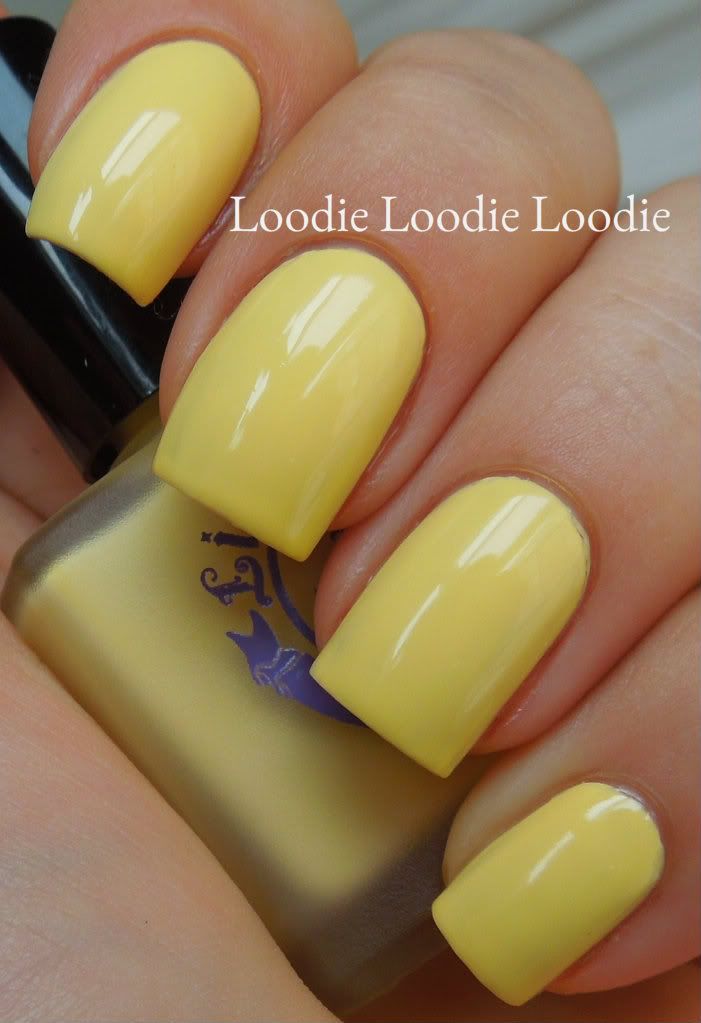
'Crema De Lemon'

As my sister says, if you want to wear yellow on your nails, why don't you just not wear basecoat for a while? How true. But when you can't wait for those dark colors to do their magic on your nail beds, this one will do the trick!

Actually, last time I wore yellow I was scared/scared so I left this guy for the very end because I thought I wouldn't like it. I was dead wrong.


What a nice yellow! It ended up being one of my favorites.


I thought this collection would come with your run of the mill pastel formula; I am happy to say this was not the case. The formula on all of these was a dense creme. If you are not careful, the two coats it would normally take to make it opaque will give you bubbles (at least that is what happened to me). Therefore, I opted for 3 super thin coats most of the time. My only other caution with these is, wear two coats of basecoat or you nails may stain, at least mine did.

These were sent for review.
They are 9 ml/0.3 oz
$5.99 each or $39.00 for all 7
On a superfluous note: The packaging is really cute and their site is so wonderfully whimsical!


Wednesday, August 29, 2012

Stroking the bottle

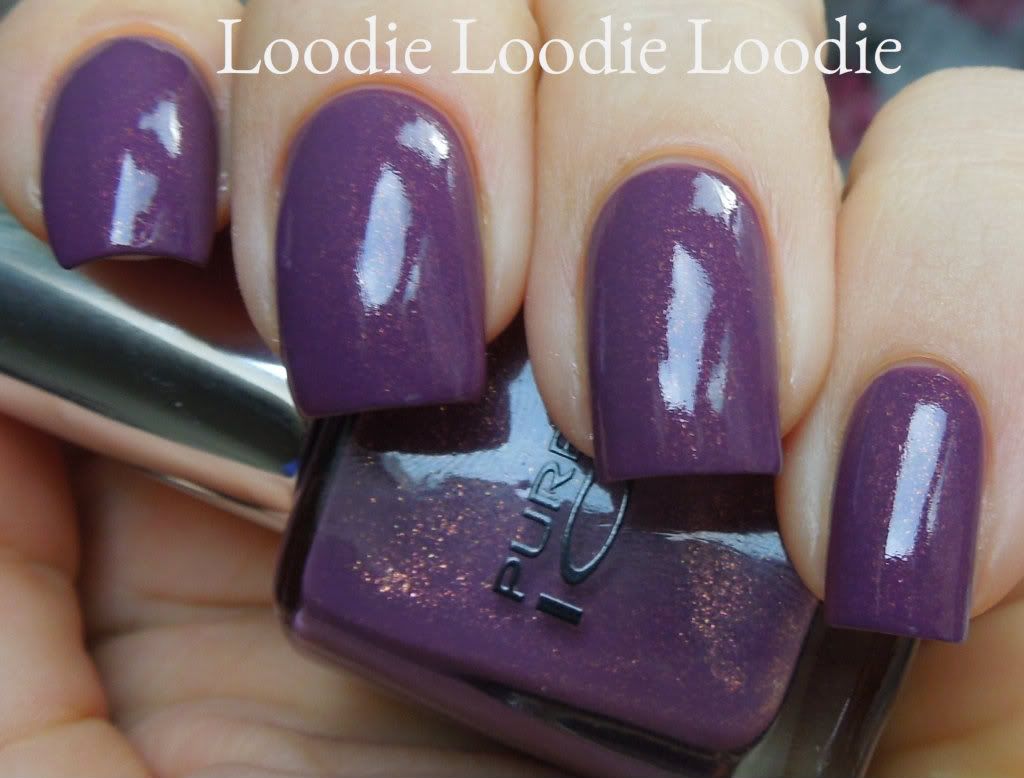
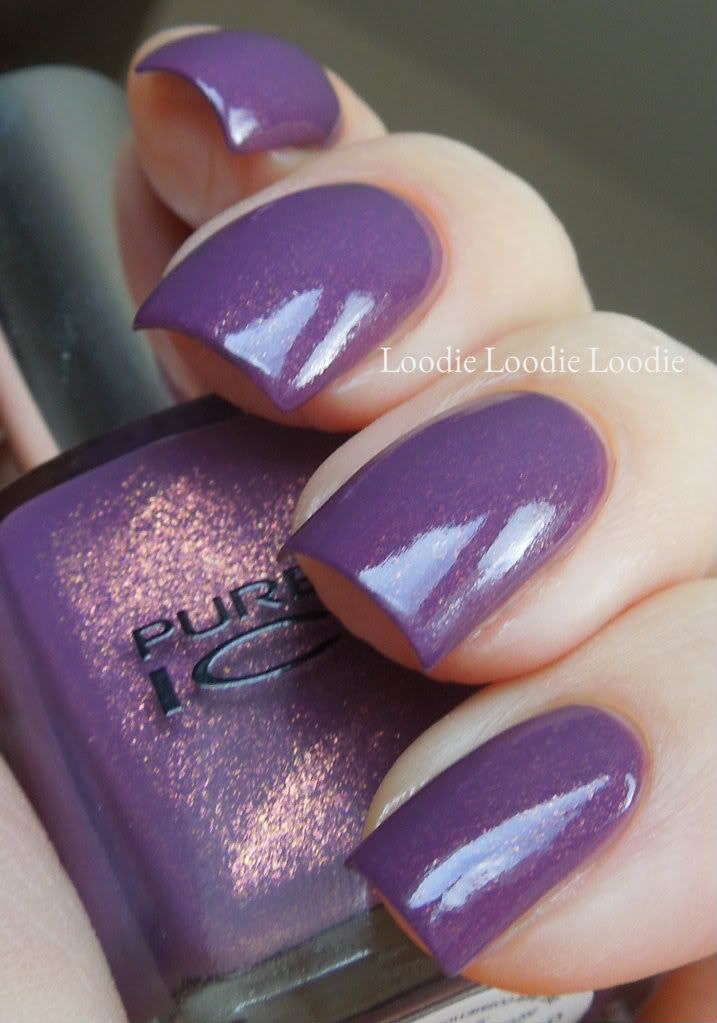
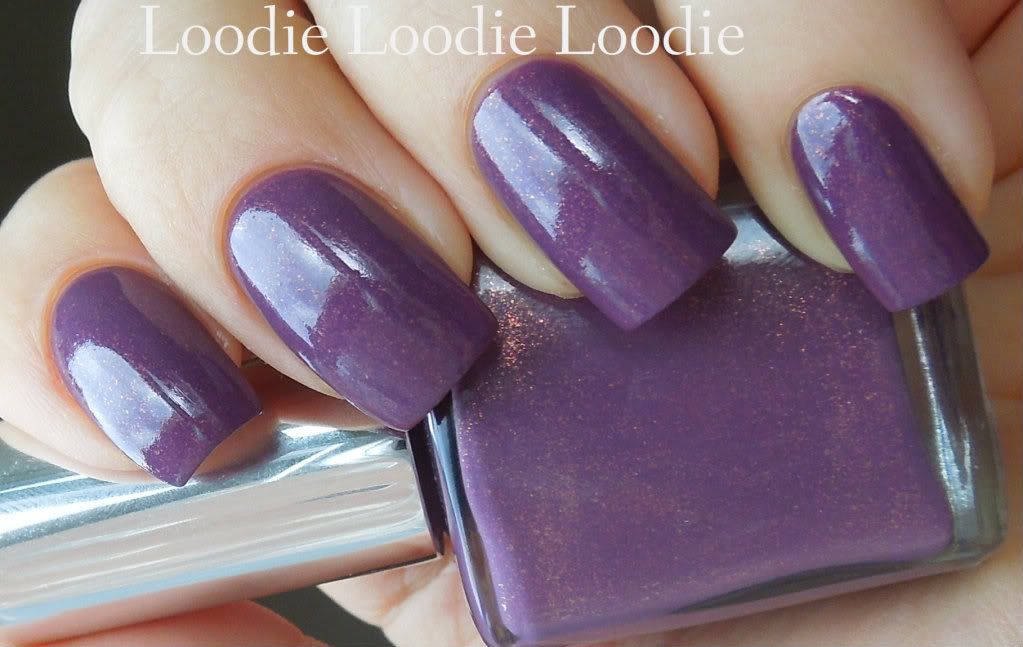
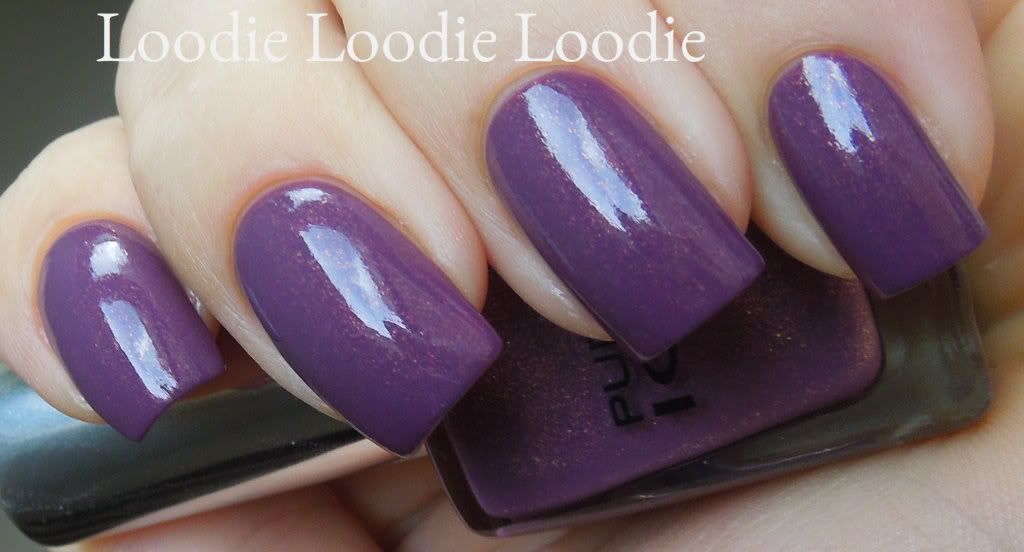
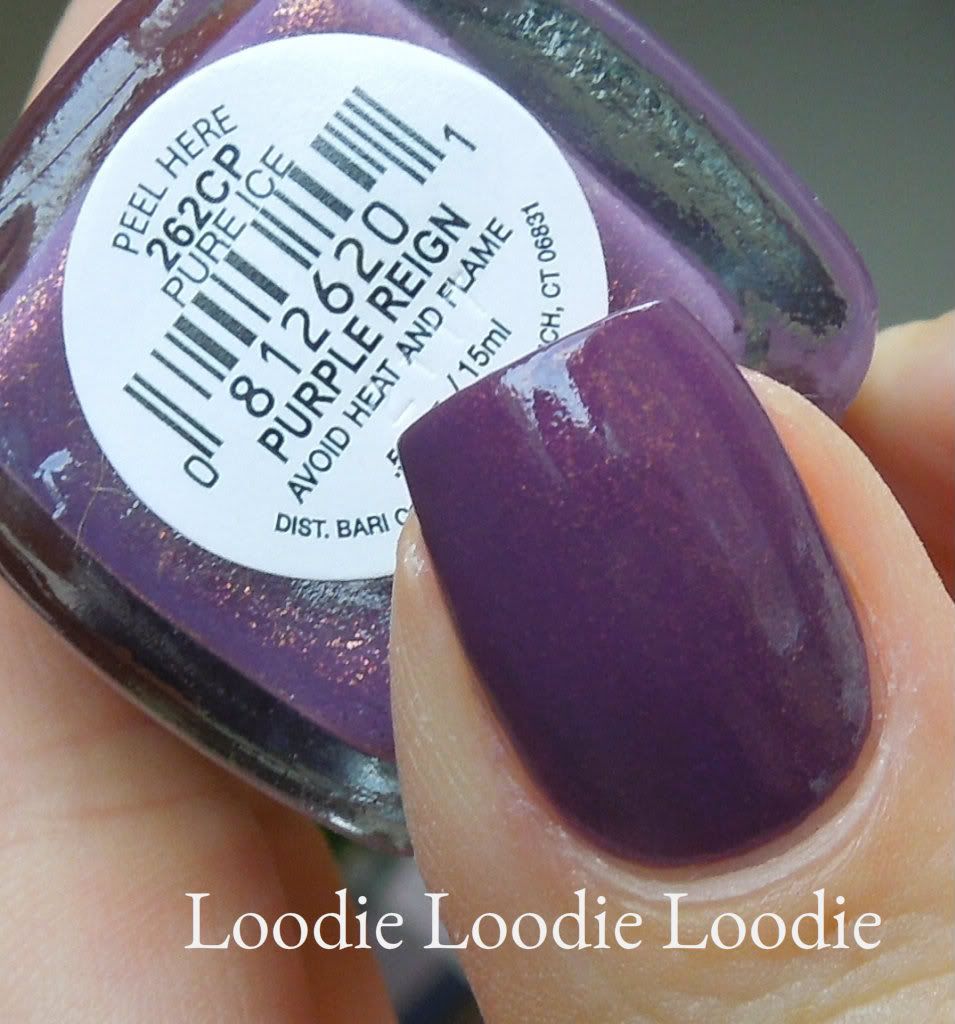
Sometimes a polish just doesn't quite pan out. It looks AMAZING in the bottle and then you put it on only to discover the sadness. The magic is still IN the bottle... stuck to the walls. The most recent victim of this tragic scenario was Pure Ice - Purple Reign.


Looks fine right? Sort of?!


But I want this magic! Why won't it translate to the nail?!


If the light hits it just right, I definitely get some sparkle, but nowhere near the magnificent display I see stuck to the bottle wall.


Don't get me wrong. It's a great polish. Actually, so great I wore it two times in a row ... well maybe that was because it chipped so easily it needed reapplication. Also, I just hadn't come to terms with the inevitable.


At the end of the day, this is one of those polishes I will pick up, stroke, and marvel at the beauty in the bottle. I will be glad I have it, but secretly hope it would do more with its life.

EDIT: OMG! Olivia went there... check out her comment below and then watch the video.

That's exactly how it will go, hahahaha.

Monday, August 20, 2012

Straight Edged

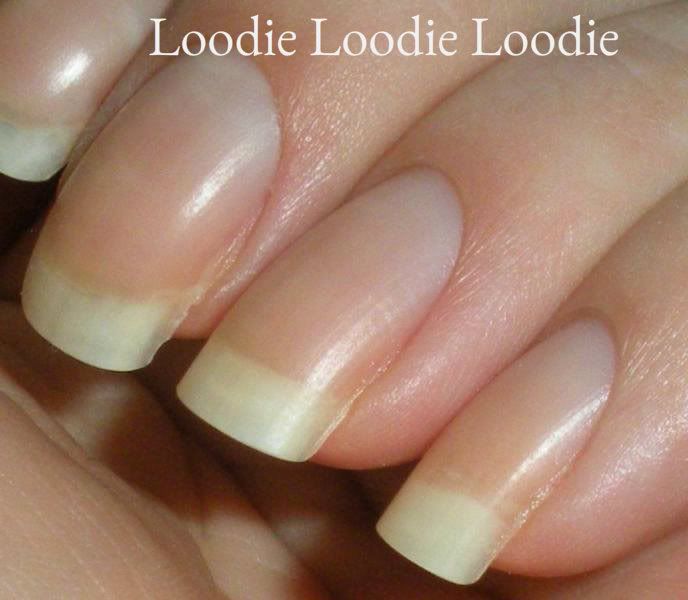
I can't say I am very straight edged, but my nails are a different story. There is nothing that bothers me more then a jagged side wall. What is that, you say?! Two examples...


middle finger


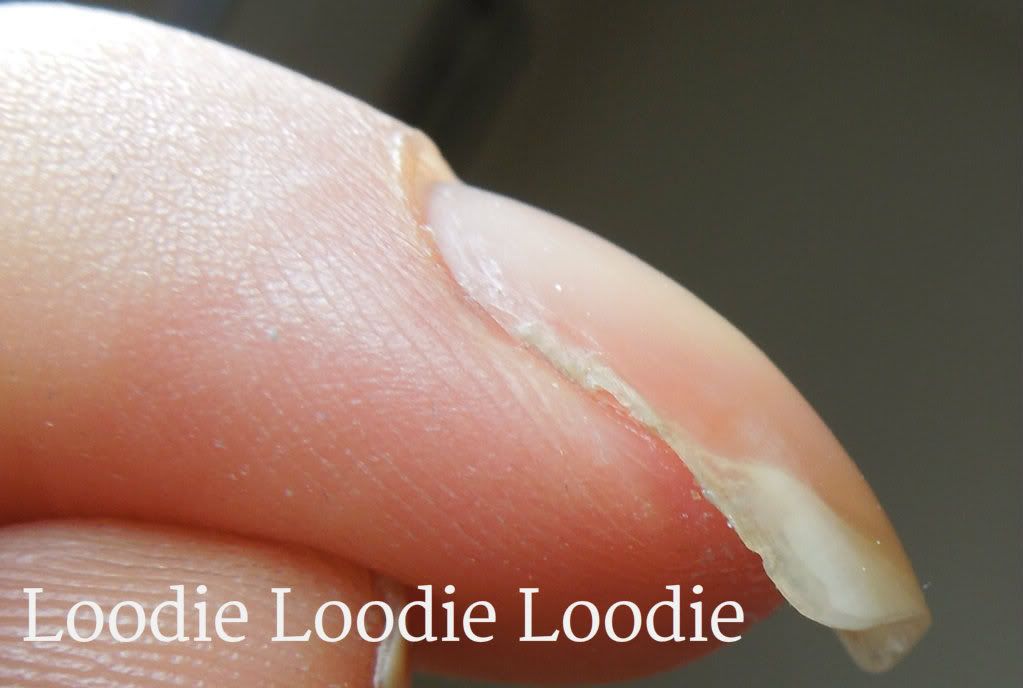
Aside from not looking very attractive, a jagged side wall (middle finger) has a weakened nail structure. I mean just think about it, missing nail pieces! Also, the sharp edges have a tendency to get caught on things. Both increase the probability of a nail tear. That does not bring me happiness. 


pointer finger


This happens a lot on my pointer fingers too.
Shark


How does all of the jaggedness come about? Recently, my fingers got caught up with a shark. Actually, for whatever reason, the nail structure is just a bit softer there; it happens sporadically.

But seriously, how awesome is the Discovery building!? I get to see this everyday!


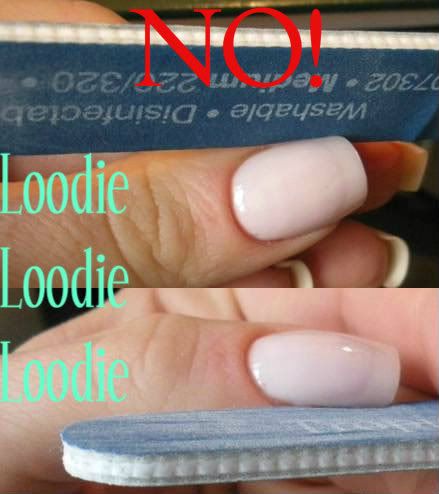
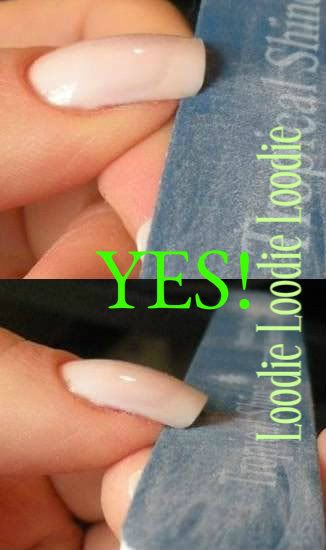
What's my solution to prevent inevitable sadness? File the side walls. WHAT?! I know, I know.  I told you never to do that. Correction! I told you to do it a certain way. See here.

To summarize:
precious side wall

To preserve nail integrity it is best to keep as much of the side wall intact as possible.


avoid filing like this

Avoid holding and filing like pictured here. This gives too much access to the entire side wall. Too much filing of the entire side wall compromises the nail structure, making the nail more likely to tear.


tear on the pointer finger


Then this might happen...
:(

In this situation my jagged edge was so far down, I couldn't even file it. I do have a solution ... nail fix here.


file the side wall like this!


This is a much safer way to file the side wall.  


So, let's see the "after" photos!
middle finger


Ahh, so smooth!


pointer finger


Catastrophe avoided!