Advantages:
1. No filing of the nail plate is required before application ... although meticulous nail prep is!
2. Most gel polishes are self leveling so no filing is required after application. The result is a more natural looking nail.
3. Gel polishes provide superior strength to traditional polish.
4. Gel polishes provide more "give" than normal gels and will not crack like nail glue fixes.
5. Gel polishes will last with polish changes if non-acetone remover is used or if contact with acetone is brief. However, if you prefer to change polish everyday, this technique may not be for you.
Disadvantages:
1. There may be a small learning curve and definitely necessary "equipment", but nothing too extravagant and definitely well worth it.
2. If you prefer to change polish everyday, this technique may not be for you since the extra exposure to removers will affect product longevity.
So what do we need and what do we do?
The goodies:
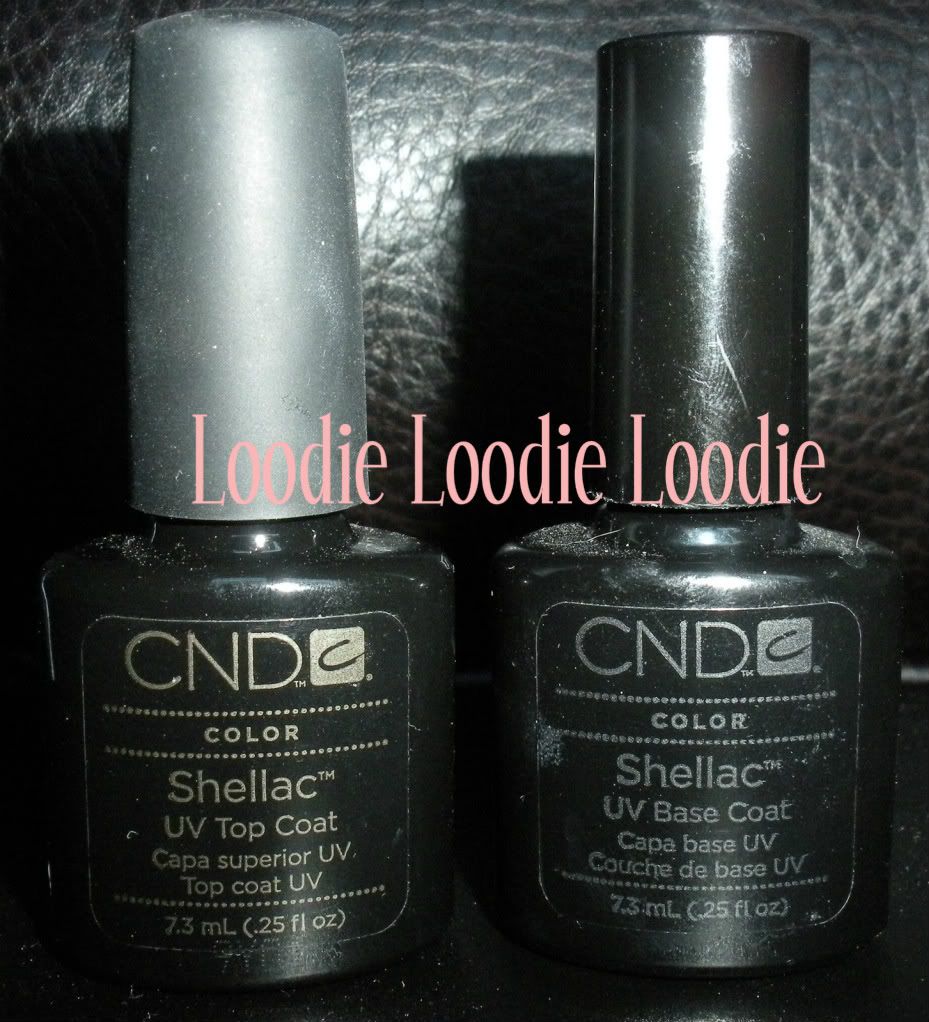
1. A gel polish. For this example I am showing CND's Shellac. I think it is by far the most well know out there at the moment. However, CND was not the first to come out with this fantastic type of product, but their marketing was extraordinary and that's why it's much more well known to non-nail fanatics as well. All you really need is either a base or a top or both. Actually, a light color like Negligee will also work. Using the base however will make the mani last. Other companies have just a base. I have a soak of gel polish "base" by a company called Nouveau Nail and its just as fabulous. Many gel polishes come in a bottle with a brush (like normal polish) while others come in a pot and you will have to provide the brush. I prefer the former because it's much more intuitive to work with, but in general applying these products is as easy as painting your nails ... period.
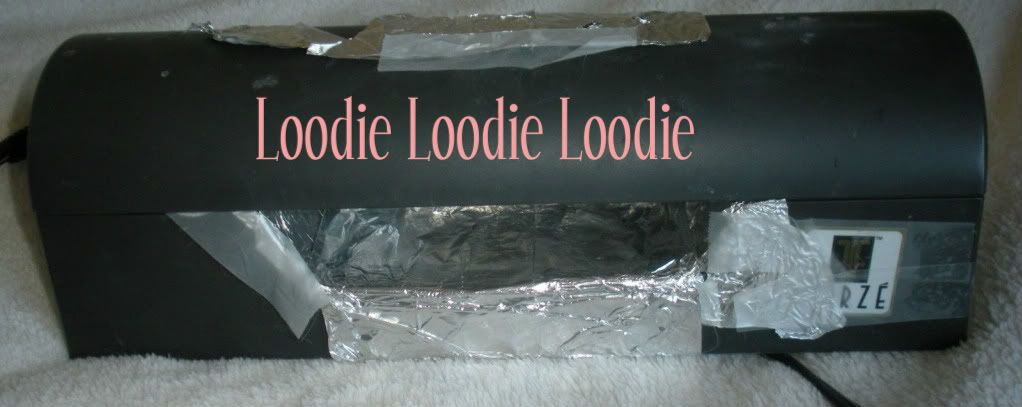
2. UV light. This is a very crapparoo lamp that I have had since 2003, but hey it works. I got this lamp free with a gel system I bought back in the day. It was a pretty nice gel and currently collecting dust in the closet. In general, most companies want you to use a specific lamp made especially for their soak off gel because it has the correct wattage and light intensity to cure their product properly in x amount of minutes, but ya know what, no thanks. They are expensive and I will keep in mind that their product may not work 100% without it. The main concern is that the product may not cure properly. As an example, CND's specific light for Shellac has a higher wattage and light intensity and as you can see from the picture I finagled my old light with tin foil for more intense reflection and I tried to decrease the surface area the light had to travel. Ewww, I know .... it looks ....
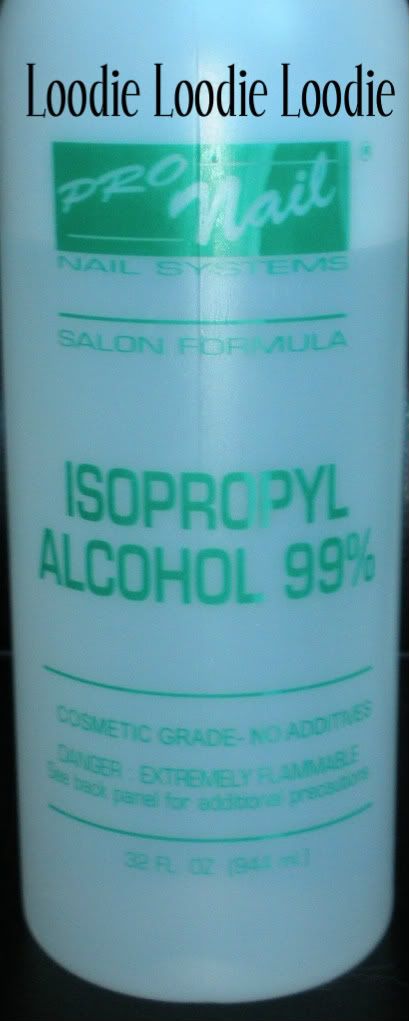
3. 99% isopropyl alcohol. 70% (rubbing alcohol) will not work as well to remove the inhibition layer at the very end of this process, so find the good stuff.
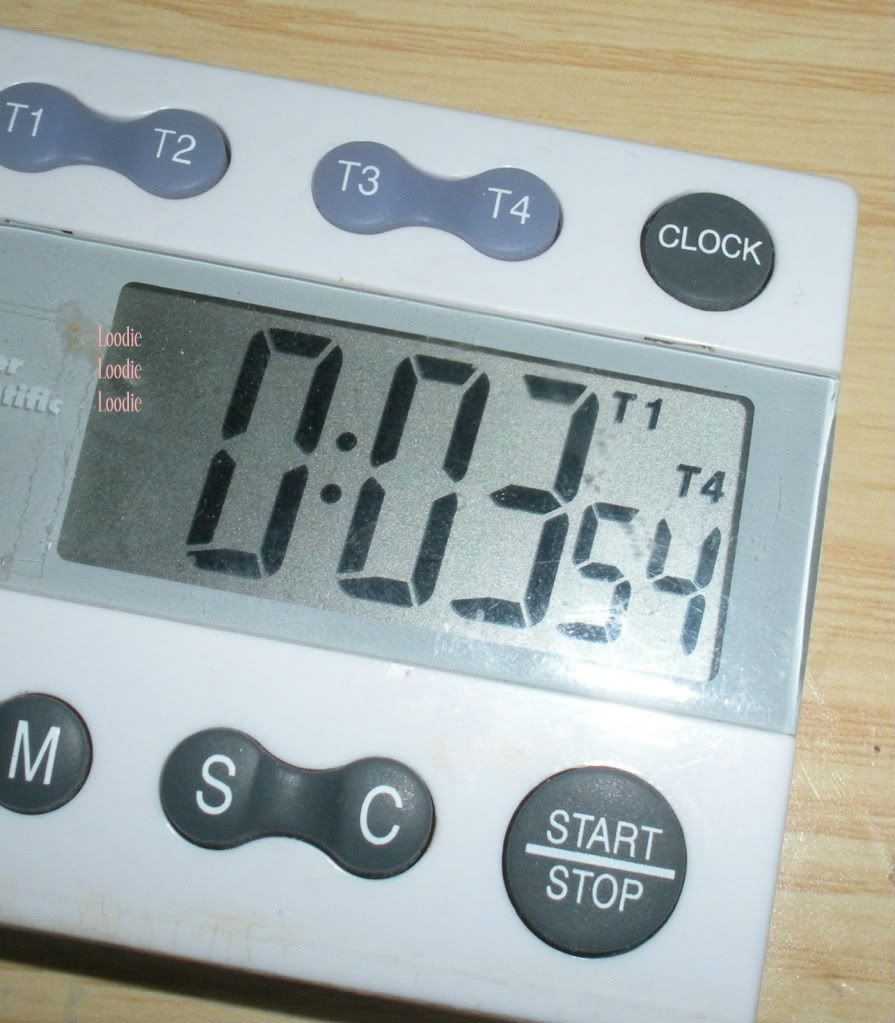
4. Timer!
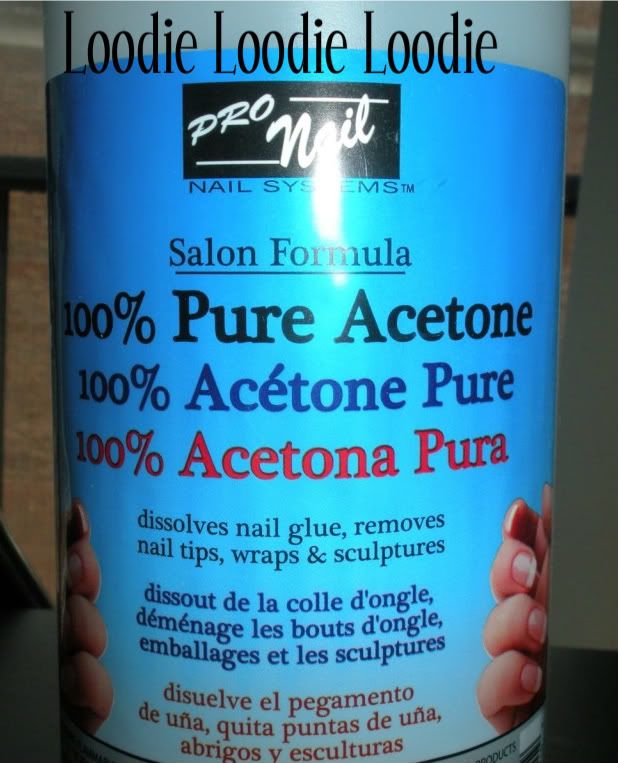
5. 100% Acetone
Stick to 100% acetone, other additives might inhibit proper adhesion of the gel polish.

6. A nail to be fixed. First a little explanation. When my husband saw this pic he said "ewww, whats wrong with your nail." First, I almost cried, then wanted to punch him in the gut. Alas, karma stepped in and a millisecond after that statement he dropped the remote on his foot. Ha ha!. Okay, but really there is nothing wrong with my nail per say. My nail has always been somewhat see through at the side there (on both pointers), but as such it's a little weak there. If you look carefully (click on the pic) you will see there is actually a small tear. Now the fixing this nail needs is almost non-existent, but I really wanted to share this tutorial.
Here is Part II of the Nail Fix Series: Shellac Nail Prep and Application
Would you like to see these posts in VIDEO?! Click here.
Haha carma is a bitch sometimes. Thanks for a very nice post :D
ReplyDeletecool post! this looks cool but tedious.
ReplyDeleteThanks! :)
ReplyDeleteI agree it's tedious in terms of work and money, but definitely worth my time. If you have all the stuff then it's a 15 min fix that lasts a week or two. I'm definitely not pushing it on anyone, it's just my fav. way to fix a broken nail. :)
loodie, is this your fix for peeling nails? i ask because my mom has such awful peeling it is past the free edge... i don't know how to help her besides giving her barielle hydrating ridge filler and biotin and the proper tools...
ReplyDeleteJust come across this post. I used to suffer with incredibly peely nails. The only thing I have yet to find that works is nailtiques formula 2. Its fabulous, my nails are so so strong now.
DeleteNo, not for peels. Like traditional polish if you put on gel polish with a peel there it will lift and chip off.
ReplyDeletePeels are so difficult because their causes are so variable. Are her nail dry? She could try moisturizing more often as a start.
This came just in time! Thanks!
ReplyDeleteAfter a very traumatic experience having to file down all my nails because 5 of them had cracks in the side, I've decided that I need this. Am going to get one of those cheap, single-bulb lamps from ebay and save $200. :P In terms of gels, are there brands that are comparable to Shellac? It's so expensive. IBD costs less than half that, Harmony and EZFlow are also cheaper... Have you used any of these other ones with good results?
ReplyDelete@Kristen - yay!
ReplyDelete@Tina - There are other brands of course and I can't say I prefer one over the other. I would not hesitate to try a less expensive brand, but I do prefer the ones that are applied via a brush because that makes application a breeze. As long as you keep in mind that curing times and wear may vary when the gels are not used a system like the manufactures suggest. Otherwise, have fun with it!
I did read some where that as long as the alcohol was over 90% it would work for the Gel polish. I have yet to find 99% so I have been using 92% and it works GREAT!!!
ReplyDeleteI just tried to fix 2 tears in my nails using gelish, and it didn't work :( Now, I need to re-do both nails (as they both have gelish color on them as well) so they don't drive me to peel the polish off. Luckily, I've gotten myself out of this habit the past few months. Any troubleshooting advice? I did just a normal gelish application, so would you recommend doing just base coat and then several applications of the top it off instead of doing base coat, colors, top it off? Thanks for your help!!
ReplyDeleteGels are a whole other ballgame to polish. Nails should be lightly buffed to add adhesion. Then they need to be cleaned with acetone and if you have one a dehydrator. I would wash hands before dehydrating but after the acetone to reduce the occurrence of fuzz from cotton on your nails. When applying gels you need to be sure your basecoat is FULLY cured and doesn't touch any surrounding skin on your finger. If it does, the gels will lift. Then add two coats of color THINLY making sure to fully cure each layer and wrap the tips. Then add topcoat THINLY again. The trick with gels is the thin layers. Make sure the topcoat FULLY covers all the color on the nail but doesn't touch the skin or cuticle. If it does, they will lift. You'll know if you missed spots if when you use the alcohol to remove the inhibition layer there is color on the cotton. Wrap the tips with topcoat too. Its a learned skill! Not impossible but it takes time to get right!
Delete