How lovely would it be if all of our nails grew evenly and straight?! This is the stuff of dreams! Well, maybe second to winning the lottery. If you weren't blessed (because I sure as hell wasn't), grab your favorite gentle nail file and join me in this tutorial! I recommend either a 220-320 grit strength for strong healthy nails or a 400-600 grit strength (or high quality crystal nail file) for weak problem nails.
Here is a nail file post for reference.
I don't know about you, but my nails curve, wonk and do crazy things depending on factors such as water exposure, moisture content and whether they are polished or unpolished. I do pay special attention to filing to make them appear straight and narrow.
At this point, this filing technique is so automatic for me, it's hard to find a before picture. I would have to let my nails grow for quite a while and endure the fatness, crookedness and unevenness. And well, that is REALLY hard. The fact that I know they can look better with a few simple strokes of the file is just too much temptation to not do it all the time.
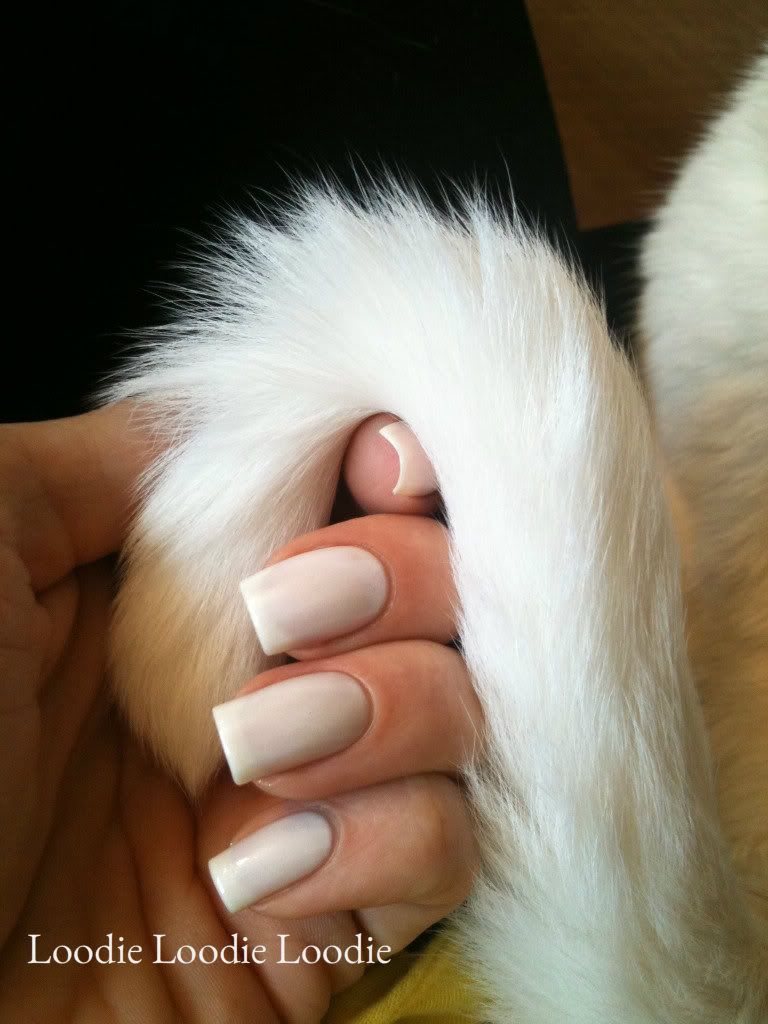
The look we are going for is very symmetrical. We are going to shoot for even nail beds, paying particular attention to the nail side wall to make it look nice and even...
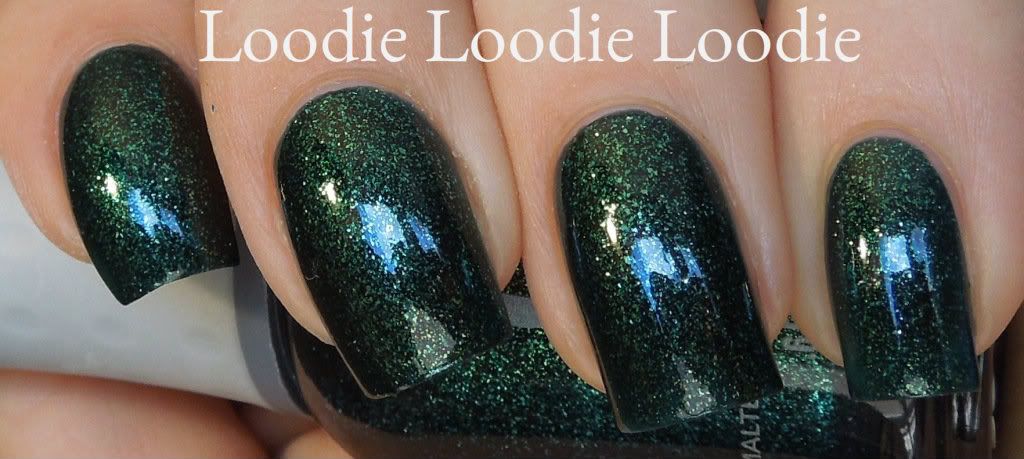
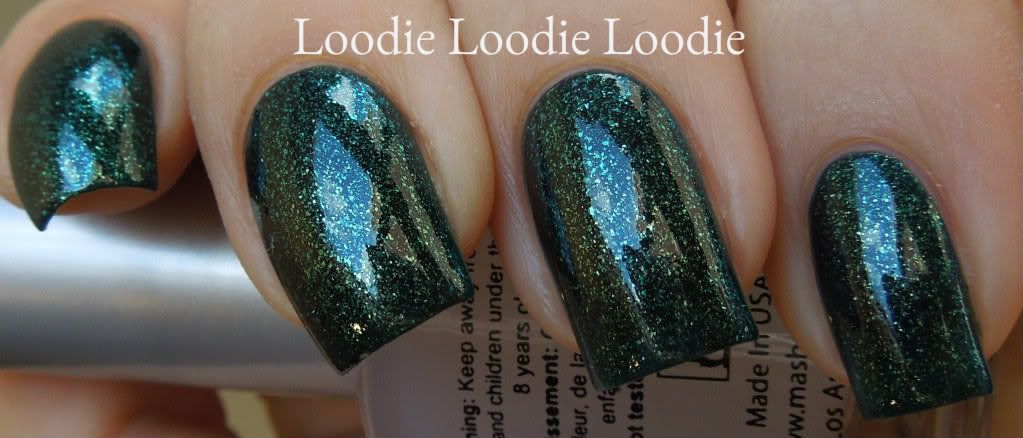
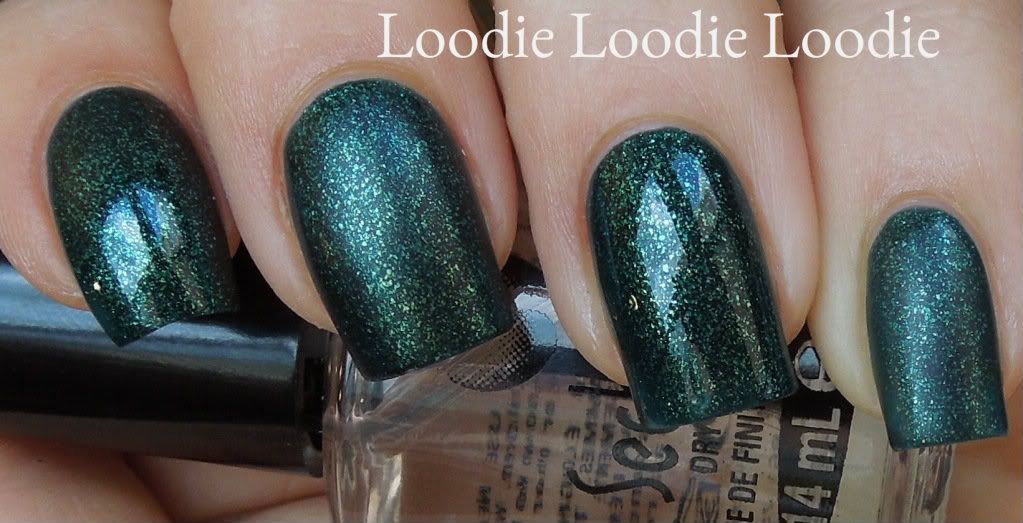
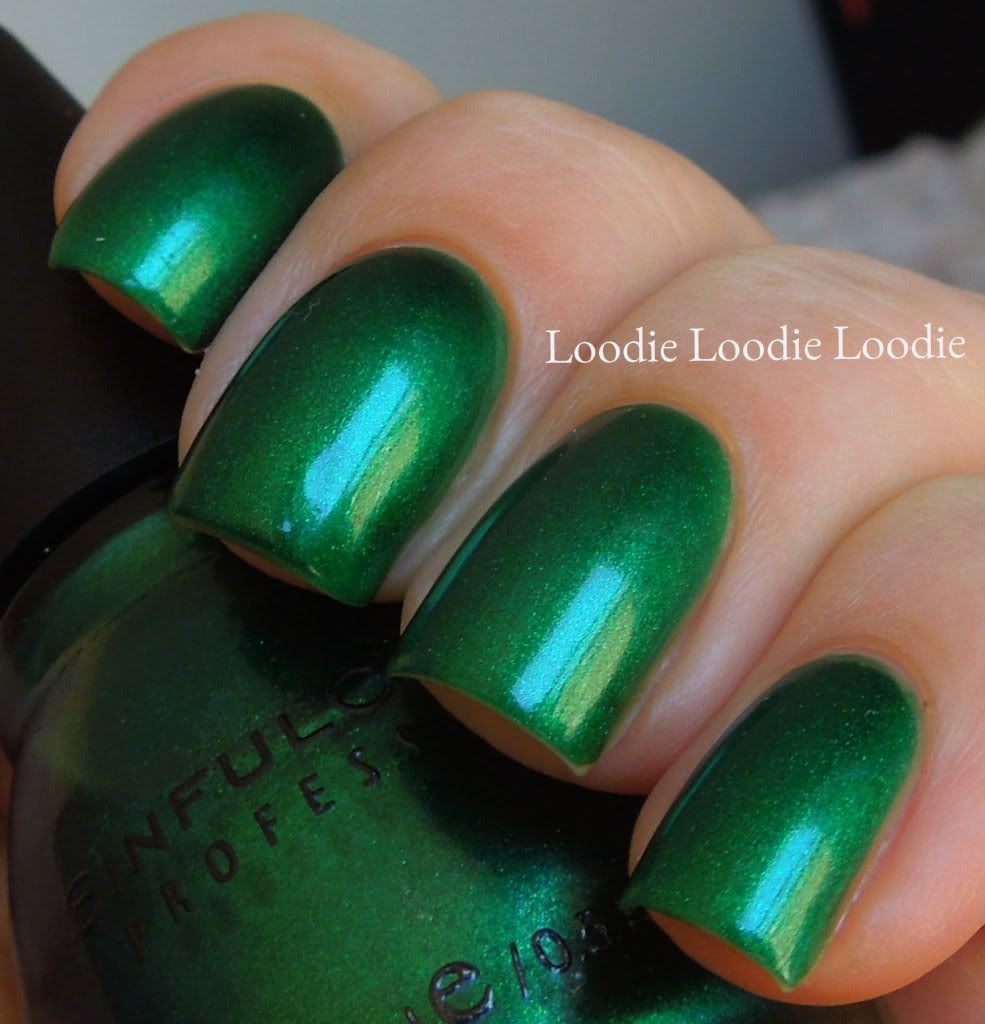
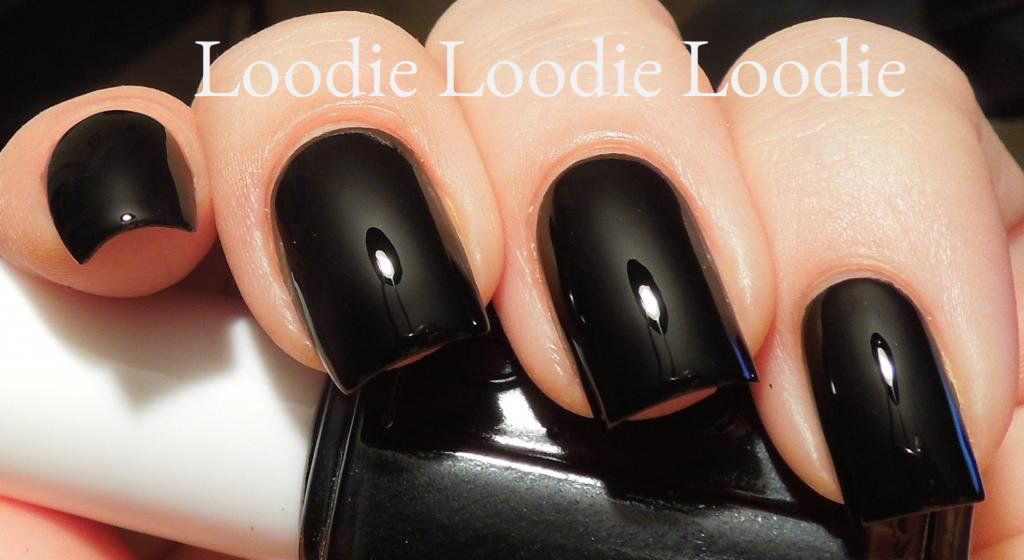 |
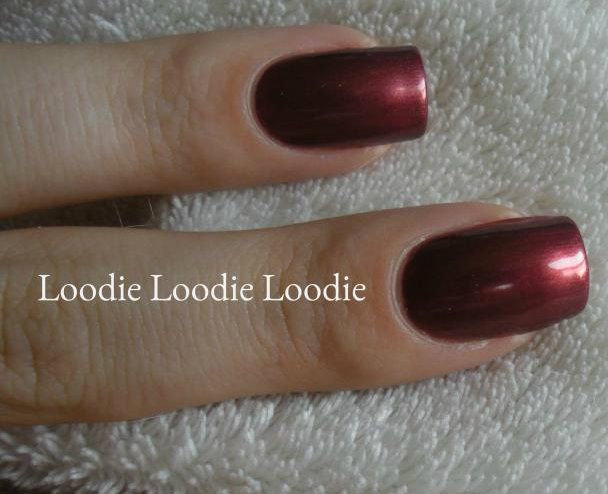
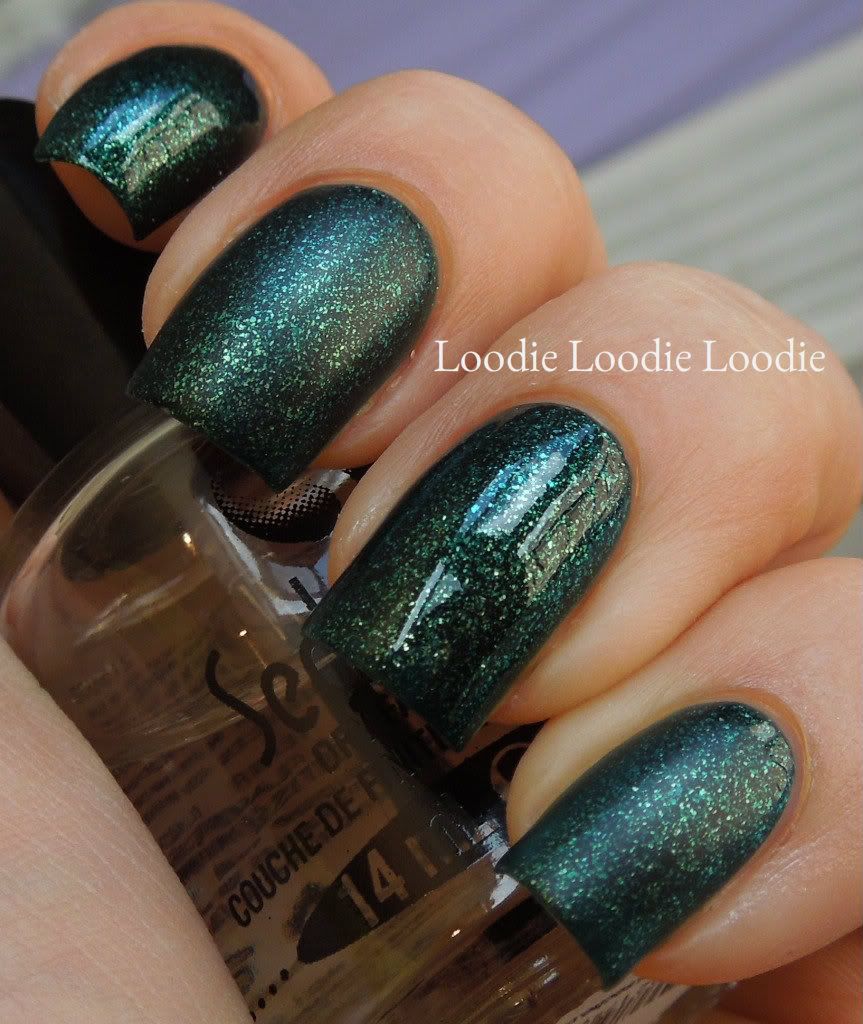
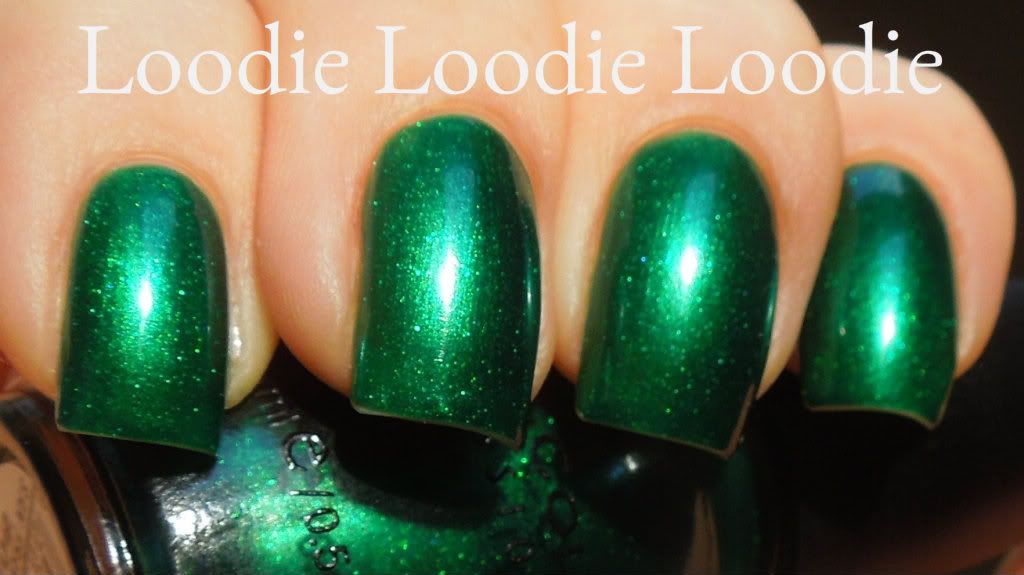
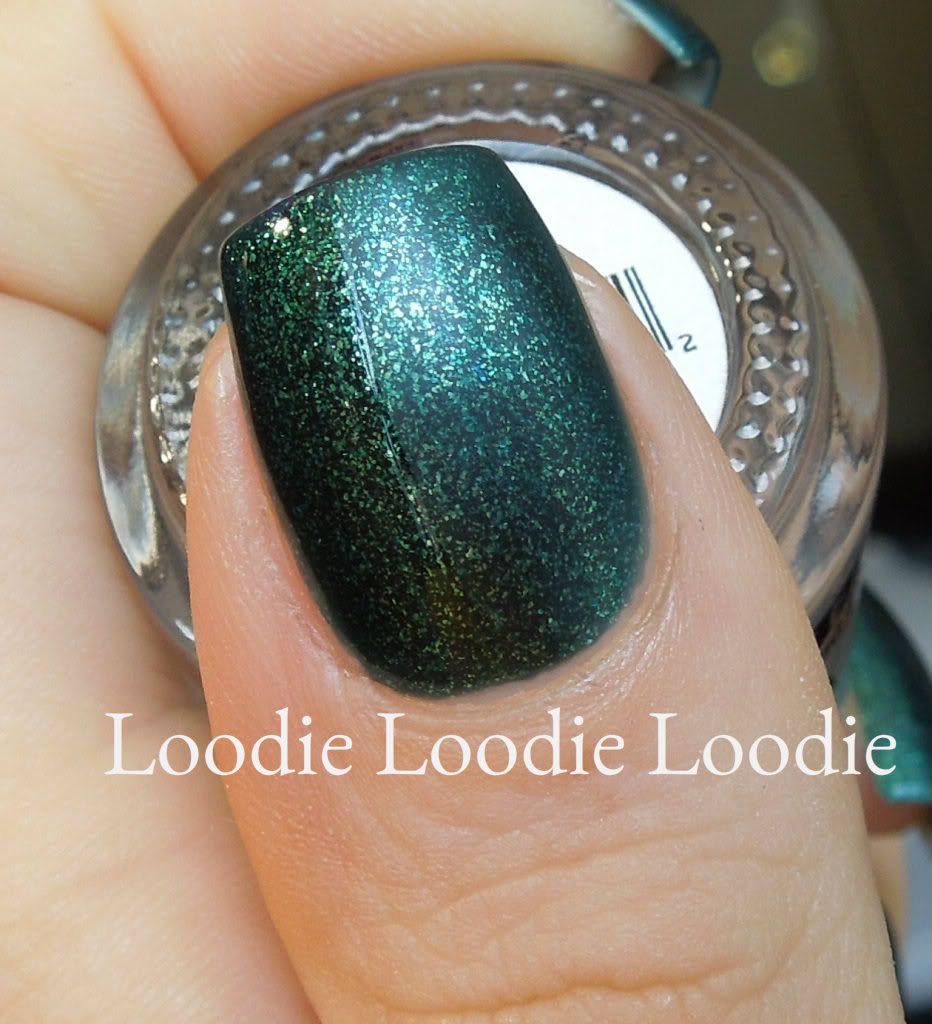
| Essie - Licorice |
There are several factors that do not allow my nails to look like this all the time naturally.
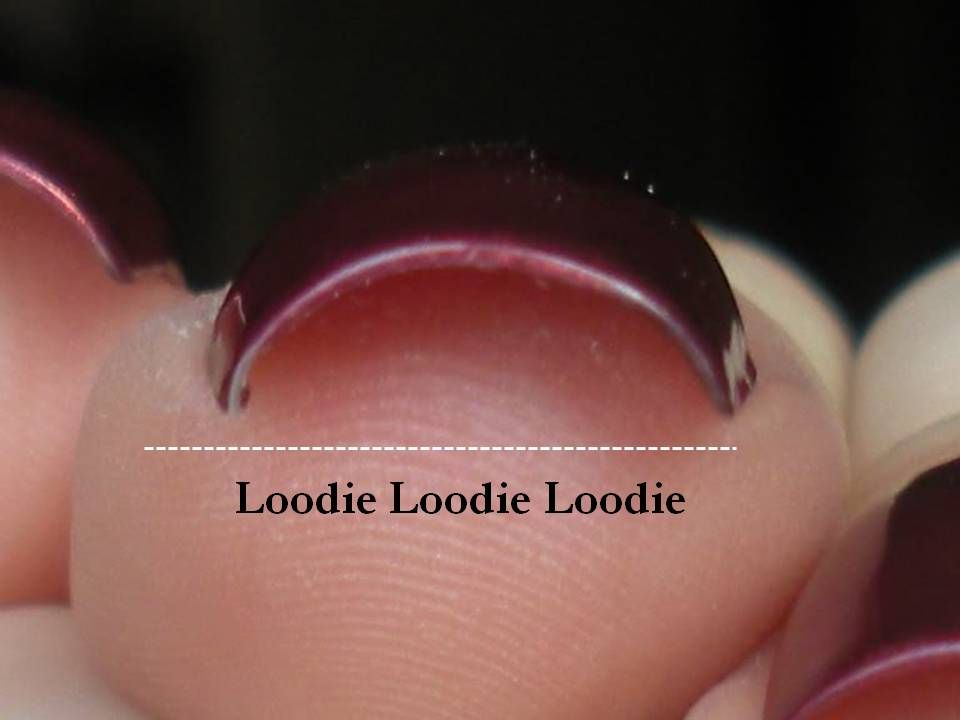
First... there is the wonk:
 |
| WONK |
I have discussed how to improve a wonky curvy nail in
this post. For me, keeping the nail hydrated and at a length below a certain point makes the wonk improve. One thing I did not mention in that post is how we can also manipulate the nail side walls with filing, to create a more even appearance.
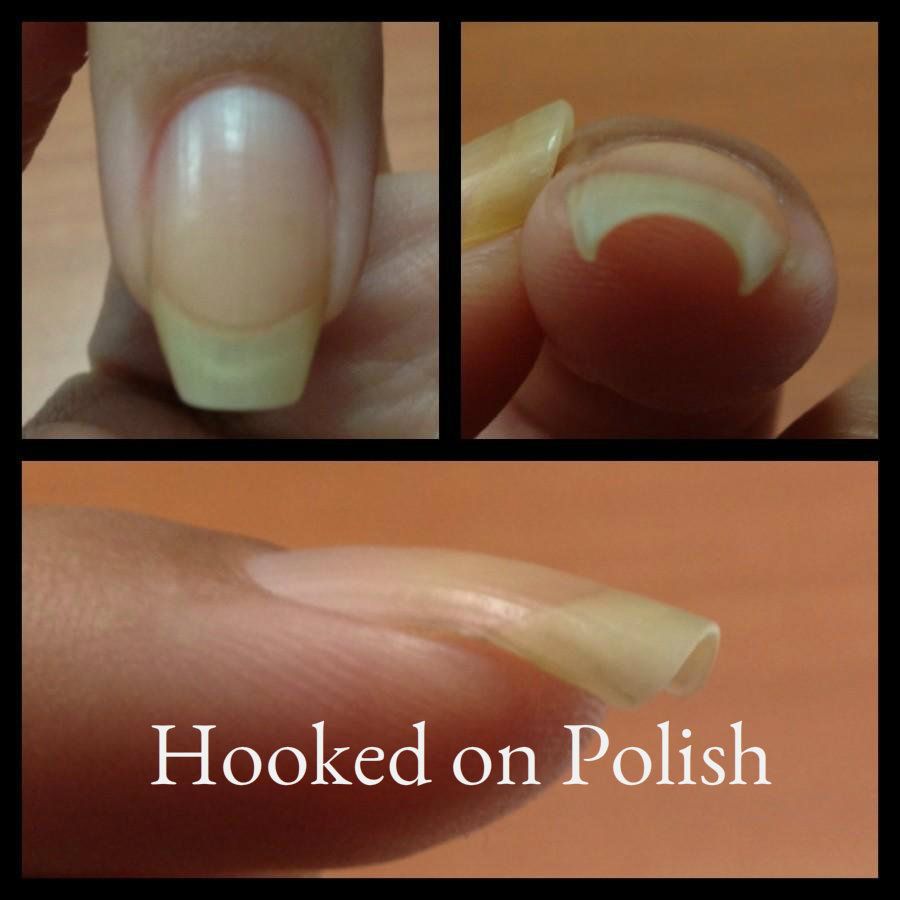
If you take a look at your nail from the side you may see this..
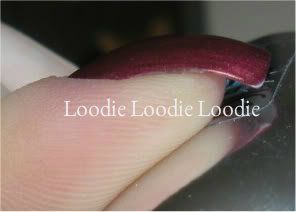 |
| click to enlarge |
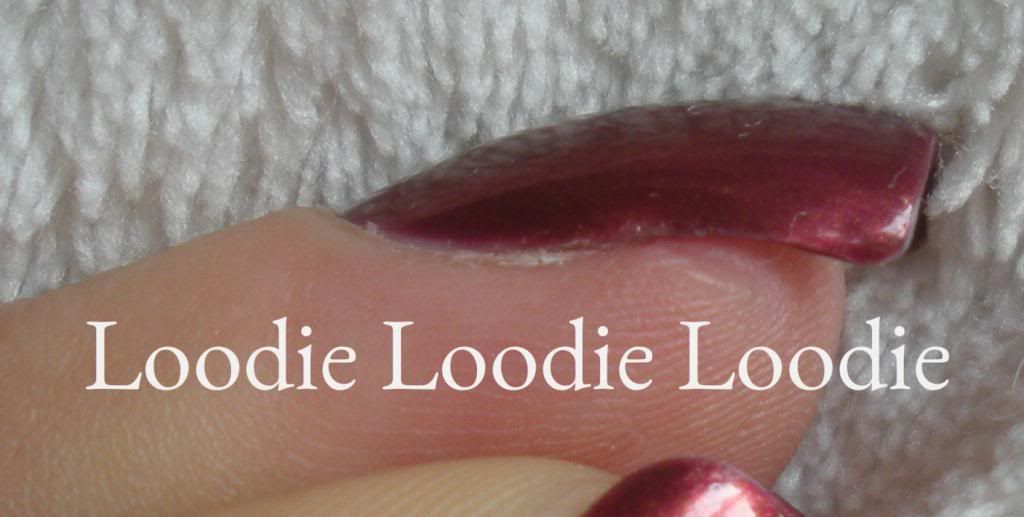 |
| click to enlarge |
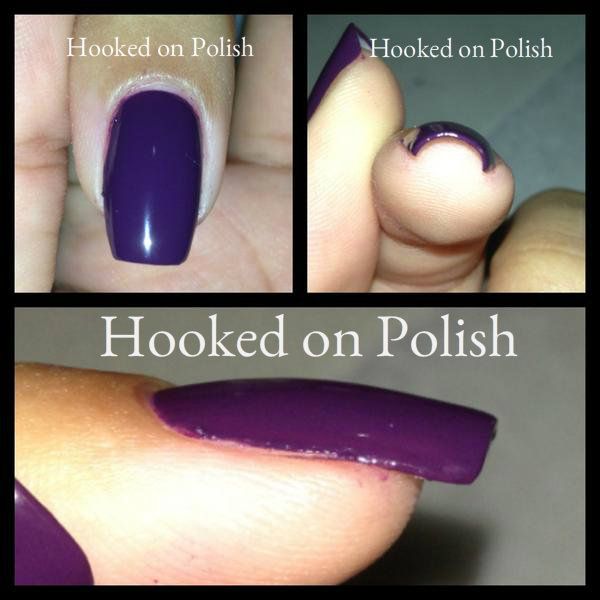
First, notice the curve. Some nails are worse than others. Second, notice the extra overhang at the tip of the nail (free edge) particularly more obvious in the second picture. I can't change that curve shape (my first concern); it is inherent, but I can play with the angles and eliminate the over hang (my second concern). If I file the nail side walls like this...
....suddenly the nail appears flatter and straighter...
I would advise being very careful while filing the nail side wall. I stressed that point in
this and
this post.
Please read those posts first before attempting... don't fret, there are pictures!
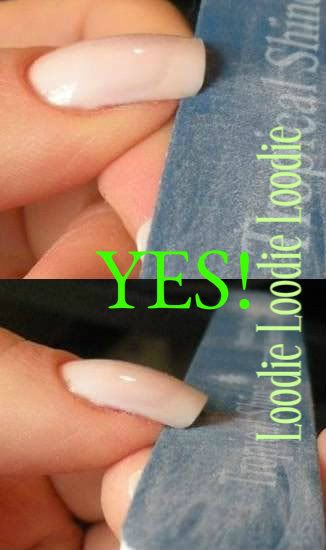
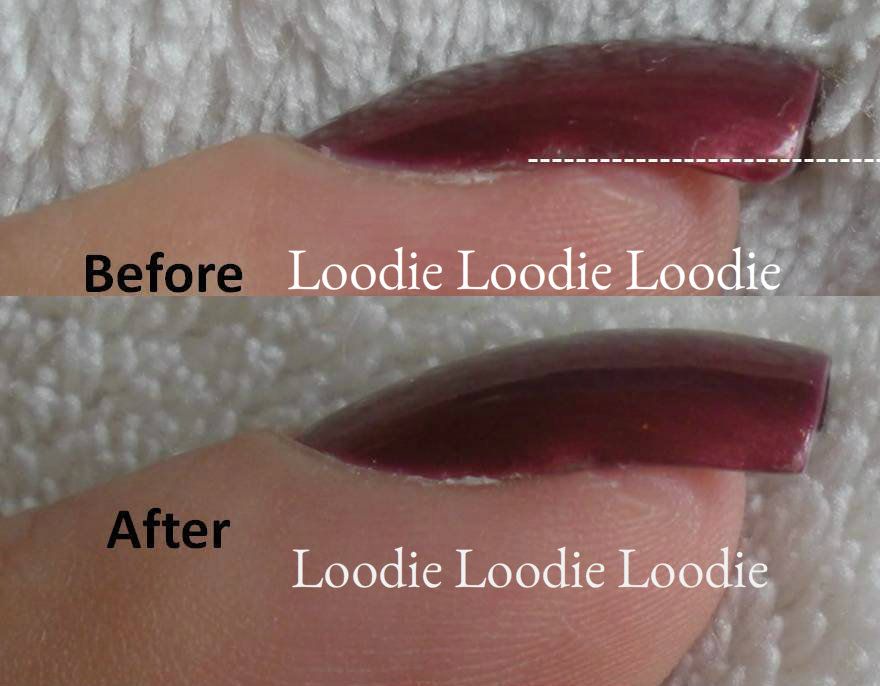
This filing technique is really the key to getting my nails straight. Now, let's look at the
c-curve of this nail.
Filing the sides (
carefully!) allows me to straighten any imperfections in the c-curve. You may notice your nail c-curve is longer, heavier or curvier on the left vs. the right. Afterwords, my left and right side is not only balanced (I've included a white line that your eye can follow), but some of the c-curve is relaxed a bit. See if you can release/relax your c-curve by filing the sides off a bit. I think this helps trim off some of the weight. Your nail may appear more narrow.
A few small strokes of the nail file allows you to create a much straighter balanced nail. Using a gentle file and the correct technique, I strongly encourage you to play around with your nails to see what kind of shape and balance you can create.
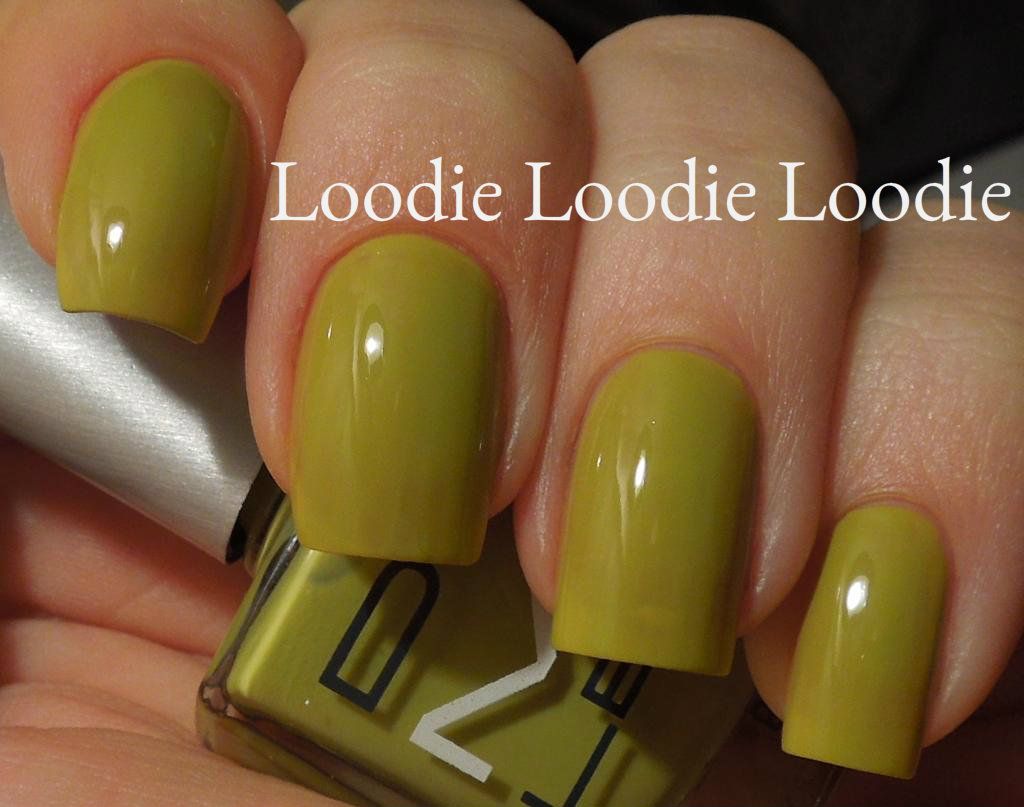
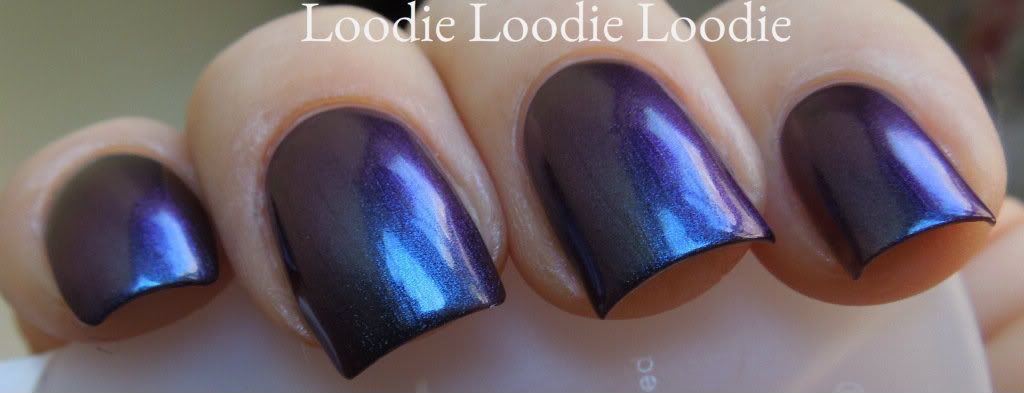
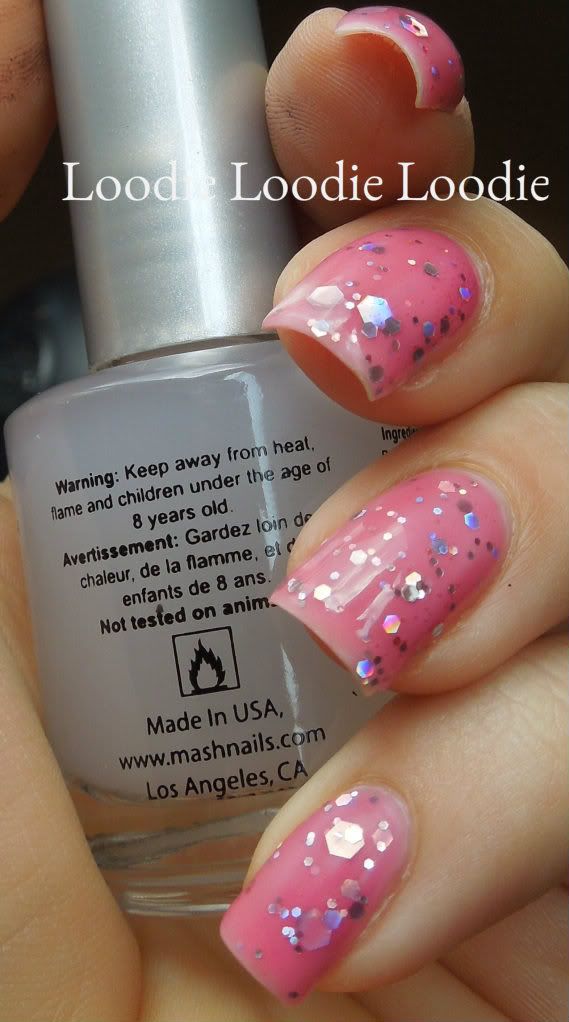
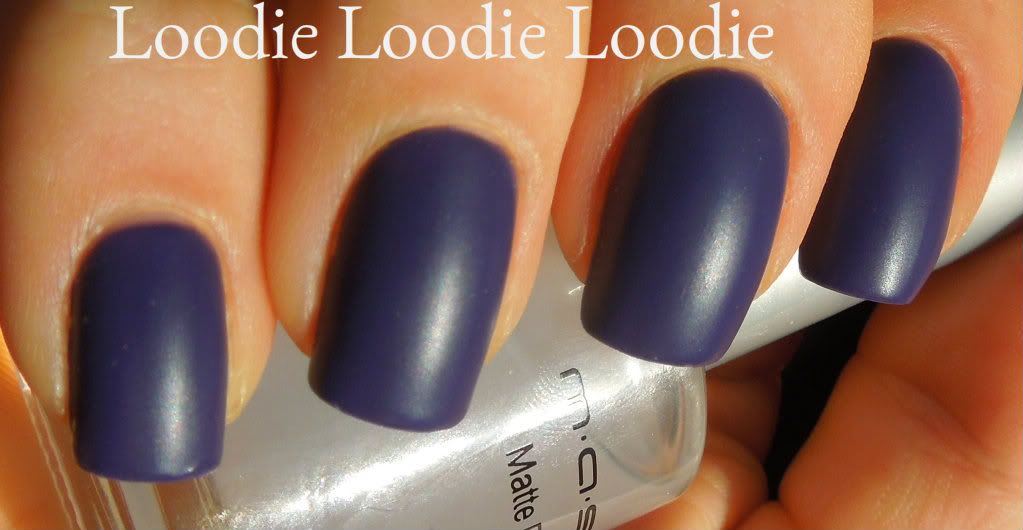
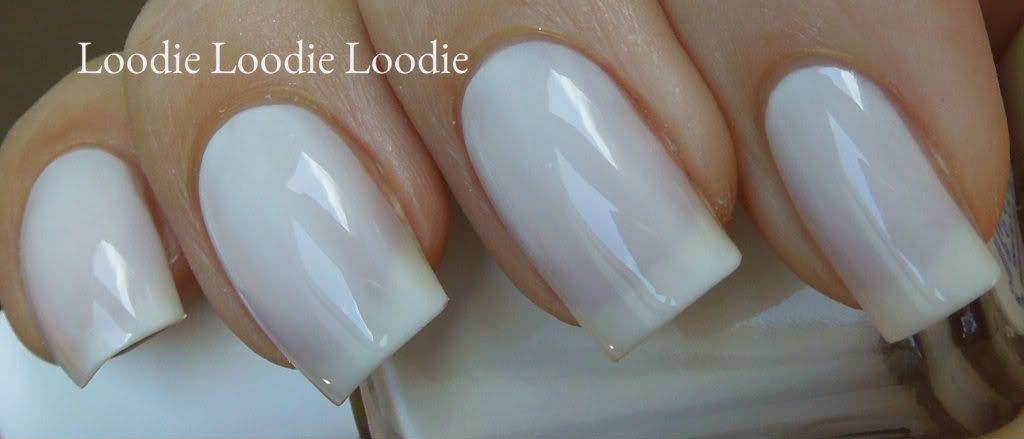
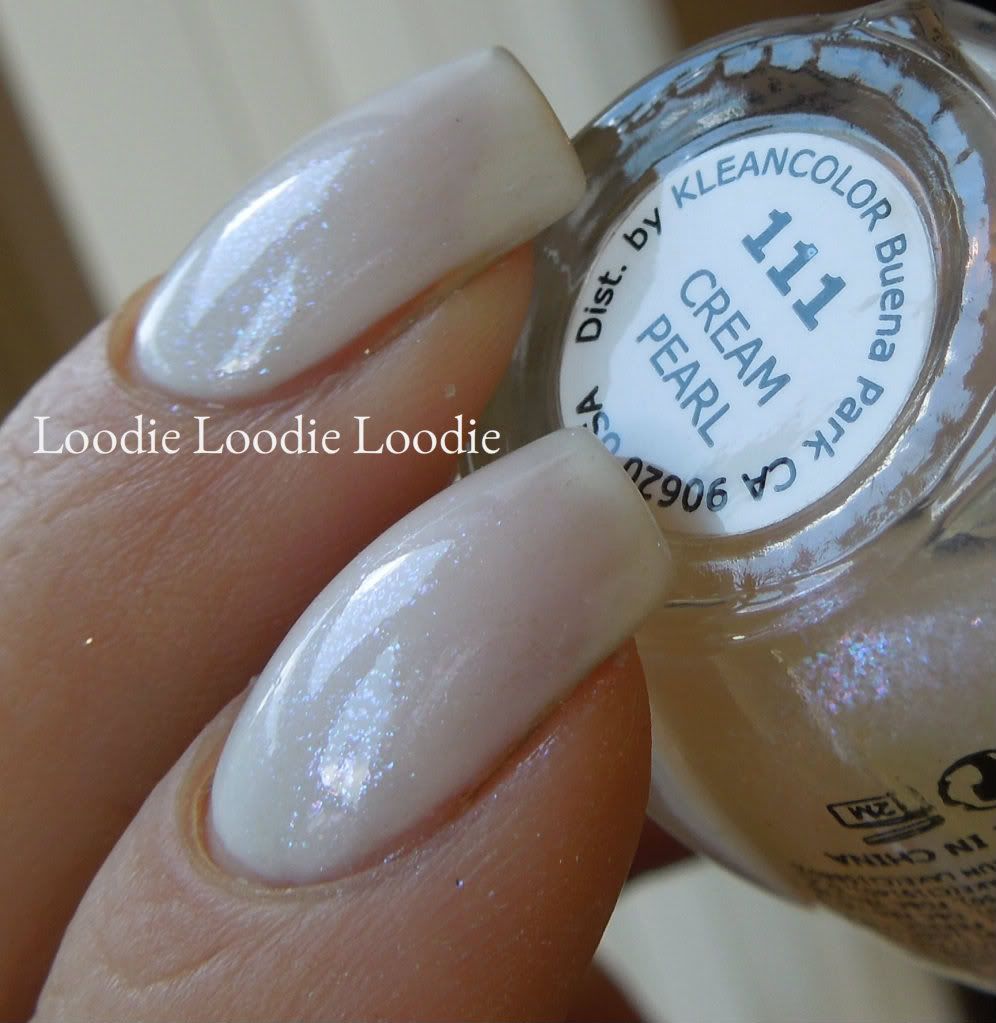
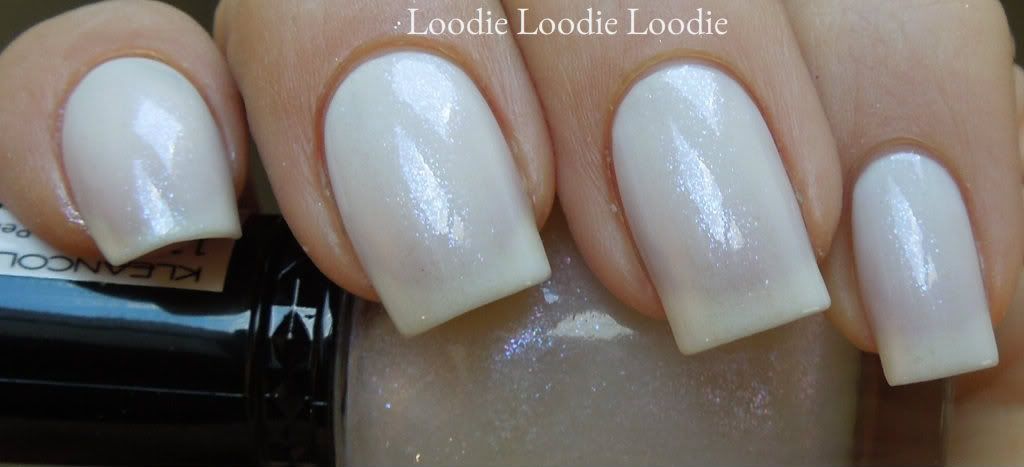
And now for one of my favorite sexy polishes shown above....
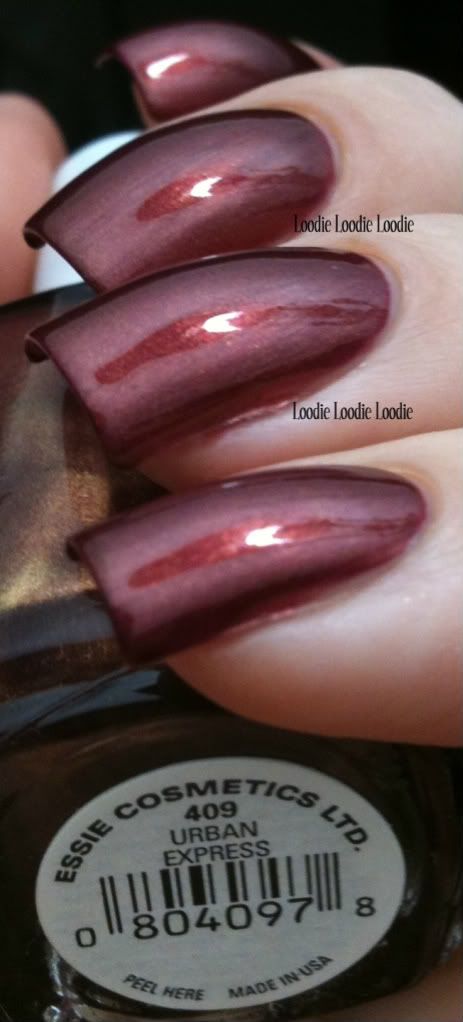 |
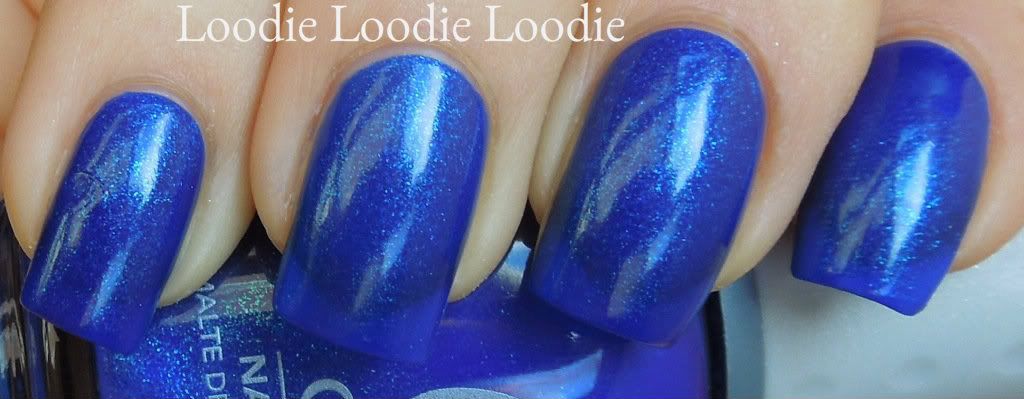
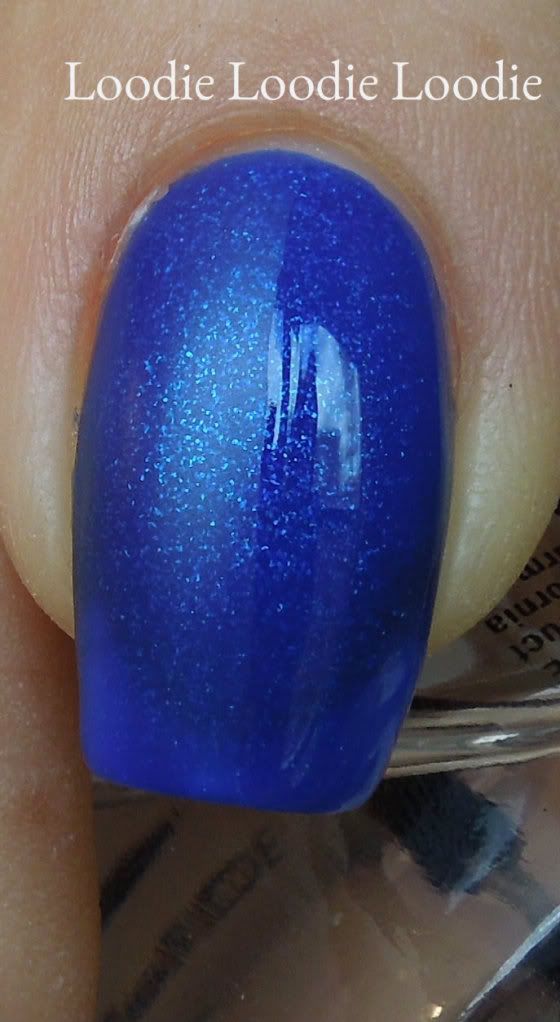
| Essie - Urban Express |
*DEAD*


