I am going to start a new series now that I have finally finished the hardener/treatment series.
This new series, as the title implies, will be about how to make polish last in terms of wear. The big caveat to this series is that everyone is different and has their own nail issues. That combined with different polish formulas can be a crap shoot in terms of nail polish wear. Furthermore, the way you treat your nails before polish application and during the mani all helps to contribute to the wear and tear of the mani. So, I can give you a few general tips, but finding the right base, color, top combo will be your job :) Aside from that, these are my opinions and experiences and may differ from yours, what ev's, let's all learn from each other. As always feel free to comment, judge, be constructive, etc so that we can have mani's that last ... at least when we want them to.
On to the meat of this post ... EYE CANDY at the bottom ;)
First a few general points:
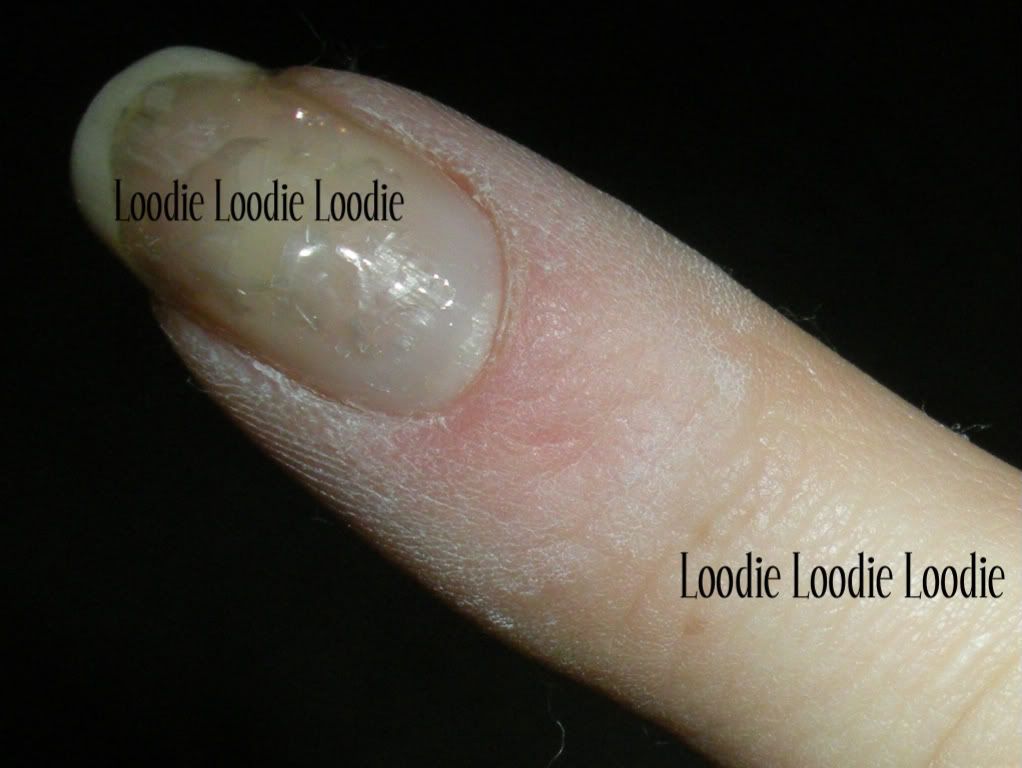
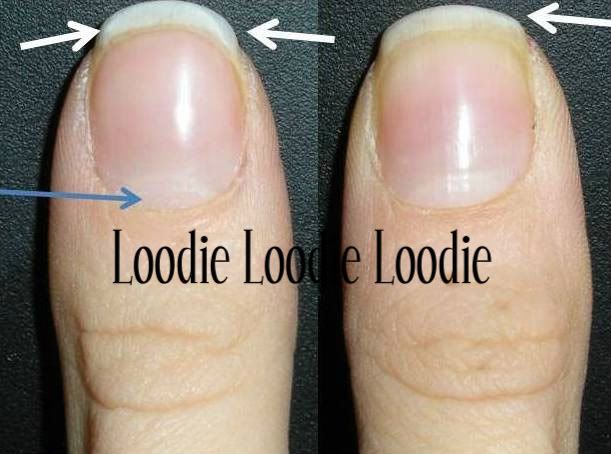
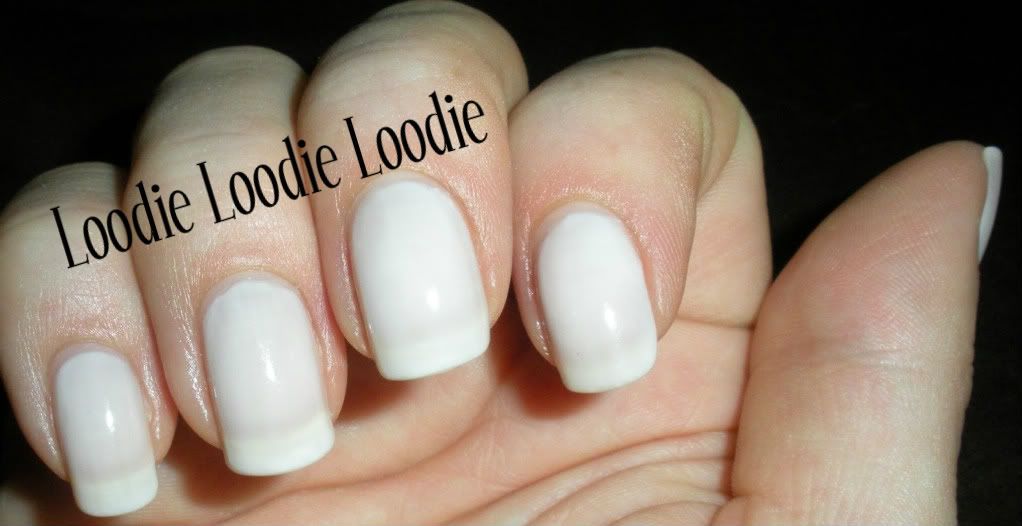
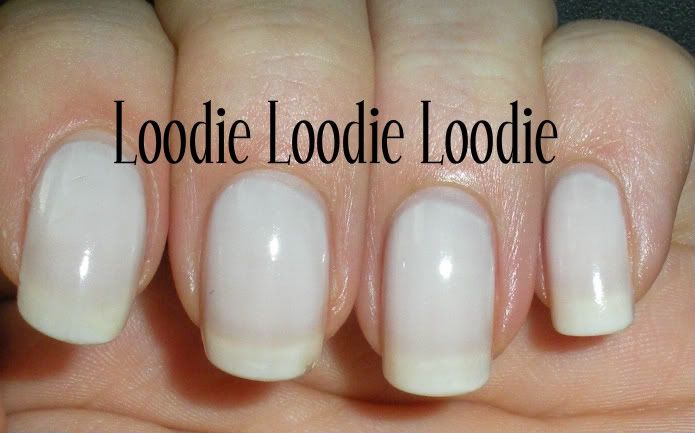
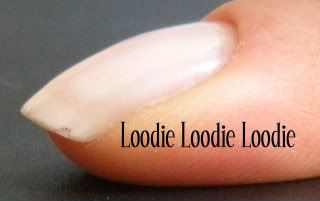
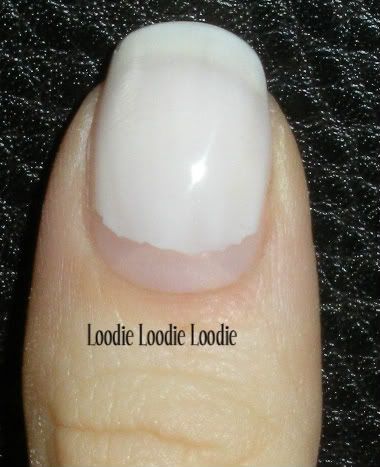
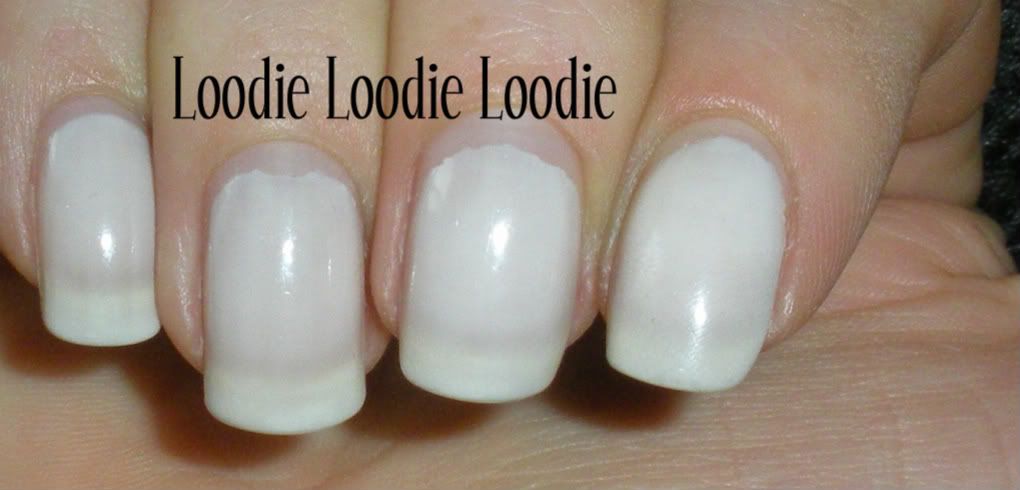
1. Nail polish adheres best to healthy nails. This means if there is some damage on the nail plate (i.e. peeling, flaking, cracks, true cuticle, prior buffed spots etc.) the polish will most likely chip, peel, or whatever, there first. Proof of this can be found in the following posts, Sally Hansen - Sweet Tulip and Buffing out a peel.
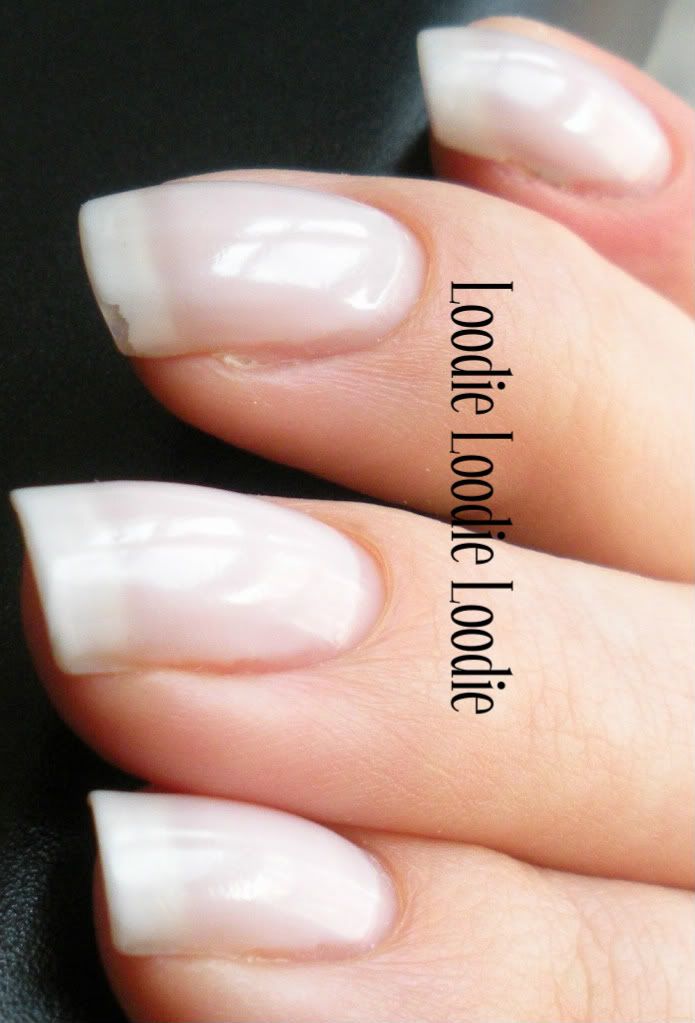
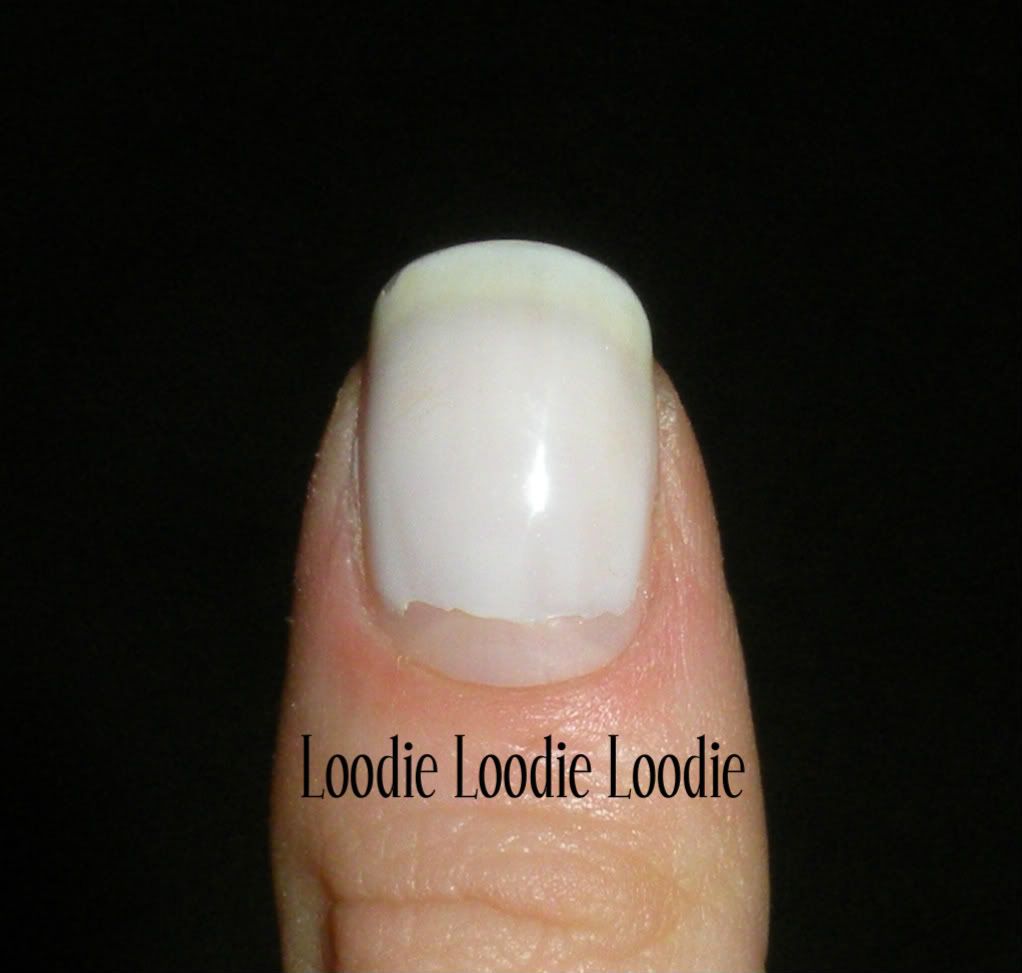
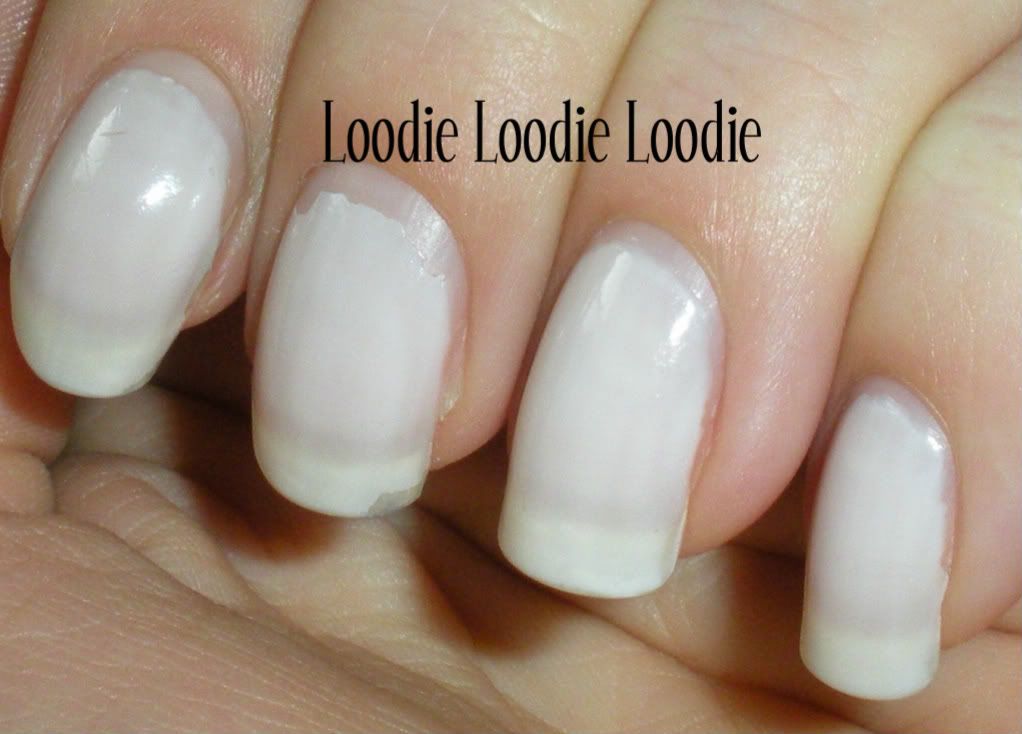
2. If you have a peel you can either ignore it and have your polish lift there earlier than anywhere else or take care of it. How you ask? There are two options. I am sure different people have their own nail fixes, but for peeling these are mine:
a.) file down the nail past the peel.
OR
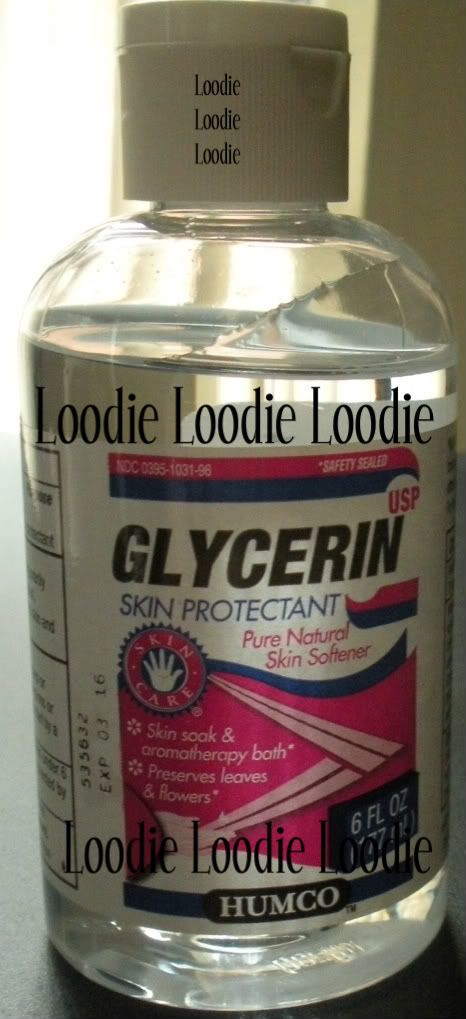
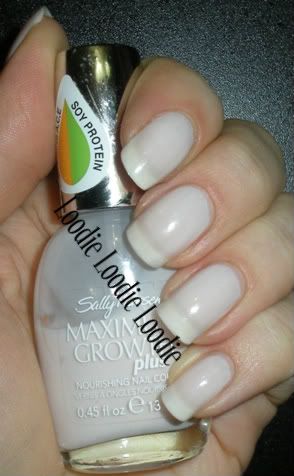
b.) buff that baby out! *NOTE: Occasional peeling occurs and you can buff it out as a quick fix; however, consistent peeling is a sign of either improper nail and cuticle hydration or incorrect treatments. Buffing these peels on a regular basis will not improve nail health and can cause weak nails. Ultimately you must find what is causing the peeling and treat it accordingly. I have a few important posts dealing with this subject. The nail treatments/hardeners series can be found here. Please don't forget to moisturize often during the day and read through these posts:
I - Moisturize your nails please ; an alternative here.
II - Moisturizing nail polish remover post and video
III - Example of products, methods with Video
3. The more physical work you do the more stress you put on your nails and polish. Ideally, we would all sit with our feet up and hands untouched, but for most of us that's not really an option. Therefore, when you are doing certain tasks (i.e. going to open a door or drawer, turning on lights, etc.) approach them gracefully, keeping in mind that jabbing your hand in places could
a.) ruin polish
b.) break nails.
As redonkulous as it sounds, you could pretend like your nail polish is still somewhat wet and proceed with tasks as such. Obviously this is a bit extreme, but hey obsessions are just that.
House work is best done in rubber gloves, or pushed off onto a significant other. The chemicals and the labor are hard on your nails. If your hands must be in water for long periods of times without rubber gloves, try to moisturize ASAP.
4. Do not use your nails as tools. Not only can this chip polish, but also promote nail peeling.
With that out of the way, we can proceed to step 1:
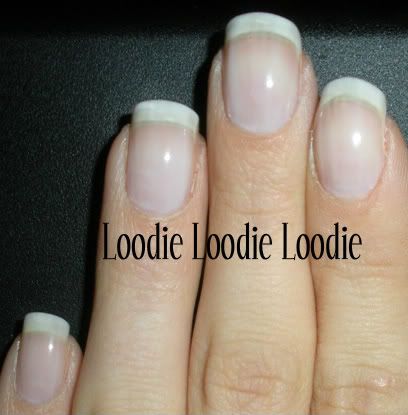
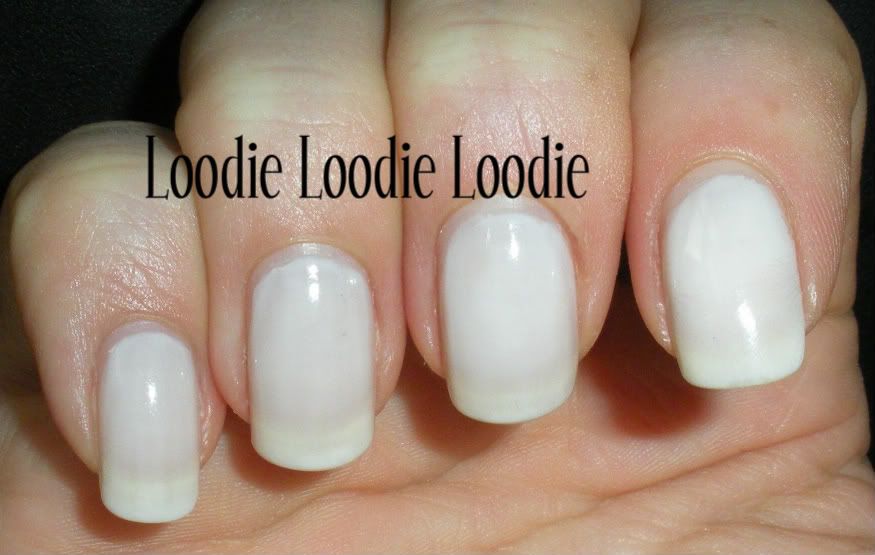
Prepping the Nail Plate for Polish
What do we need to do before applying polish?
Nail polish must be applied to clean and dry nails. You will often find this printed on the back of many bottles of polish. So, DO EET!
Why clean?
Oil, dirt or whatever filth present on the nail plate prevents proper adhesion of anything.
Wipe the nail with acetone, isopropyl alcohol, or go wash your hands with soap and water. Let dry.
The next post will stress the importance of base coat. So many base coats, so little time ... *sigh
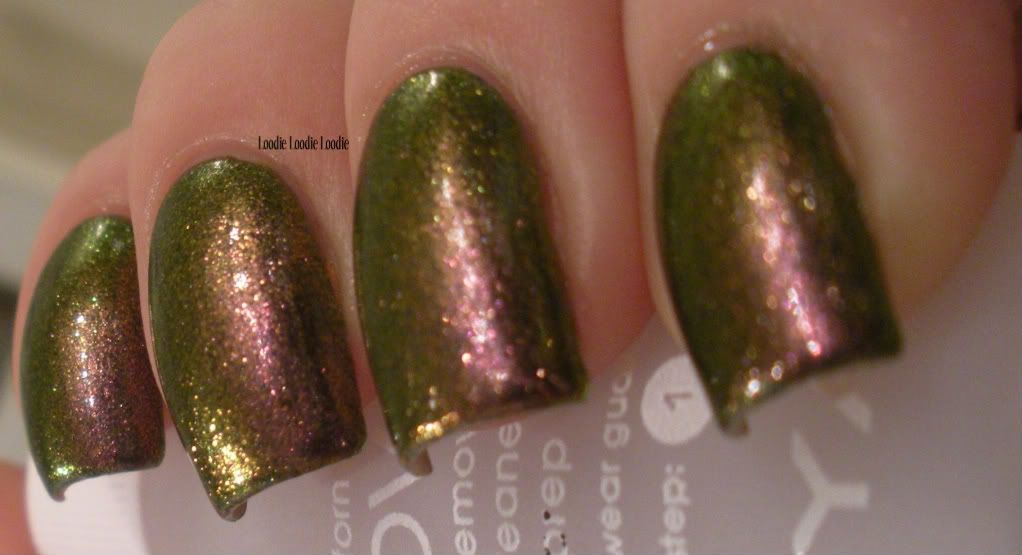
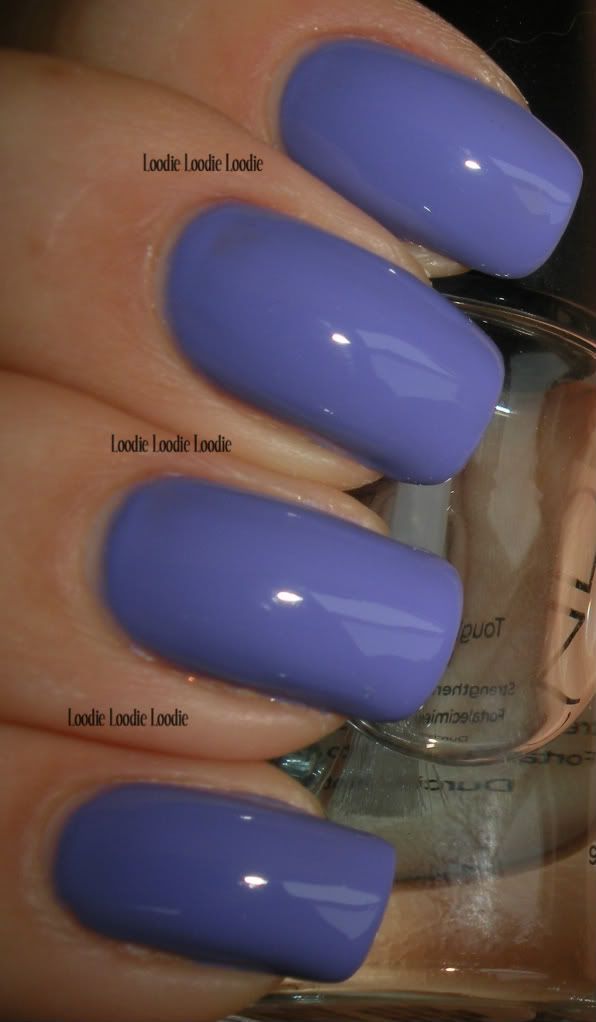
Until then how about some eye candy? In spam form ...
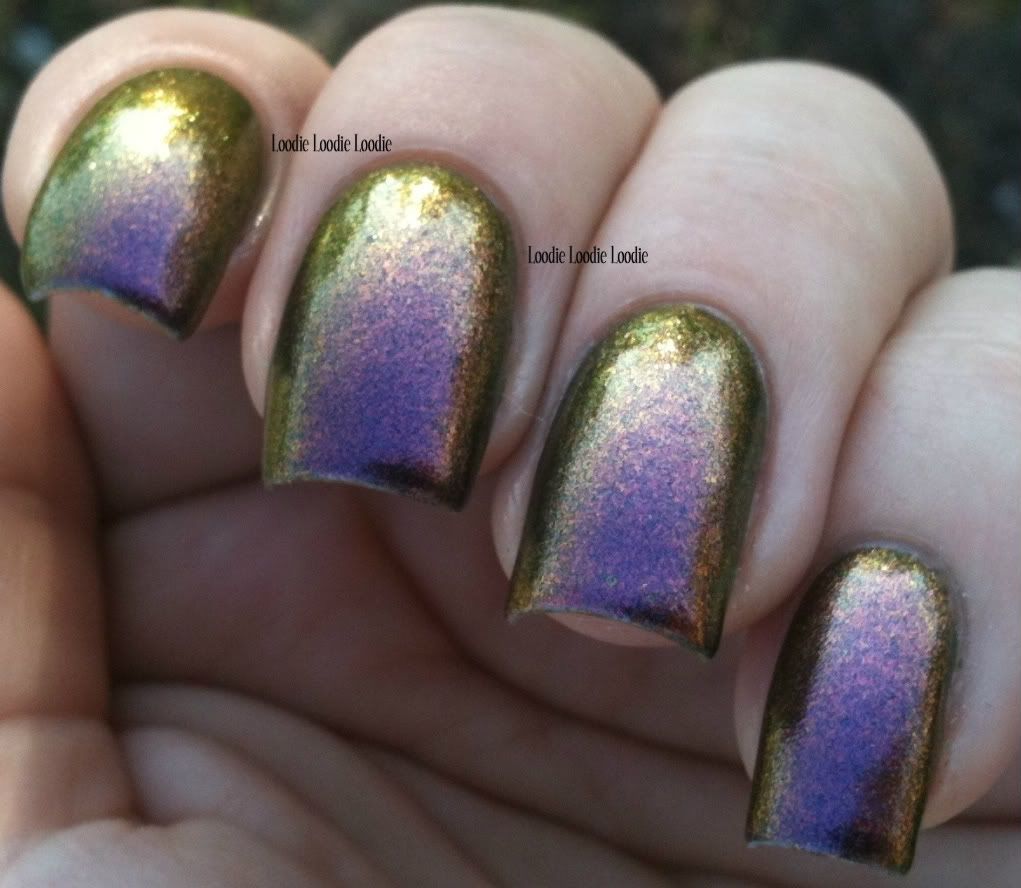
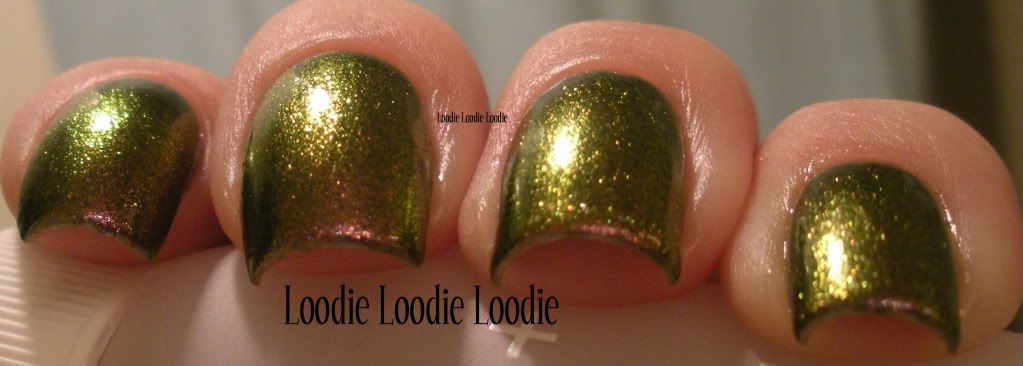
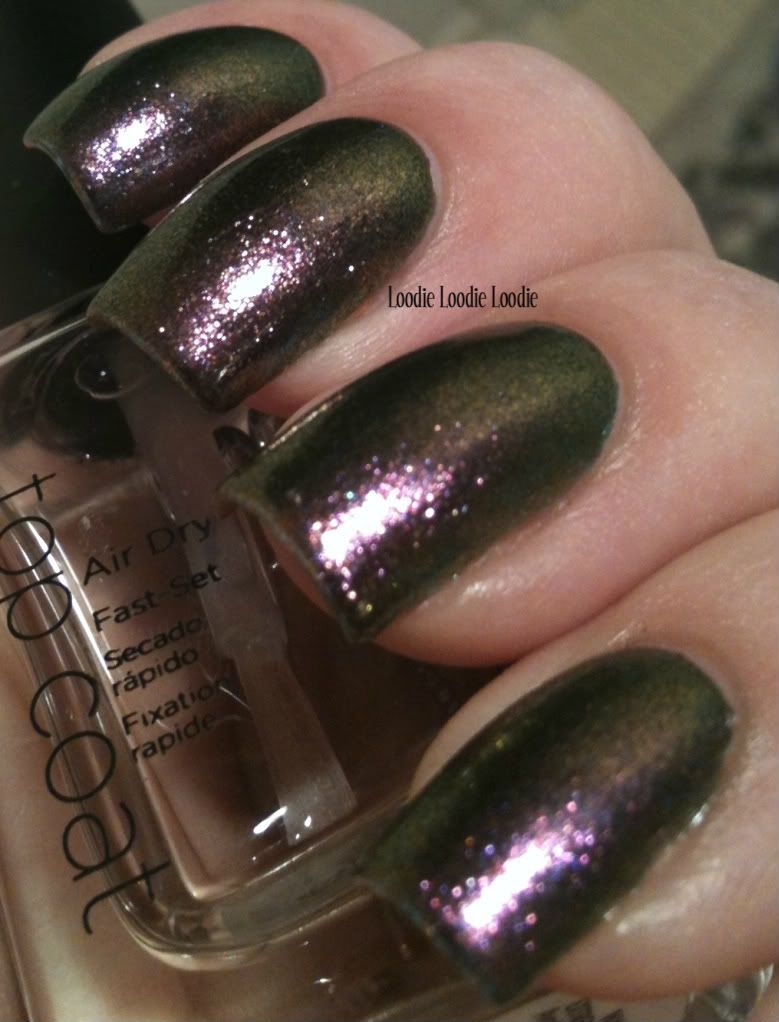
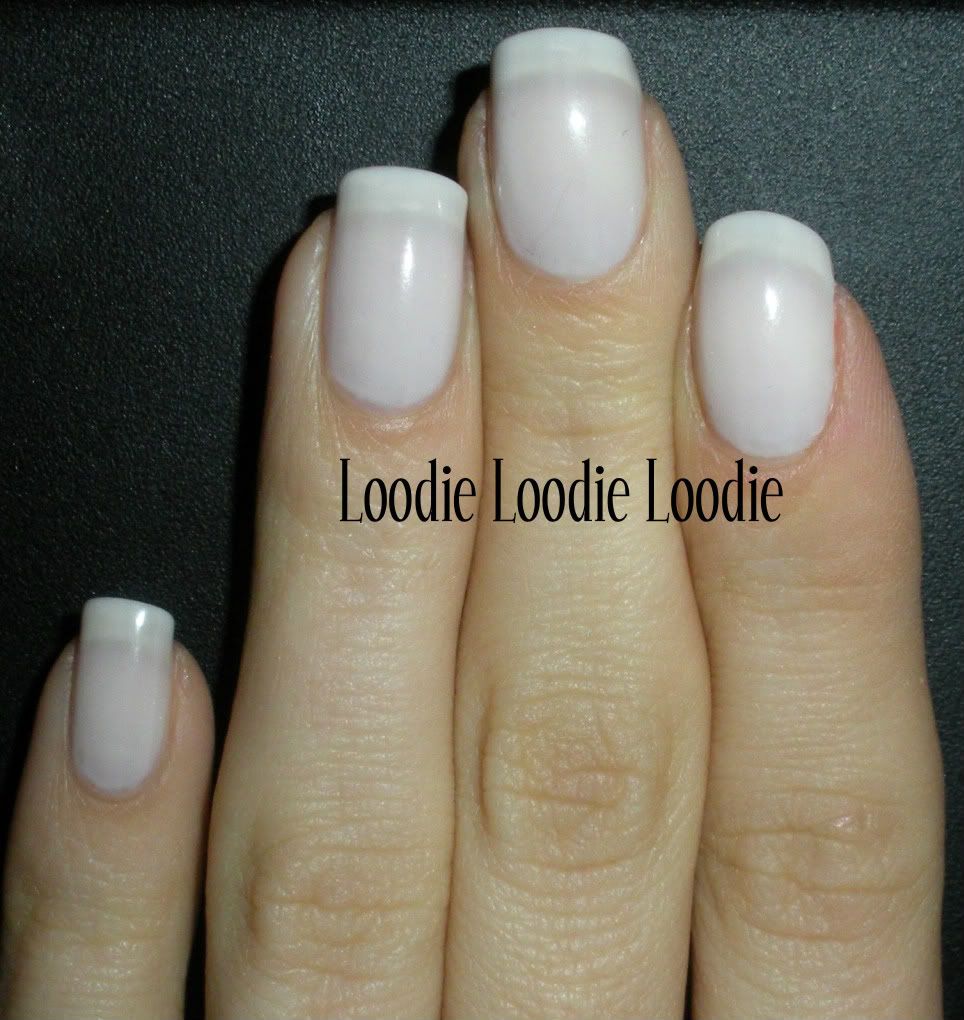
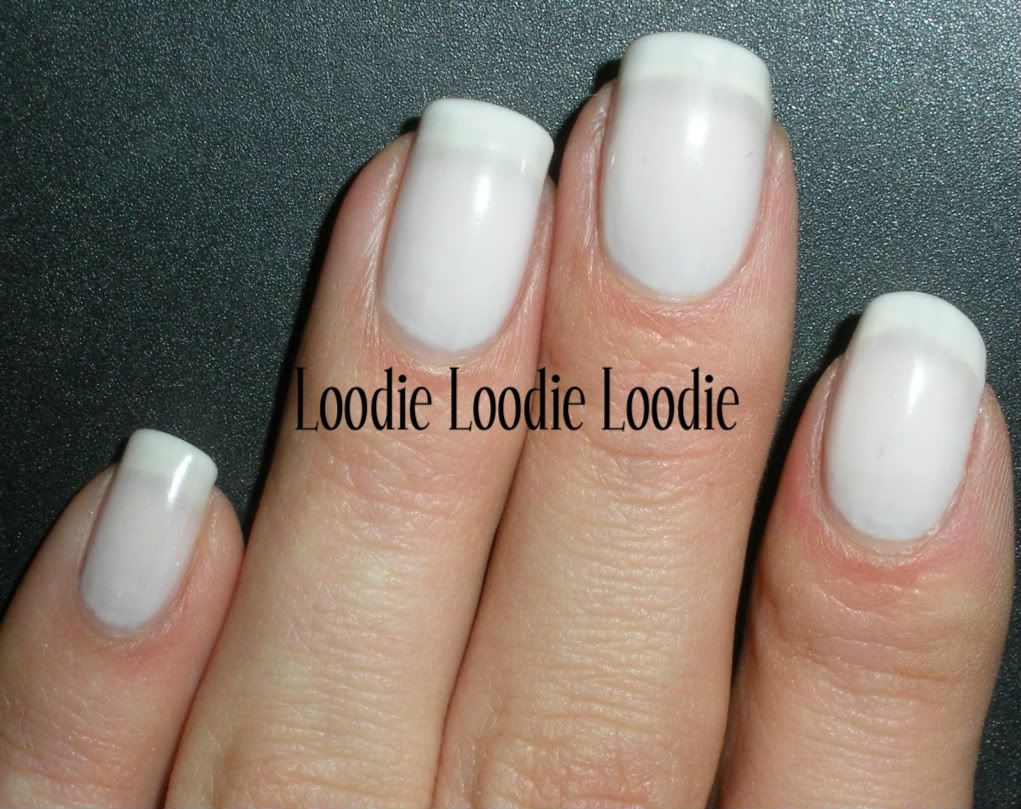
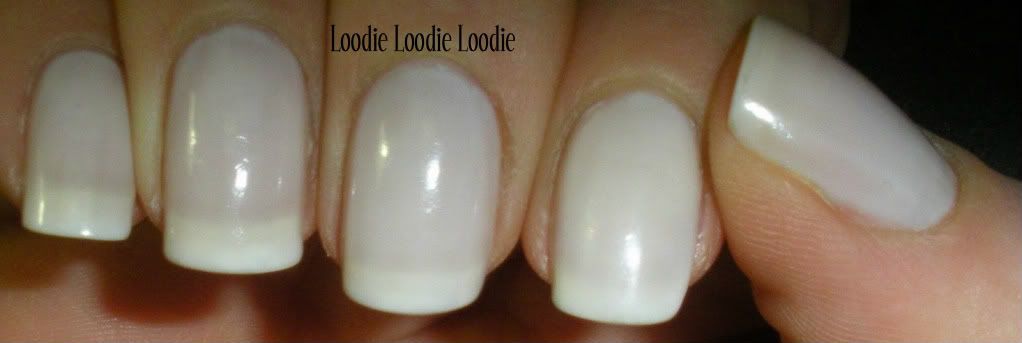
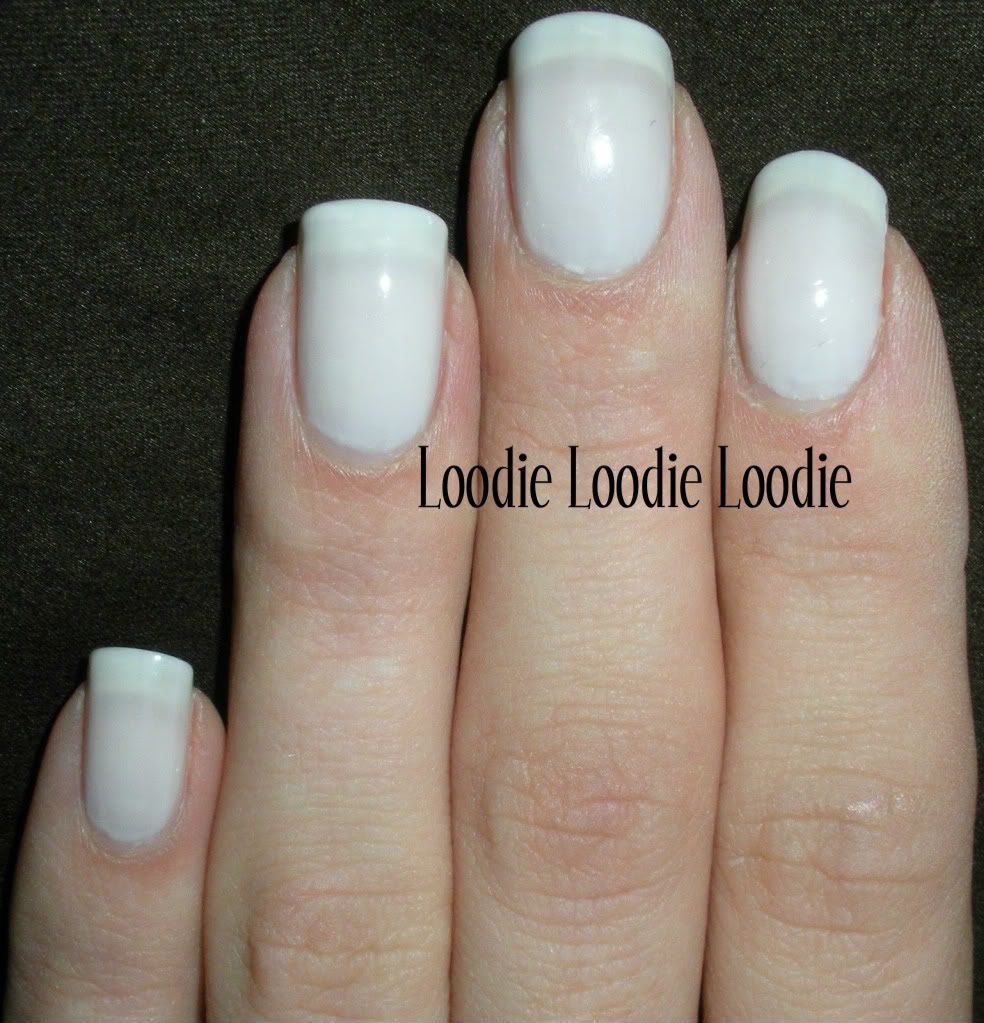
Hard Candy - Beetle
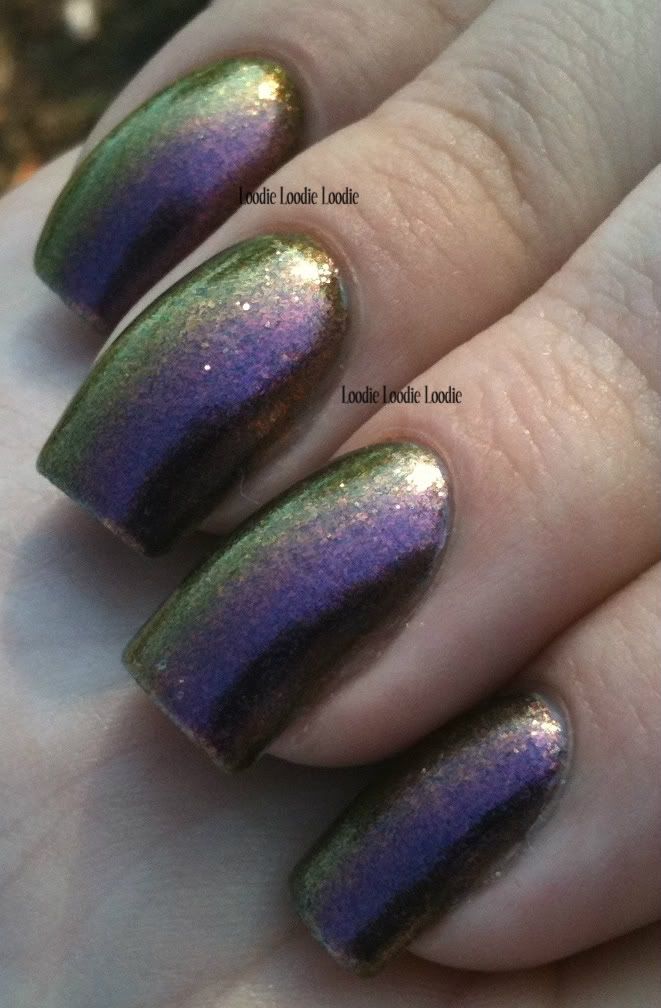
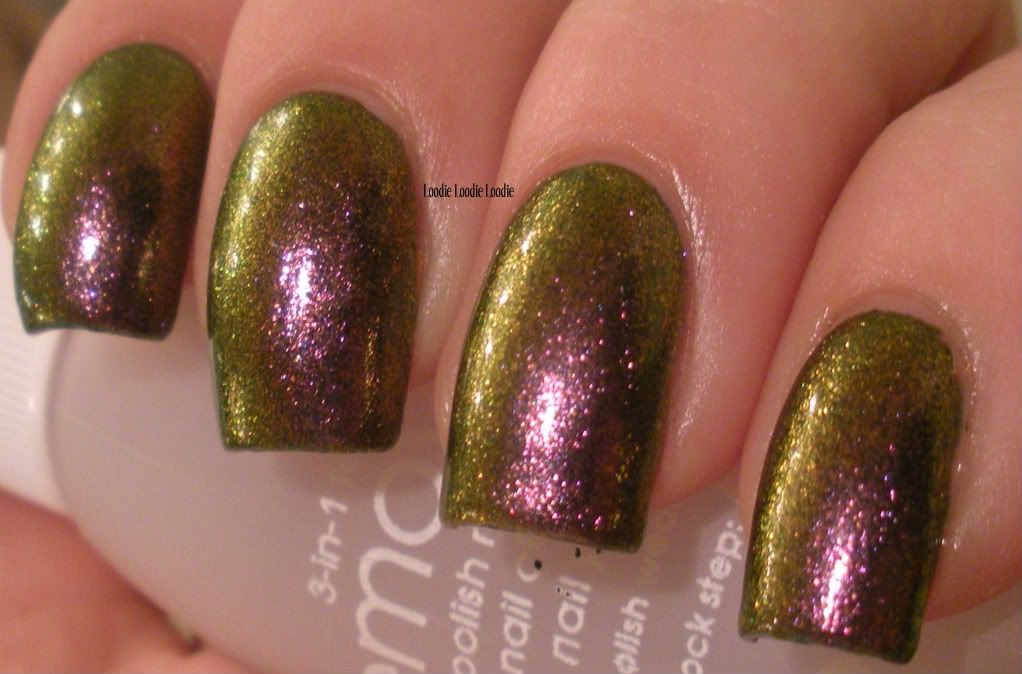
Um yes you're pretty ... yes you are.
Nails, Life, and more nails. Not so much a nail polish obsession, but more of a nail care obsession.
Nail Hardeners and Treatments
Showing posts with label Polish adhesion. Show all posts
Tuesday, August 16, 2011
Polish that lasts!
Labels:
How to,
Polish adhesion,
Polish Application,
Tutorial
Friday, July 29, 2011
Faux Zoya Remove Plus ... Video
As a follow up to my last post, here is a video for my lovely Youtube followers! As always the actual blog post is more detailed, click here to visit.
My channel: http://www.youtube.com/user/loodieloodieloodie
Labels:
Acetone is safe,
Cuticle Care,
How to,
Moisturizer,
Polish adhesion,
Tutorial,
Video's,
YouTube,
Zoya
Tuesday, July 26, 2011
Moisturize Your Nails with Acetone ... kinda
One of the most effective solvents for nail polish removal is ACETONE. I have previously described acetones’ positive attributes (regarding efficiency and safety) in this post. However, if you change your nail polish often or soak off polish, acetone can eventually dry out skin. Umm can we just look at this picture … redonk!
This is a picture from the Nail Fix Series. I use Shellac (or other gel nail polishes) for nail breaks and after removal my hands look like they have been mummified, lol.
So what are some options for us? How about a moisturizing nail polish remover?
Everyone LOVES Zoya Remove +, am I right? In particular Rachel Marie ;) I will have to agree with the fact that it is a great remover. Not only is it effective, but it is very moisturizing and great for the nails and cuticles. However, the smell and price seriously disturb me. For non-licensed people, Zoya Remove is $10 per 8oz ($25 per 32 oz.). Let’s take a look at the ingredient list:
Zoya Remove + ingredients are:
2-propanone, water, glycerin, fragrance, violet 2
In layman’s terms, the Zoya Remove + ingredients are:
Acetone, water (surprised they didn’t use aqua or something fancier lol), glycerin, stink, unnecessary dye.
Considering I buy acetone for $5 per 32 oz. at the local nail supply store this is crazy!! F U unnecessarily expensive products! Guess what? We can make our own moisturizing remover for way cheaper! :D
There is a lot of talk on the MUA nail boards on this topic, so you may already know that the basic recipe for moisturizing polish remover is … Acetone + Glycerin, however I have something science-y to add to this recipe with lots of pictures!
An inherent physical property of Glycerin is that it is ONLY PARTIALLY soluble in acetone. This is why the recipe often quoted on the nail boards is accurate and will work, BUT there is a slight problem. If you put an excess of glycerin in acetone at some point they will NOT (and simply CANNOT) mix any further. If anything you will see two separate solutions, similar to oil and water (or another visual ... yummy salad dressing - oil and vinegar :D) … here is an actual picture of glycerin in acetone.
As a side note: Glycerin is more dense than Acetone so it sinks to the bottom. Haha, I just tricked you into learning something, yay!
Now, if you have the right proportions you can get them to mix completely.
I tried to mix it well, but darn it I added too much glycerin from the start for it to mix in a miscible manner.
So how do we fix this problem? With science of course! :)
Another inherent physical property of Glycerin is that it is completely miscible in water! It will mix in any proportions of water and never separate. Furthermore, Acetone is miscible in water. So the beautiful thing is that we can jam more glycerin in acetone by adding a small bit of water! Water helps to keep the glycerin that can no longer mix with acetone in solution.
Add a splash of water and mix well!
As you begin to mix, the solution will initially be hazy.
COOL DUDE!
Want to see a video of this? click here
Here is the resulting solution after adding water to a solution containing excess glycerin in acetone and thoroughly mixing.
You can find glycerin in your local pharmacy. I had problems, my eyeballs kept glazing right past it, but the pharmacist helped me find it immediately.
This one was about $7 per 6oz.
The recipe:
As a guideline only, I would say 1-2 tablespoons of glycerin per 200mL of acetone.
Then add small splashes of water until the solution is mixed completely.
However, you can play around with different amounts glycerin and adjust to your personal preference. You should adjust the water amounts to your glycerin levels of choice. Only add as much water as necessary to incorporate the glycerin because it weakens the effectiveness of the acetone.
Caution:
Although I showed you the process in a glass, that was just so that you could see the different layers. You should do your mixing in the acetone bottle. It's much easier and safer to mix with a cap on. Watch your eyes and try not to get acetone in them, because I almost did. After you mix it well in the bottle, you might want to loosen the cap to release any built up pressure, then close it back up for storage purposes.
Another thought:
In my initial post about acetone, I mentioned that glycerin may interfere with polish adhesion. From personal experience, I can't say this is necessarily true, at least not as true as it is for oils and waxes. So, I kinda retract this statement, but would love your opinion or experience on the topic!
Short Video Version
Short Video Version
Labels:
Acetone is safe,
Cuticle Care,
How to,
Moisturizer,
Polish adhesion,
Tutorial,
Zoya
Monday, July 18, 2011
Formaldehyde vs. Formaldhehyde Resin
This is a pretty popular match up on the MUA nail boards, so I thought I would clear things up in a very scientific and boring way. Get your pillows folks. I promise to show you something pretty in the beginning and the end though! :)
First a little eye candy:
Color Club - Pucci-licious
2 coats. I swear I couldn't see that bald spot on my middle finger in person.
Hubba Hubba! I love this purple. Uh yea, so my camera likes to make it blue. Rebecca, however, has some nice pictures of it here. It dries really fast to a semi-matte finish. I always like to shine it up with topcoat!
Now lets talk about Formaldehyde vs Formaldehyde Resin
Formaldehyde:
The name itself gets used incorrectly constantly. I myself do it all the time because it is still incorrectly written on many ingredient lists. So let's clear things up. Formaldehyde is actually a gas. It can not exist in your hardener/treatment in this form. Unless you're gassing your nails, wtf does that mean I don't know, it usually exists as a liquid. Formaldehyde mixed with water makes a totally new compound (with its own physical and chemical properties) called Formalin, or even more accurate Methylene Glycol. This is the chemical that is put in hardeners and the correct name that companies should be using. The naming misnomer is a relic of the past, which you can read about further here.
Formaldehyde gas is the real "poison" that can cause cancer. However, even then you would have to inhale formaldehyde gas in large doses and for long periods of time. I am talking about the type of exposure one would get in a formaldehyde manufacturing plant and not from nail treatments/hardeners evaporating.
So unless you have sensitivity to formaldehyde gas don't allow the fear mongering to rule your life. Do your own research and always use common sense.
Need a nail hardener? This series may be of use.
Formaldehyde Resin:
Formaldehyde Resin (or you may see it on ingredient lists as Tosylamide/Formaldehyde Resin or TSFR) is an ingredient in nail polish used to add flexibility and improves adhesion to the nail plate.
Formaldehyde gas is used in the production of Formaldehyde Resin, however when all is said and done it's a completely different chemical. There may be traces of formaldehyde gas left in the formaldehyde resin, but they are in the same concentration levels found in some foods, even organic foods. Uh, yea, so unless you have an allergy to organic grown apples, there is very little health risk (both of the allergy or cancer type).
Again, do your own research and use common sense.
The shortest conclusion ever:
Formaldehyde (gas) =/= Formalin =/= Formaldehyde Resin
There is very little in common with these chemicals. OH if you're confused, =/= means 'does NOT equal', mmm kay?
Eye Candy Time!
That's my cat eating his own foot.
LOL
Labels:
Color Club,
Formaldehyde,
Formalin,
Nail Hardeners,
Polish adhesion,
Purple,
Treatments
Friday, February 4, 2011
Shellac Problems and Questions
I thought I would publish a conversation with a reader who has been having problems with Shellac. Perhaps this will be of help to everyone :)
If you missed the series on using Shellac to fix a nail break they can be found here:
Part I - Introduction to gel polish
Part II - Application
Part III - Removal
Video
Comment 1:
So after seeing your first post about CND Shellac I went and purchased some for myself. I followed your steps and the CND steps to a t! Loved the results.. AT FIRST. Within a day, it all peeled right off!
Response 1:
hmmm ... First lets try to eliminate a few reasons why this may have happen.
How long did you cure the shellac for?
What UV light did you use?
Were your nails completely dry (and oil free)before application?
After you put on the shellac did you shower immediately after in hot water?
Comment 2:
Well I checked to see what the Wattage was on the CND UV lamp and it was 36W, wouldn't it be the same then!? Plus the polish says only 10 seconds in the UV light. Anyway-- I did different numbers of layers on each nail some 2 some 3 depending on how thin or thick. I let the cure 2 minutes after each coat.
February 2, 2011 9:56 PM
Response 2:
Each gel product needs a specific amount of UV light intensity (output) to cure it in a specific amount of time. Although your UV light is 36W, which is the same as CND, wattage is related to how much power it uses, NOT to how much light it puts out (output). How much light intensity a UV light puts out (output) is related to the number of bulbs, their placement, and any mirror (or reflective elements) part of the lamp.
It seems that since you are not using the CND lamp (even if it is the same wattage) it does not have enough intensity to cure Shellac in the time stated by CND. The gel is not curing properly, even if it seems hard. Since my lamp is crappy and not CND's, I cure mine for way longer than what CND says. Furthermore, I put tin foil all around it to give more reflection.
Since you have product and a UV light, try to Shellac again, but this time cure 4 layers worth for 4 minutes each time. :)
BTW, I have a 6W light and it works the way I described (*4 min cure per coat), proof that wattage is not as relevant as intensity (output). Good luck!
Let me know what happens! <3
If you have any questions or problems let me know! :)
Labels:
CND,
How to,
Nail Brake,
Nail Fix,
Polish adhesion,
Shellac,
Soak off Gel,
Tutorial
Thursday, December 23, 2010
Ready, Set, FILE! Sealing the nail plate
I am super excited! BlAAAHH. I just uploaded a You Tube video and the endorphins are still kicking, lol. I thought it would be a good idea to start doing videos some time ago in addition to the posts because sometimes pictures aren't enough. Anyway, my hope is that they will be a nice compliment to the written posts. So, here is the first meaty video ....
There is another introductory video which you can watch, but don't let me bore you.
My channel (if you're into that sorta thing):
There is another introductory video which you can watch, but don't let me bore you.
My channel (if you're into that sorta thing):
http://www.youtube.com/user/loodieloodieloodie
Other posts of interest:
Nail files I prefer: X-Files
What shape is best for your fingers: Nail Shape and Balance
Taking down length: here
Square: here
Oval: here
Squoval: here
Other posts of interest:
Nail files I prefer: X-Files
What shape is best for your fingers: Nail Shape and Balance
Taking down length: here
Square: here
Oval: here
Squoval: here
Thanks to Lena from The students guide to nail polish :)
Labels:
How to,
Nail Files,
Nail Shape and Balance,
Polish adhesion,
Ready Set File,
Tutorial,
Video's,
YouTube
Monday, December 13, 2010
Performance Test - Sally Hansen Sweet Tulip
This post shows the performance of Sally Hansen - Sweet Tulip
As I have already mentioned sheer whites are one of my favorites :)
holy moly! My thumb looks weird, lol
This post will show the typical wear (on average) I can get out of this particular polish. Sometimes I get more, some times I get less. I find one of the biggest factors in performance with Sally Hanson Sweet Tulip (or any polish for that matter) is the health and condition of my own nails, assuming proper nail preparation before polish application. If I have any damage, i e. a peel, crack, then the polish will peel or chip there first. Always! It doesn't matter what base coat or top coat I use, whether I wrap the tips or not, and even if I apply refresher top coats throughout the life of the manicure; the chips will always start at the damaged area first.
In the case of this color I skip base, I know how hedonistic of me. This color is a white sheer and I have found that it doesn't stain and wears the same with or without base.
I have a love/hate relationship with fast dry top coats and as such only use them when I am in a rush, know I won't be wearing a color long, or when lots of layers of polish are necessary and feel impatient. I will do a separate post with a more detailed description and pictures describing my frustration :) You can find it here.
In this particular performance test I did not use a fast dry top coat and unfortunately this Sally polish takes FOREVER to dry, so I have devised an application technique, which works well since its a sheer or any other polish if you have the time.
So first let's look at me NAKED ... my nails that is.
You can learn a lot by looking at naked nails. You can even predict where your polish will chip first. As proof of concept let's take a look where issues may arise.
The white arrows show where my nail is recovering from some trauma. I believe the nail was peeling so I buffed it a bit to even out the nail plate and sealed it. I find that if I buff/seal properly it prevents the peel from going further down the nail plate. I find this is the best technique if I don't want to loose length; otherwise, it's best just to take the length down below the peel. I will eventually show a proper post when this happens again.
Below are my sad thumbs.
Again the white arrows show the same situation described above. The blue arrow shows that I have not removed the ptygerium (aka True Cuticle) and we will see that has a big affect on polish adhesion at the base of the nail.
Okay let's polish. A proper tutorial on how to polish and make mani's last will be a separate post, but lets just say we need to start with a clean dry nail plate.
Here is a good way to apply polish that takes forever to dry without the use of a fast dry topcoat. Warning: I hope you've got some time on your hands so plan ahead, lol. Okay it's not that bad, but it does take over two days to do. 0_0
Step #1:
I applied 1 coat of color and let dry for 30 minutes. Yes, I know an eternity. Watch a movie, surf the net, etc., to pass the time.
Excuse the dry fingers and cuticles. I did a swipe with acetone right before application. Oh, and did absolutely no clean up, so overlook that too.
Step #2:
I then applied a second coat after 30 minutes. Wait at least another 30 minutes before doing anything and make sure this last coat is at least 2 hours before you hit the sack, or you might get sheet marks.
You're probably saying to yourself, "hey you forgot topcoat!"
No I didn't. Remember I said it was a two day process? Well I was serious. Topcoat will be done on another day.
Step #3:
On the second day make sure your nails are clean and dry. I applied a third coat of color since I think it looks best this way. It's a sheer and I realize others don't like visible nail line, but I like it. Anyway, wait another 30 minutes for it to dry (and again 2 hours before you hit the sack).
I don't feel like this particular polish needs topcoat immediately so I don't apply it right away, rather I wait to apply it every other day or two to make the mani last.
Step #4:
On the third day apply a topcoat after making sure your nails are clean and dry.
Look, your mani is 3 days old and looks fresh and is without sheet marks! wooo hoooo
Not wooo hoooo if you need color change everyday, but hey this is not that kind of post.
And now on to performance. Since I already showed you the first three days, moving on to:
Day 4:
Left Hand:
No problems so far.
This is the right hand, also no problems.
Day 5:
Left hand:
Uneventful
Left thumb:
I realize this is blurry, but you can start to see some chipping at the base of the cuticle. This is the nail I showed earlier in the post where the ptygerium (aka True Cuticle) was not removed. Nor was it removed from the rest of the nails and you will see as we go along the performance test this has quite an affect on nail polish wear.
Day 6:
Left hand:
You can start to see the middle finger has a slight start of a chip at the base of the nail near the cuticle area. Otherwise all else is fine at the tips.
Excuse the dryness.
The right hand is starting the same problems.
Day 7:
Left hand:
Finally some oil on these fingers. Again another uneventful day. The moisture probably prevents you from seeing the nail polish at the base of the nail lifting a bit.
Maybe there is some growth visible at the cuticle, nothing drastic. This is actually one of my pet peeves. If I have too much gap, I feel like I have to take it off and redo it even if there is no wear at the tip.
Right hand is also fine, and not dry looking for once, lol.
Day 8:
Left hand:
From afar they don't look too bad, but let's take a closer look. The middle finger is chipping.
See. This chip is directly related to that trauma I pointed out earlier. All the others are in good shape.
Thumb is also having issues for the same reason.
Amazingly, the right hand is still uneventful.
Day 9:
Right hand:
I am itching so hard to take this polish off!!!!!!!!!!! Ewwww the growth and the chipping at the base of the nail on the middle finger. Driving me nutso.
Left hand:
Middle nail is really chipping at the base and the chip at the tip is holding steady.
Right thumb:
Chip city at the base. Small slight chip at the tip as previously pictured.
Left thumb:
Chipping at the base. There is slight chipping at the tip on the sides. Another thing you will notice in this pic is the polish is cracking a bit on the surface.
Even though I seriously want to take the polish off, I figured I was only one more day away from 10 days, so I waited.
Day 10:
Left hand:
Not much more to report from day 9.
This looks horrible at the base; proof that pushing back the true cuticle is necessary if you want a mani to look good after 10 days (and if you can stand the regrowth). The tip is only slightly chipped.
Right hand:
Aside from some chipping at the base of the middle and ring fingers the right hand had NO chips at the tips.
TIME TO REMOVE.....NOW.
In this situation a polish change was in order not because of chipping, but the nail regrowth and chipping at the base. I do admit a real performance challenge is best done with dark colors where little imperfections are obvious. I will have more in future posts.
Subscribe to:
Posts (Atom)