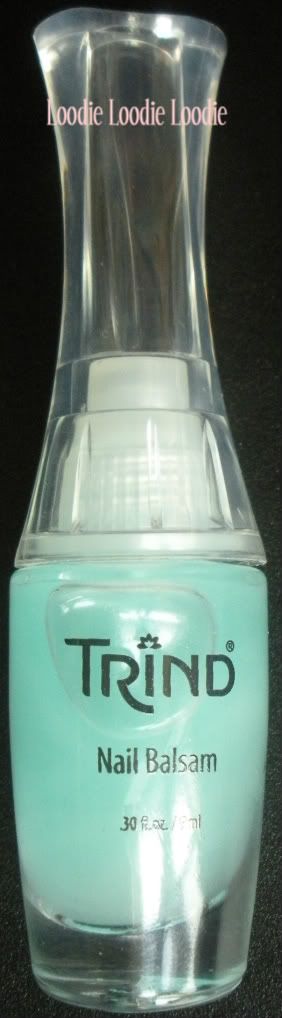
A while ago, I was given a bottle of
Trind Nail Balsam to review. Before I go into that, I'd like to say a few words about the company. I first heard of Trind from one of my readers about 8 months ago, which prompted some late night searching for nail care stuff and beyond. I must say after many months of communication with the company and the president (US Chapter,
Trind Nail & Hand Corp), I have nothing but utter respect and admiration for their products and philosophies on nail care. I have had amazing conversations with the president and find myself totally smitten with his knowledge, commitment and passion. I have so much love for nail care that meeting someone with the same passion is enthralling.
I first became interested in the Trind Nail Balsam after reading that it was a moisturizing product you could apply right before nail polish. This is a bit surprising because normally we aim to remove dirt, oil and other grime from the nail surface before polish application to get the best polish wear. I was a bit skeptical, yet not totally enraged because after all I put
glycerin in my acetone and don't have much problem with polish wear.
~$13-19 for 0.3oz/9mL
The consumer website can be found
here.
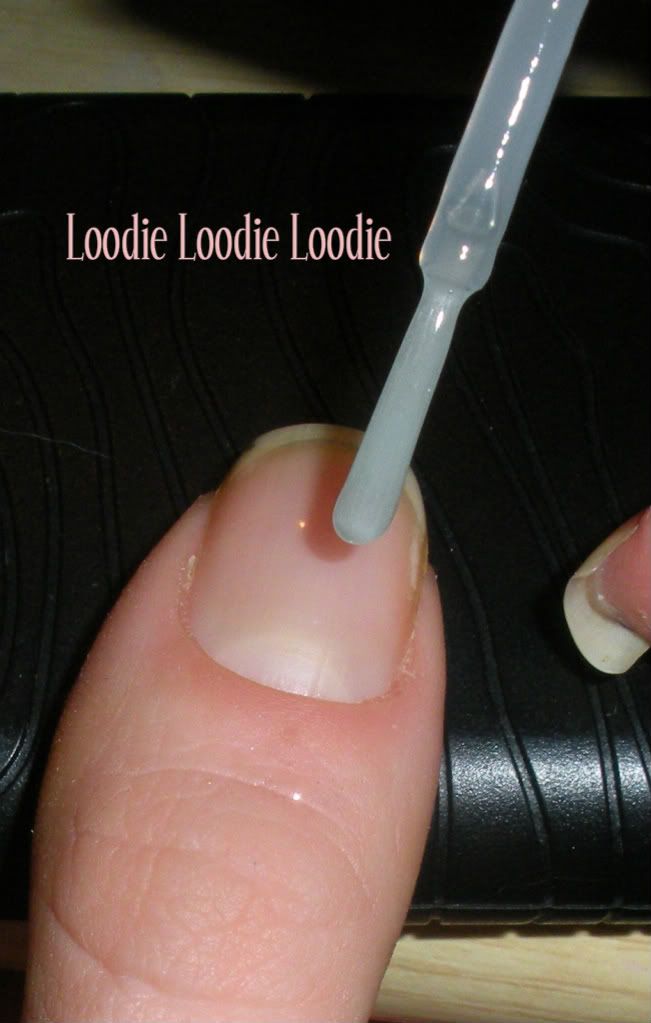
How I use it:
The product comes with a brush. The Balsam smells flowery and fresh; it has hints of the perfume Sun Moon Stars ... to me. At first I noticed the scent a lot, then I guess I got immune.
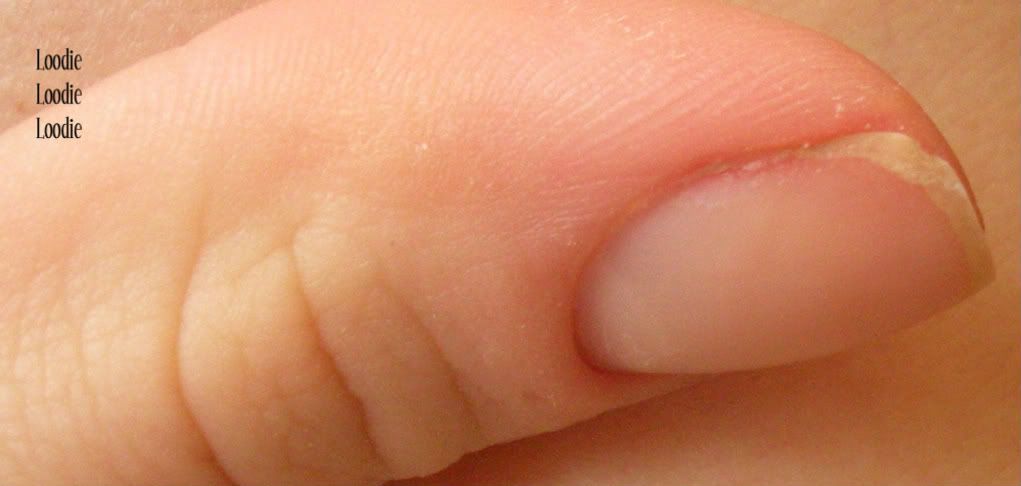
I shake the product well, then apply a thin layer to each nail.
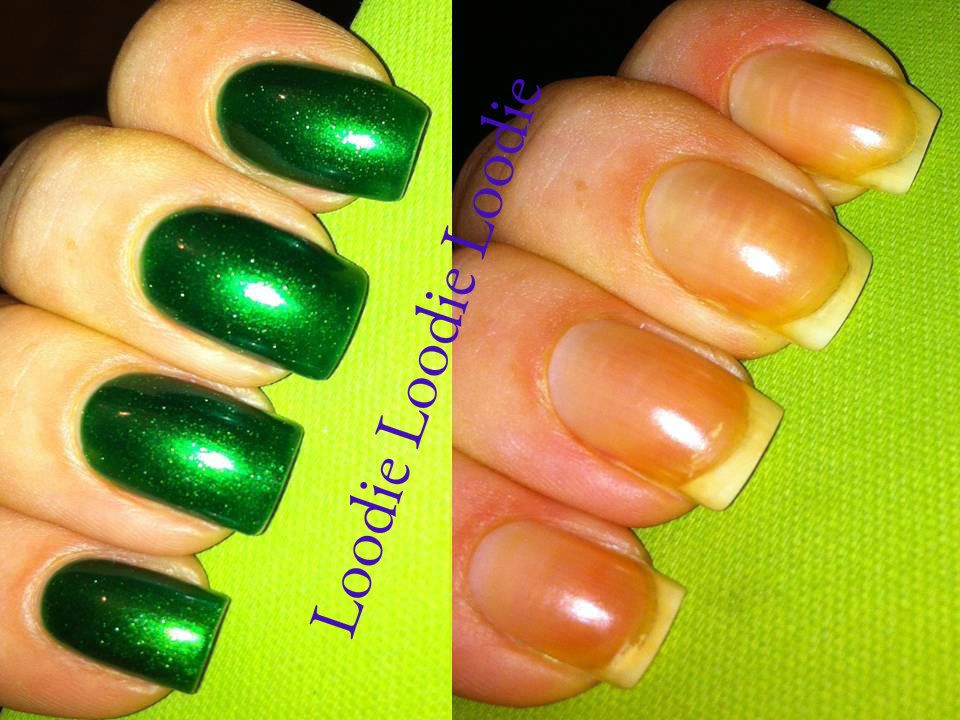
I have gotten quite good at taking pictures with my chest and chin no?
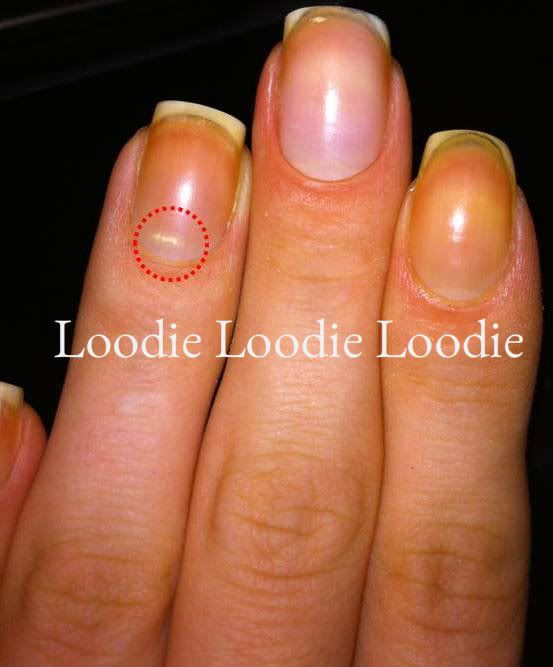
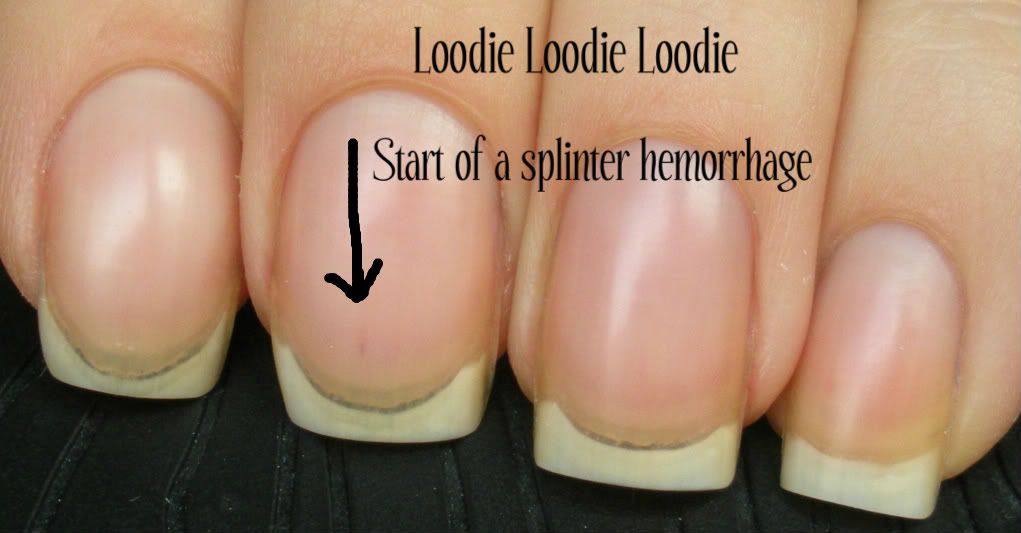
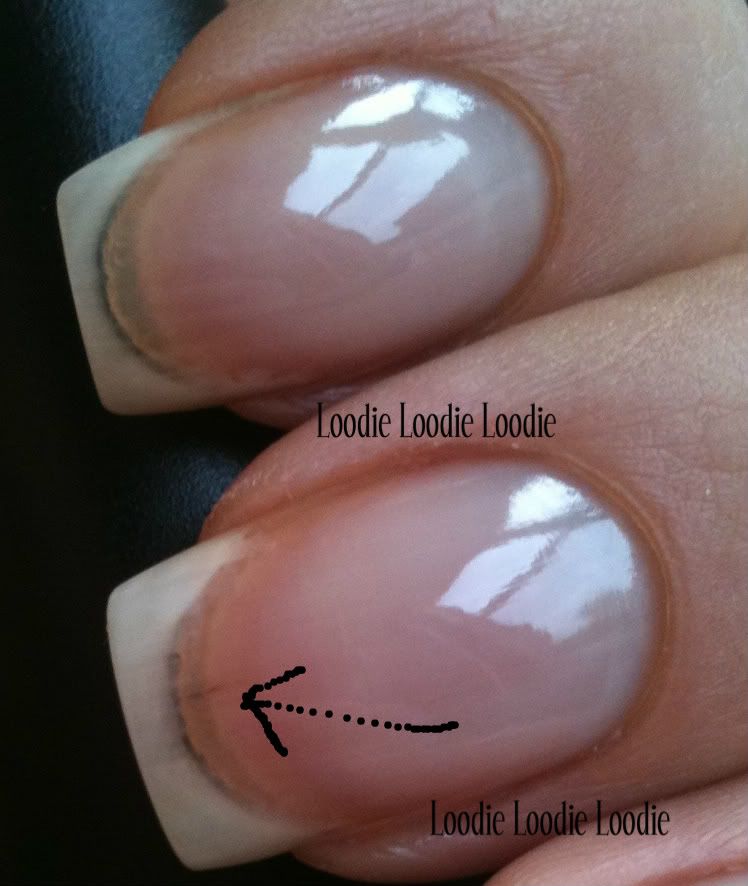
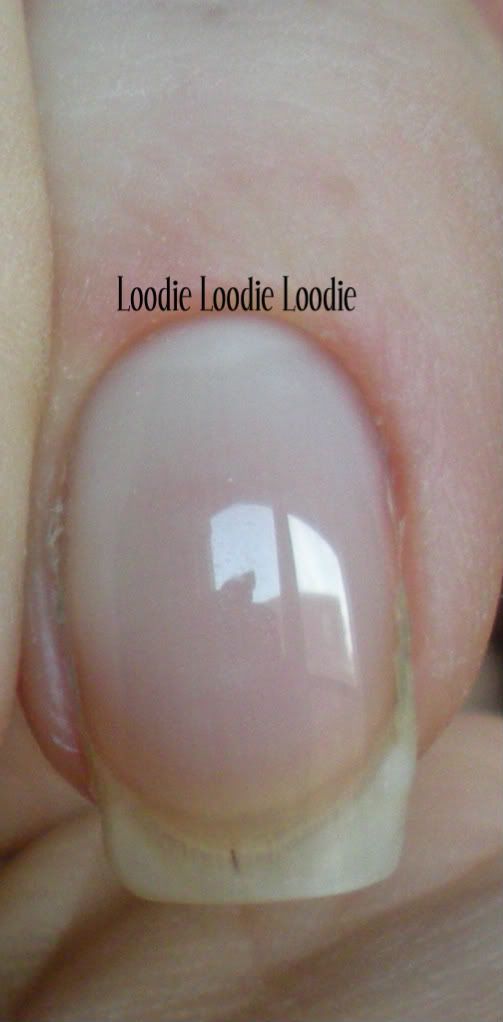
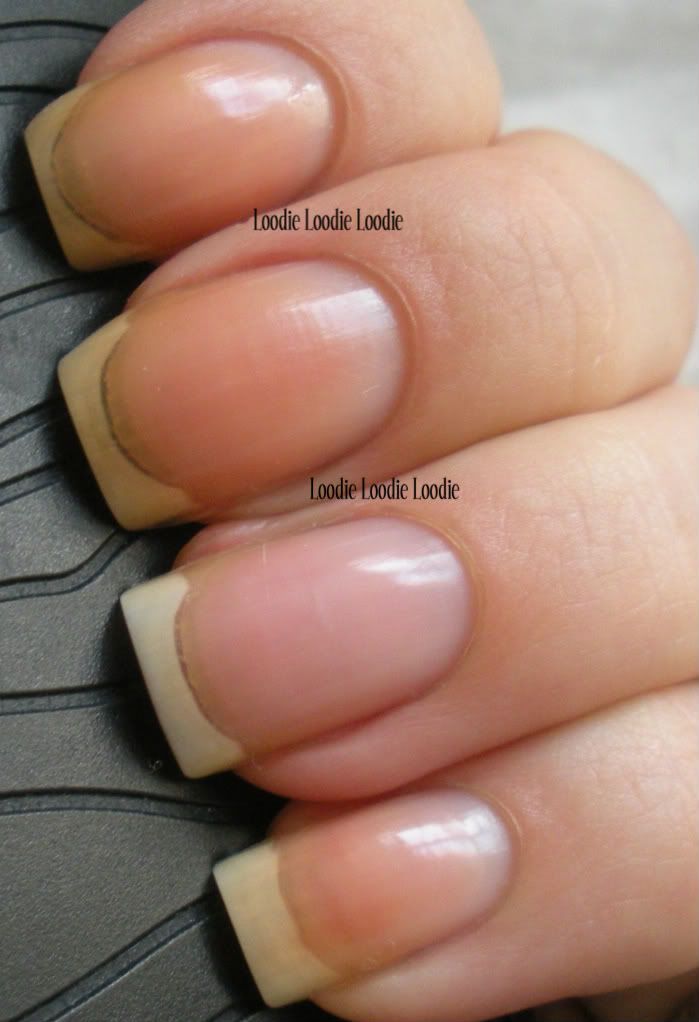
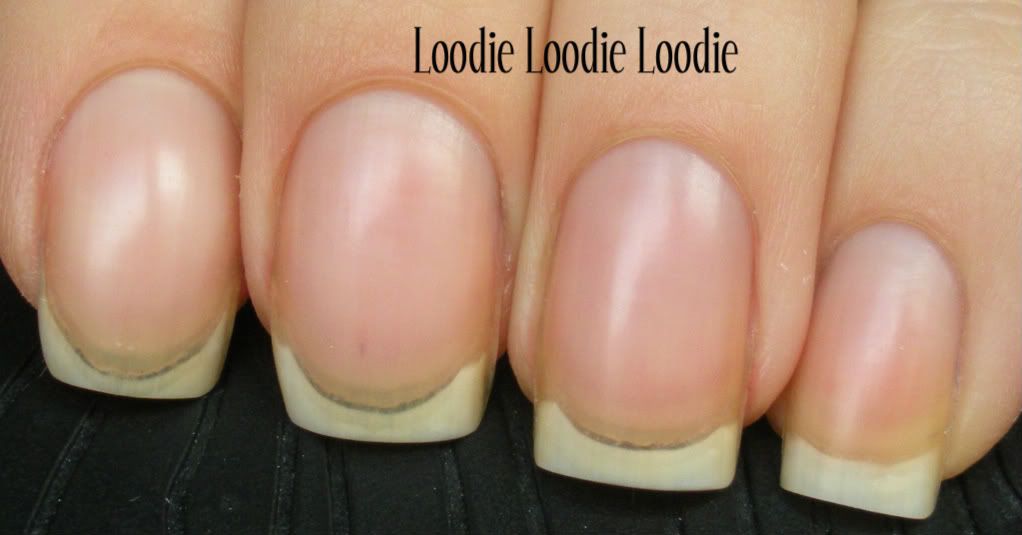
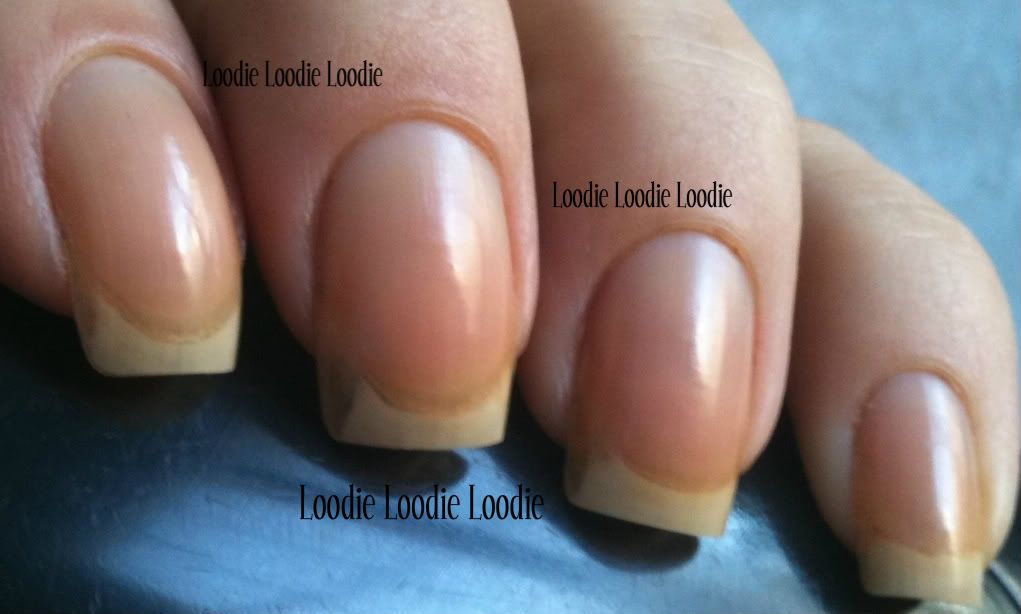
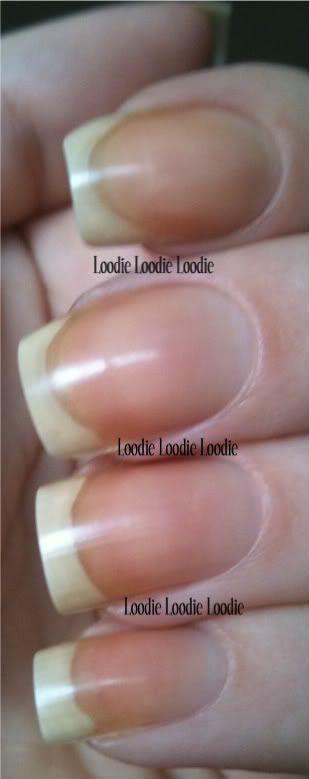
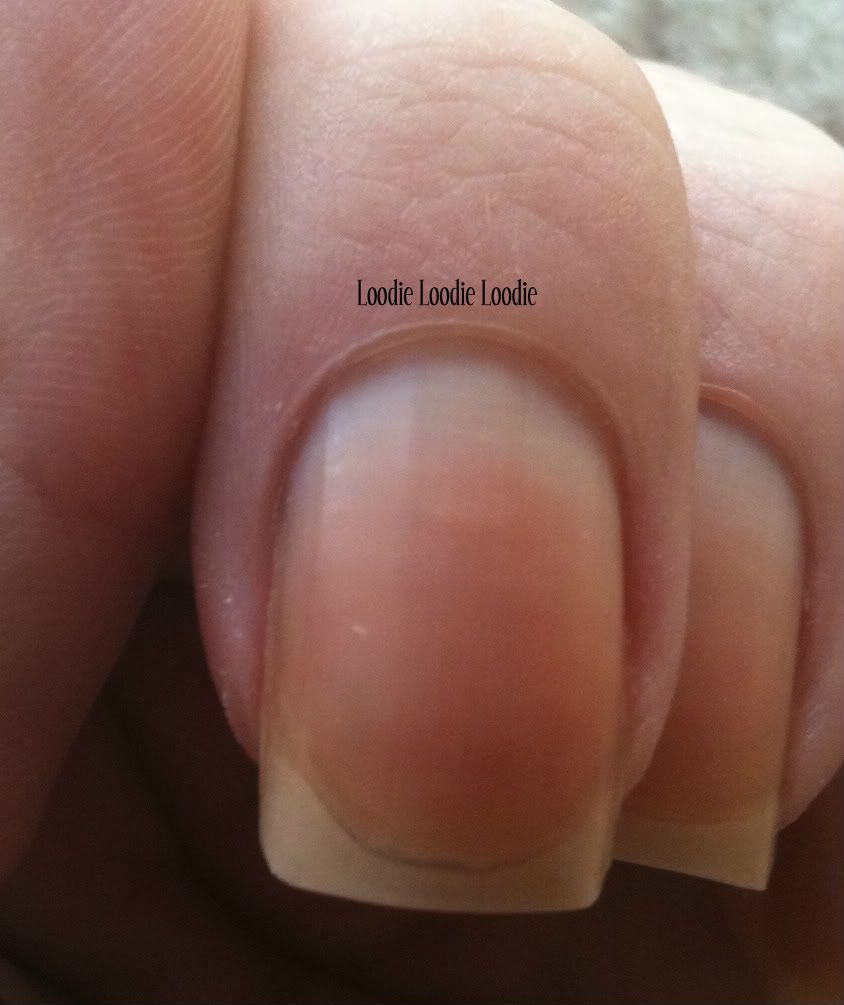
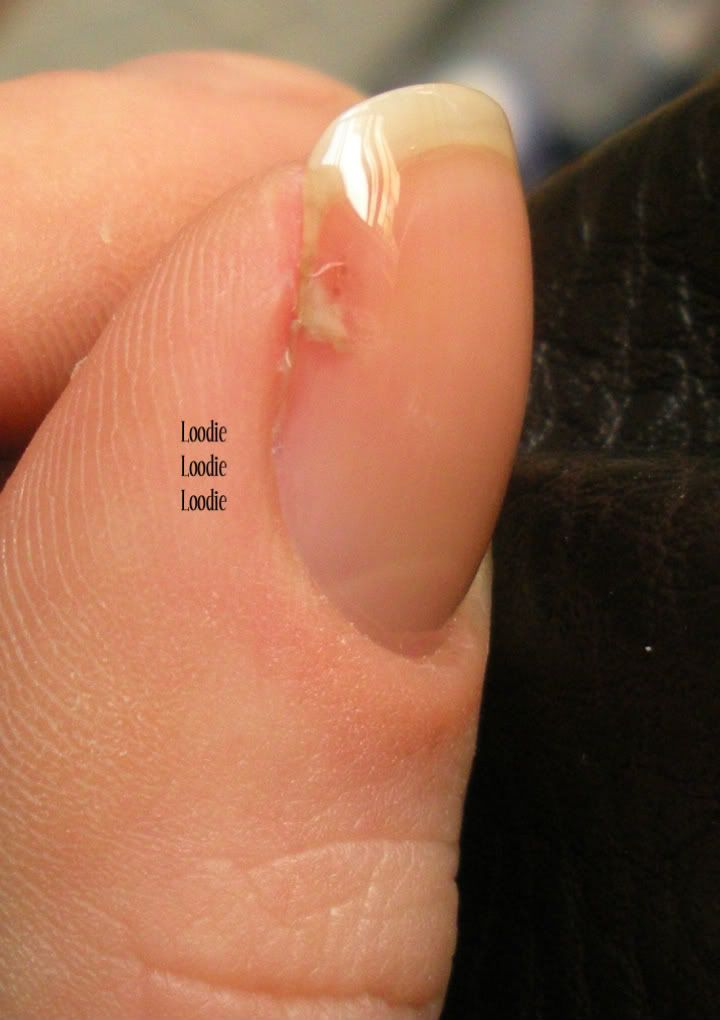
Allow the product to soak in for about 2 minutes. It will look wet. Sorry my nails are a bit yellow; that situation was remedied
here.
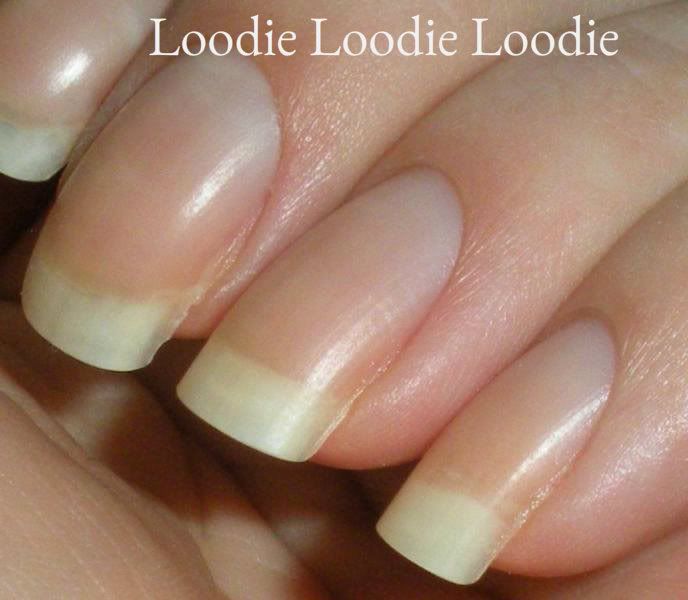
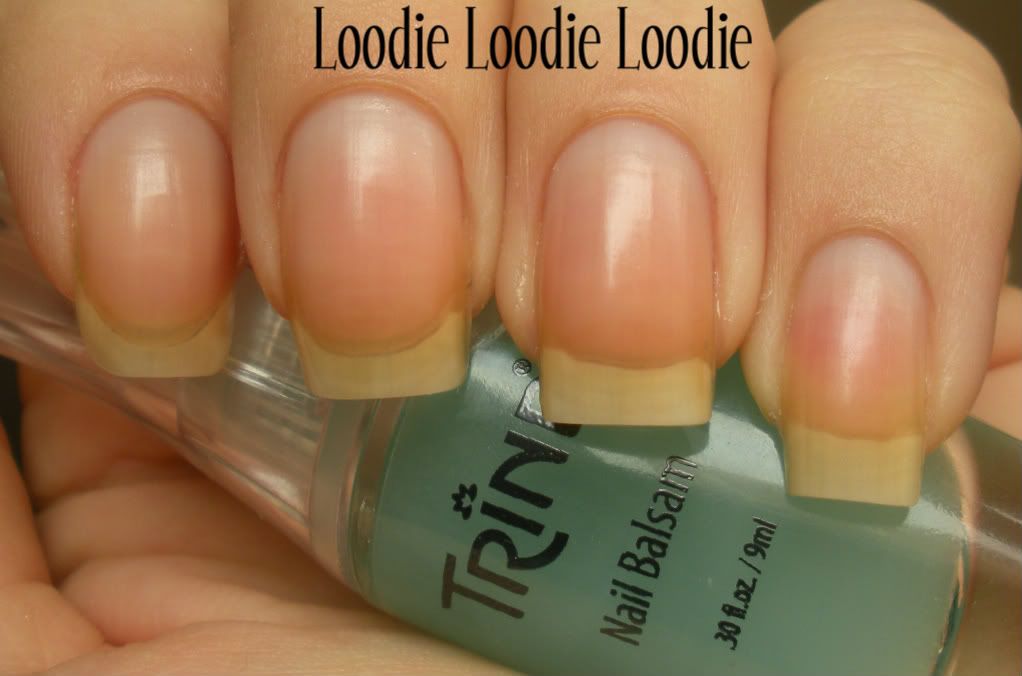
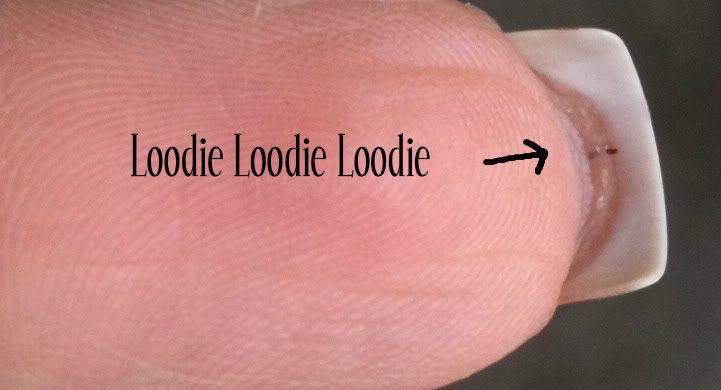
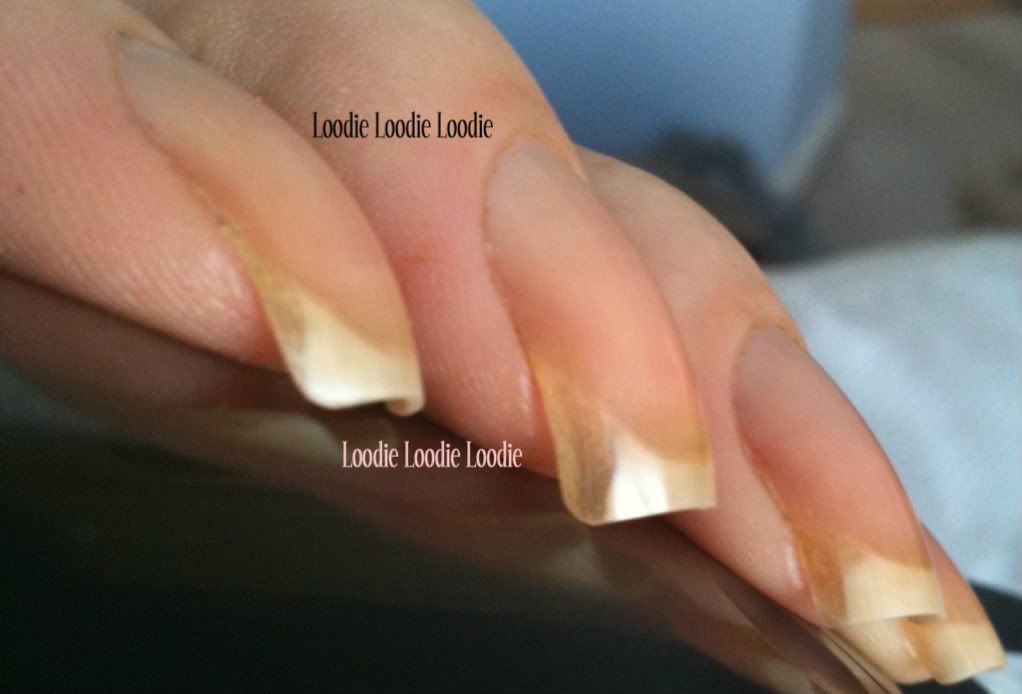
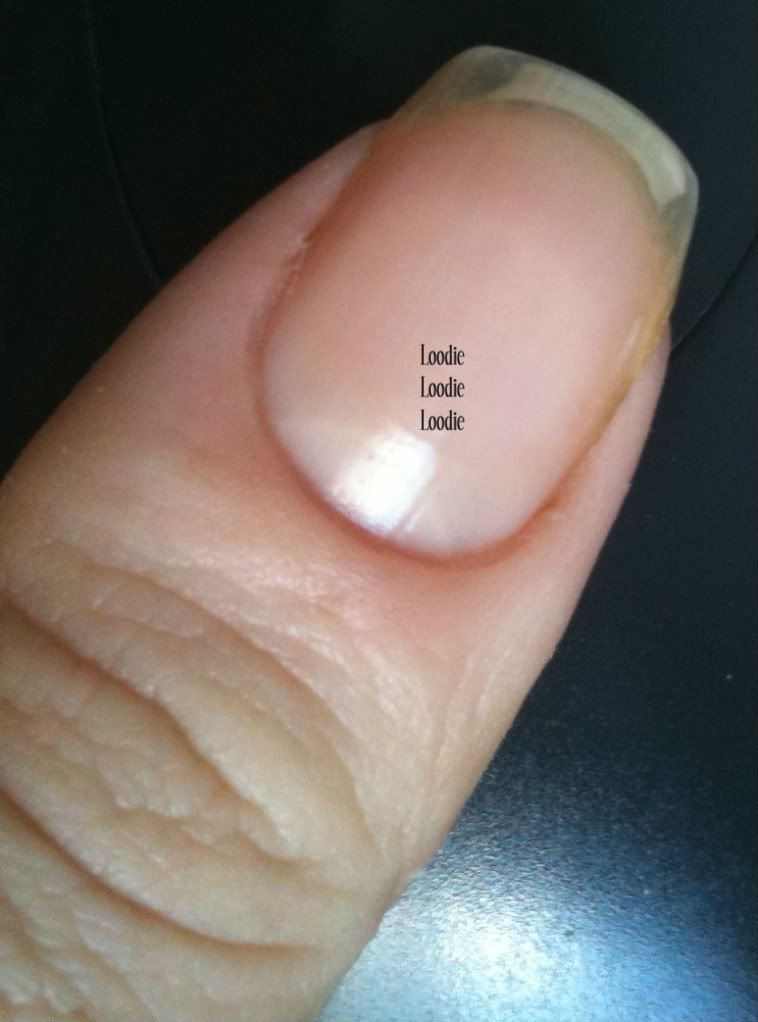
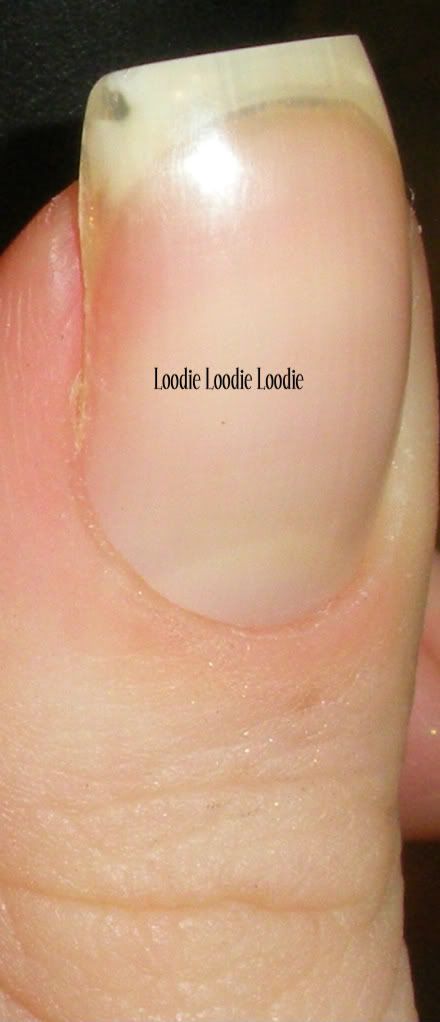
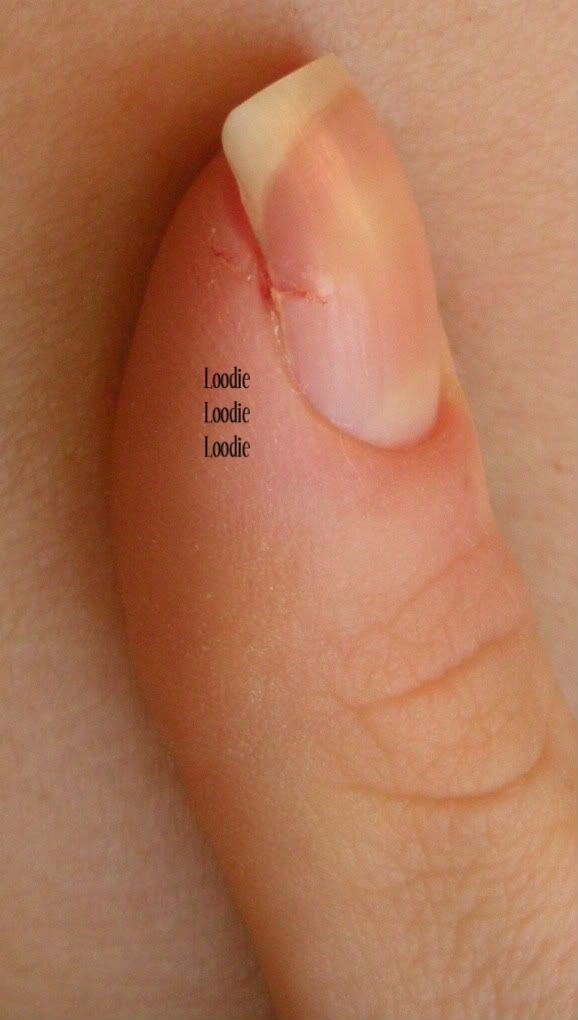
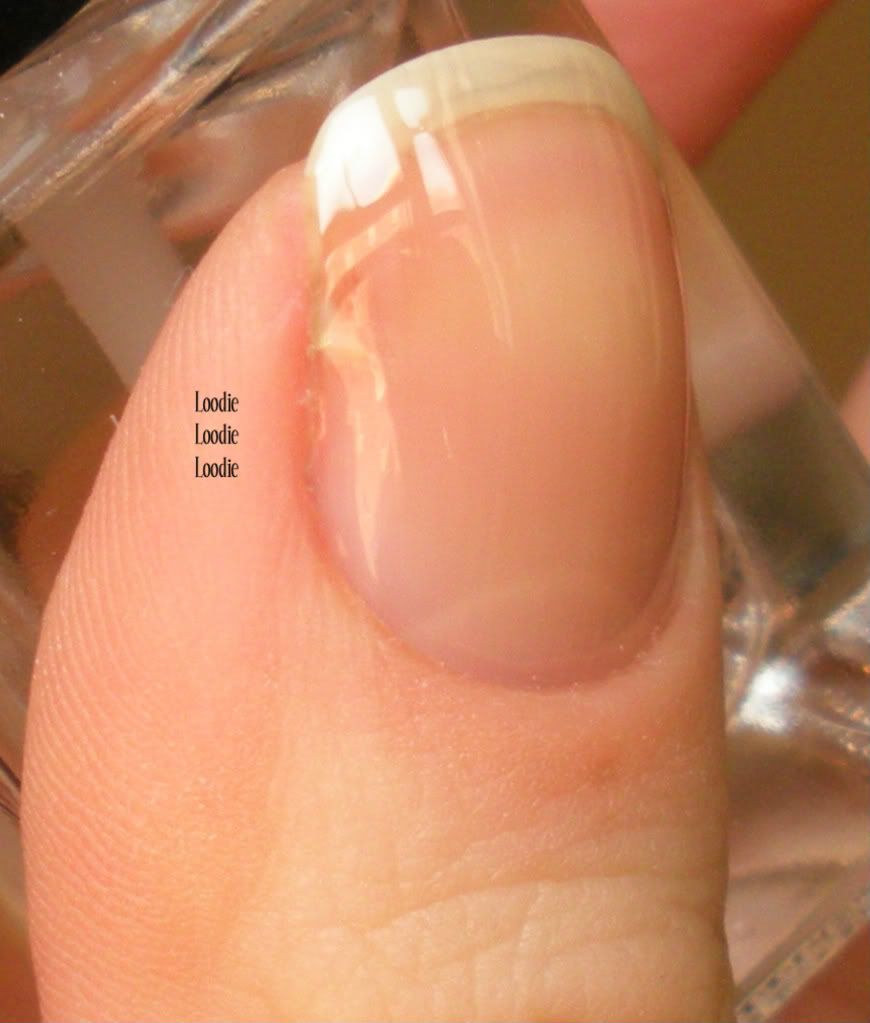
I massage any excess into the nail and cuticle. The product penetrates really well and leaves the nail and skin nicely hydrated.
The nail surface does not feel sticky or dirty, just hydrated.
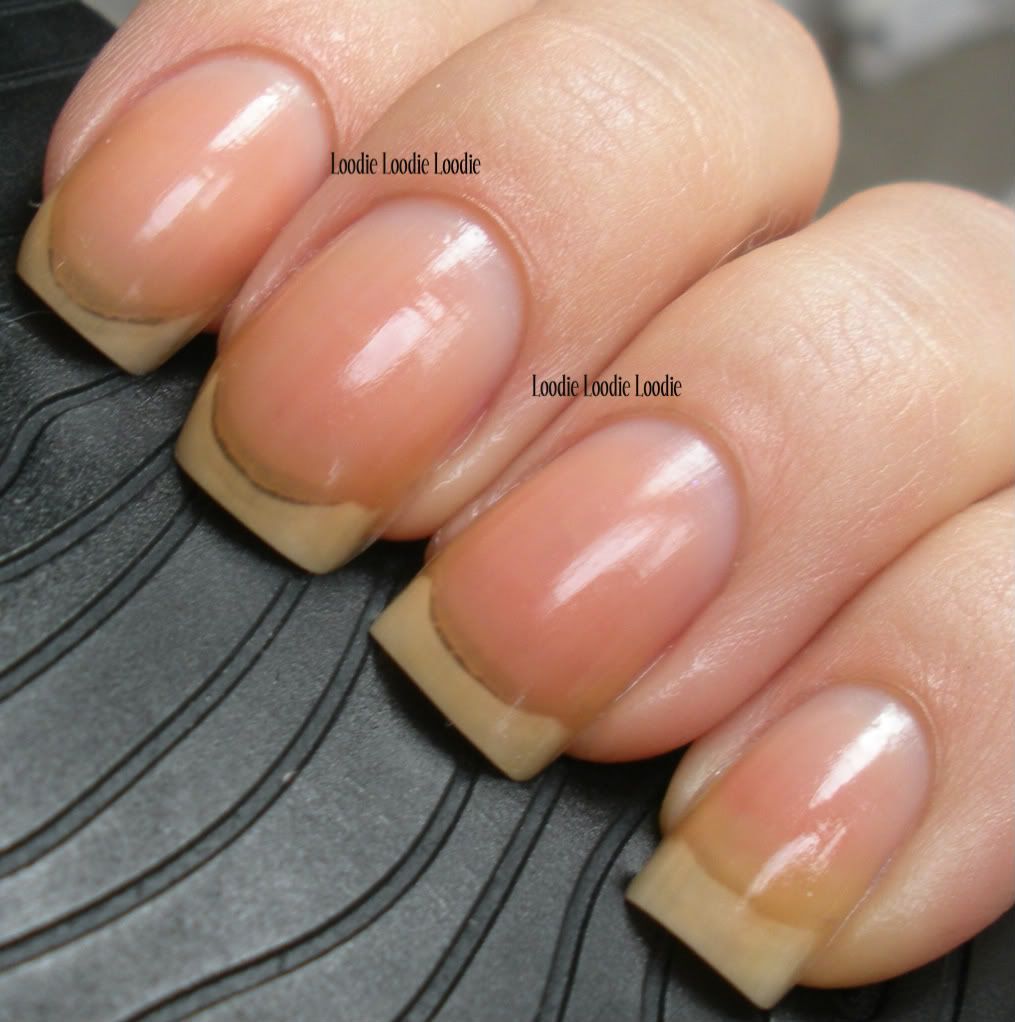
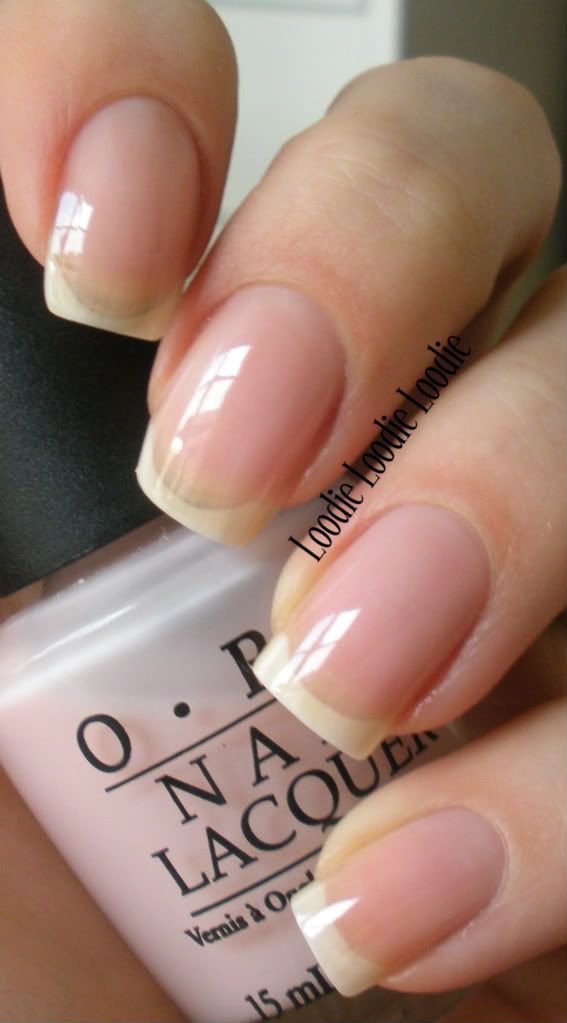
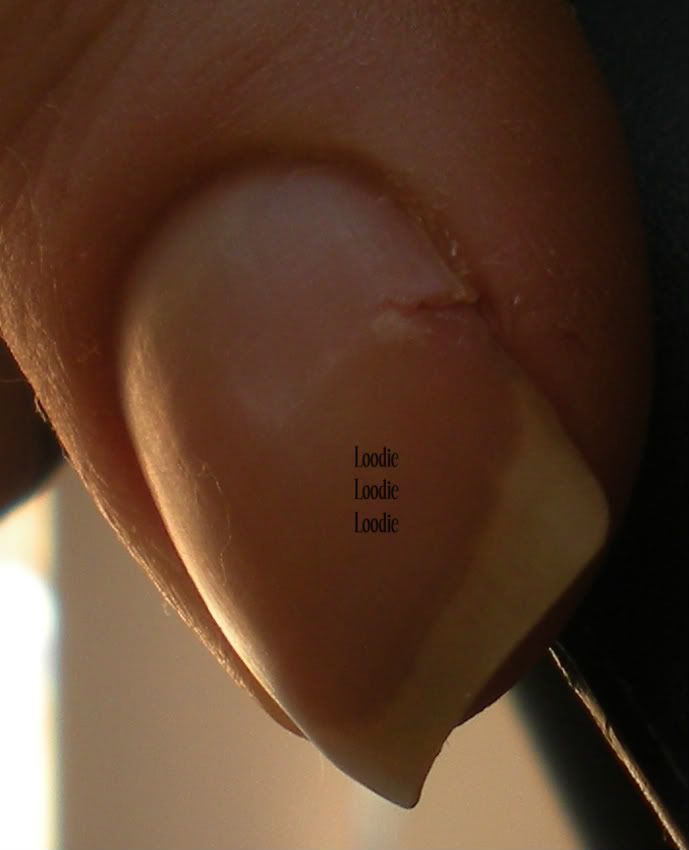
Now I am all ready for base coat and polish without having to further prep the nail with alcohol or acetone!
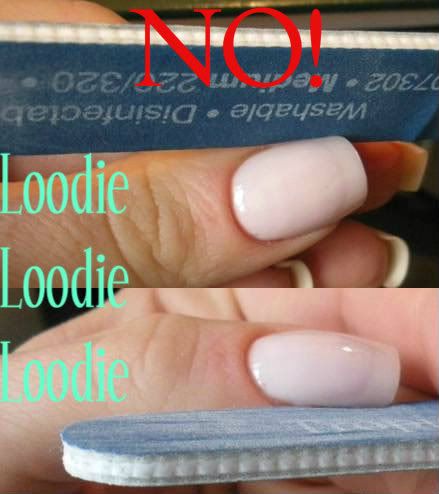
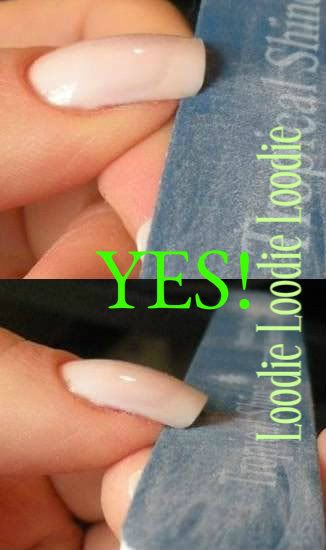
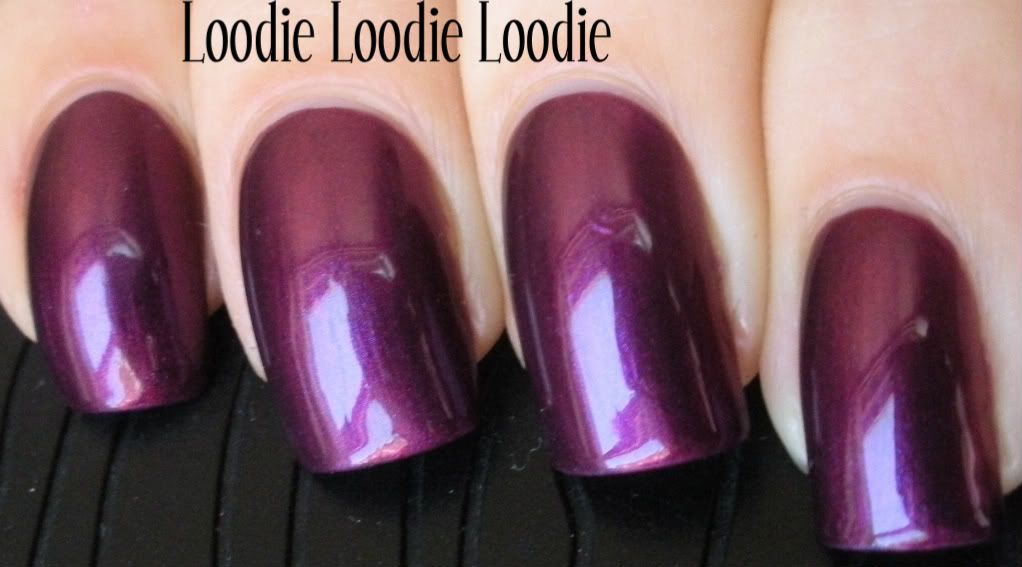
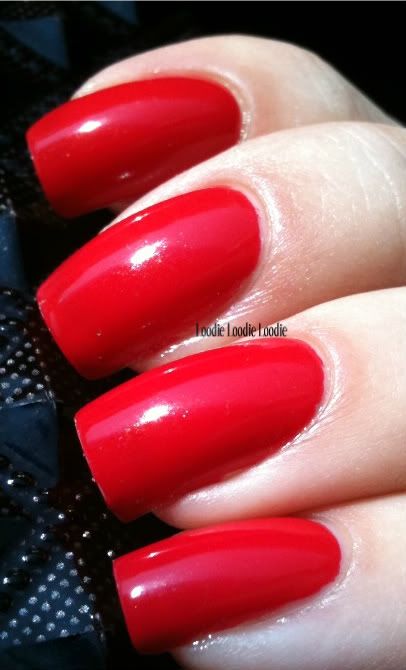
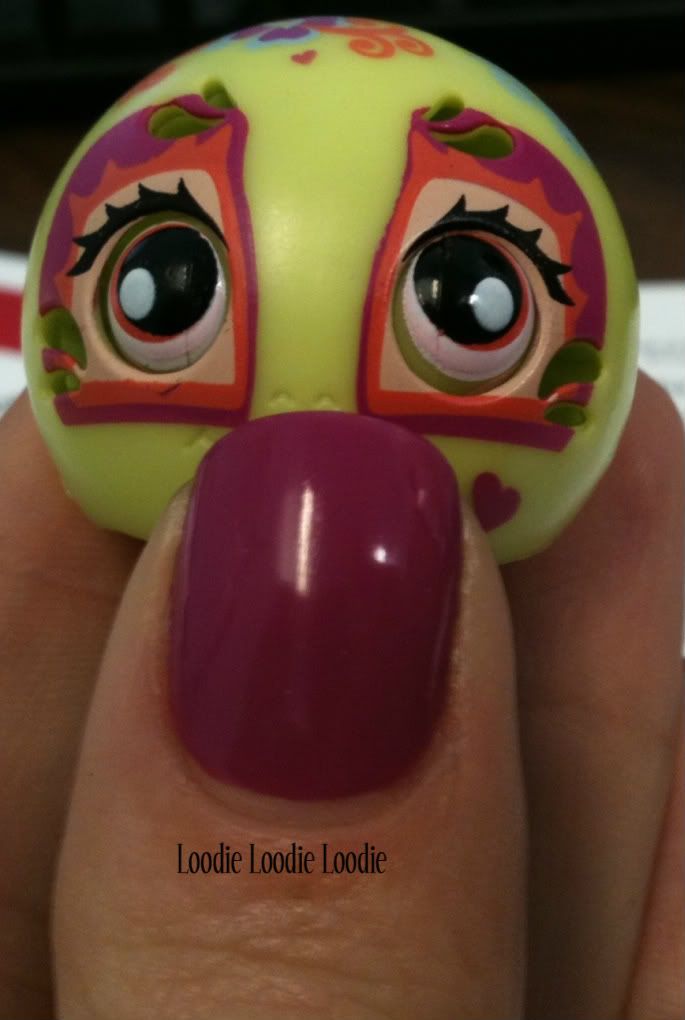
In terms of polish wear ...
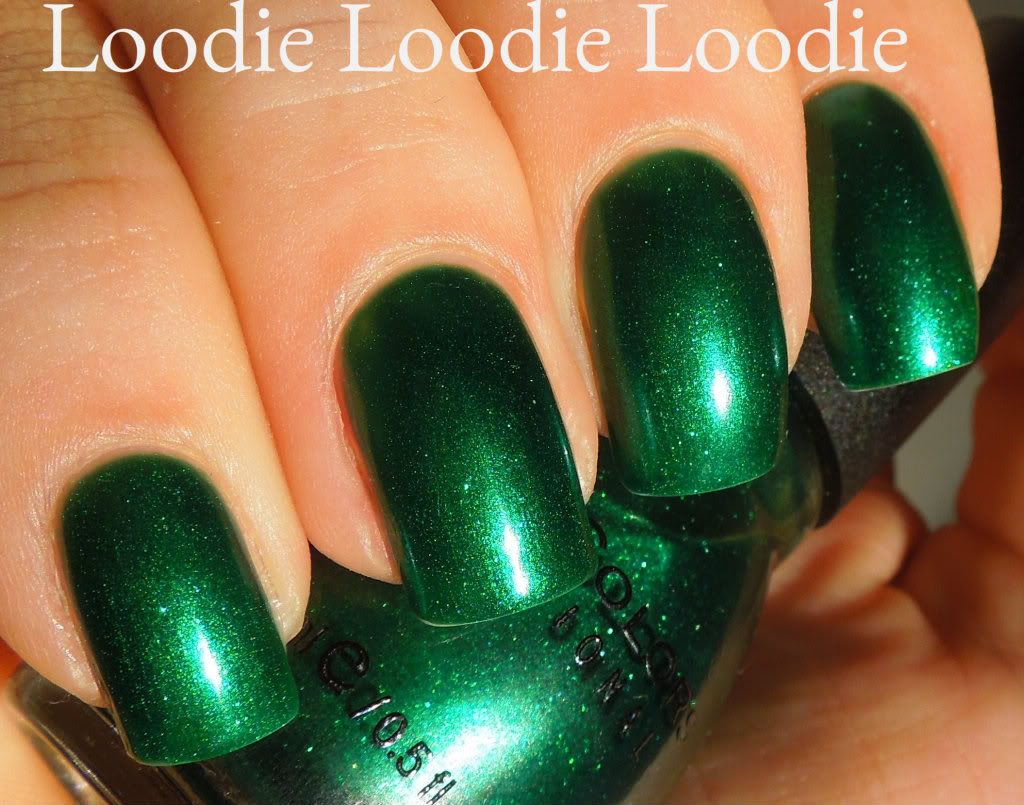
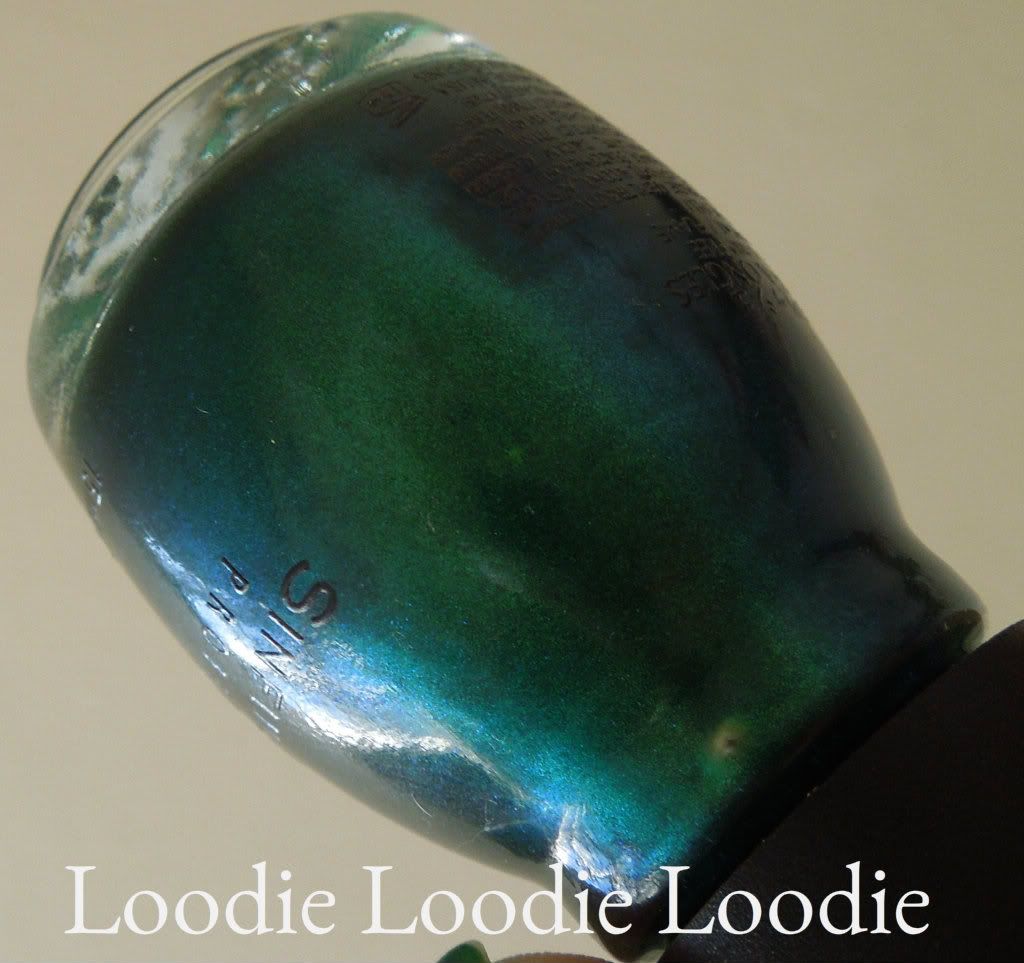
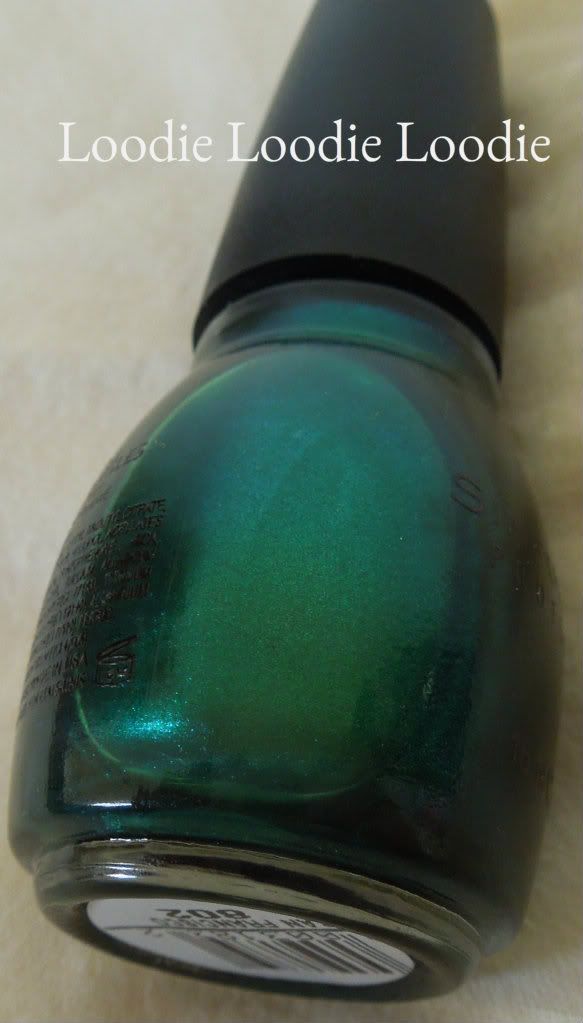
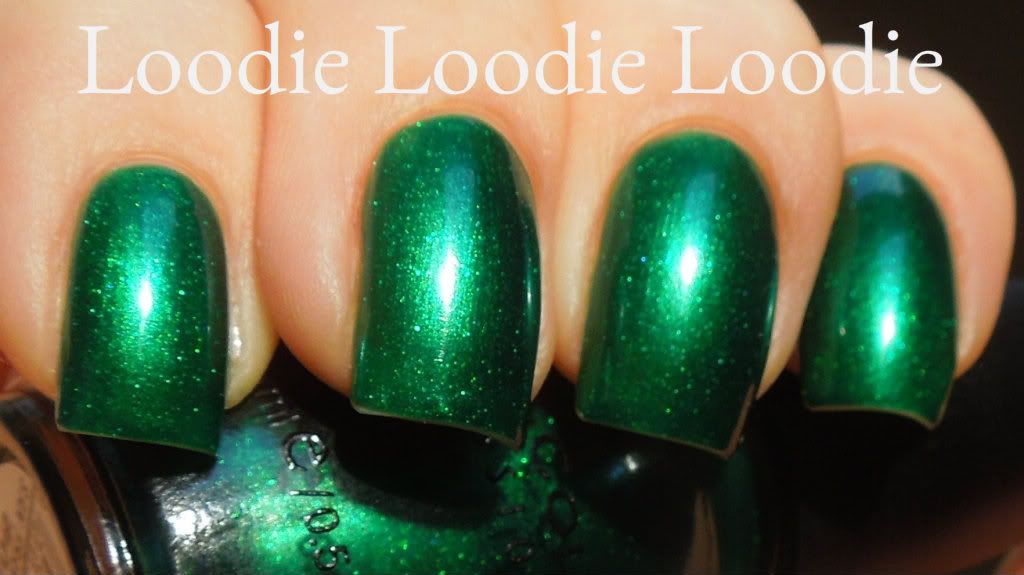
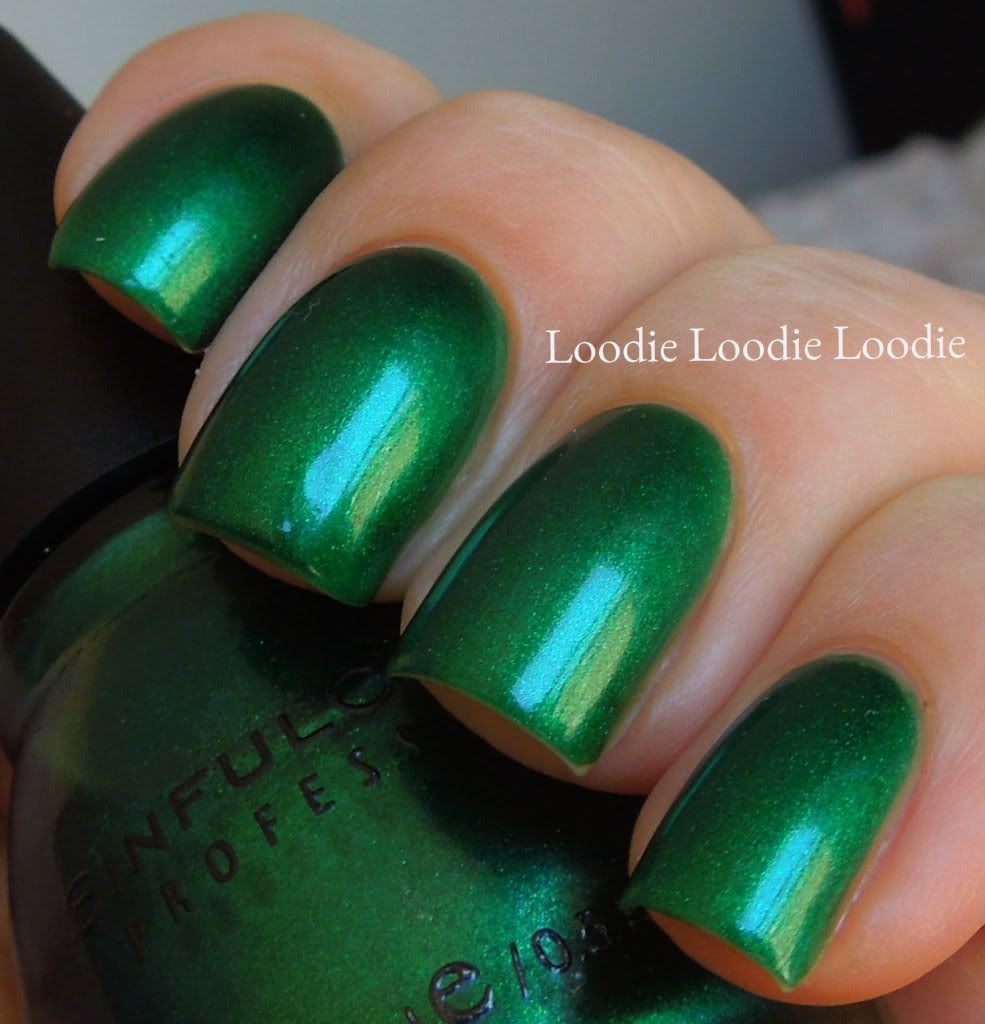
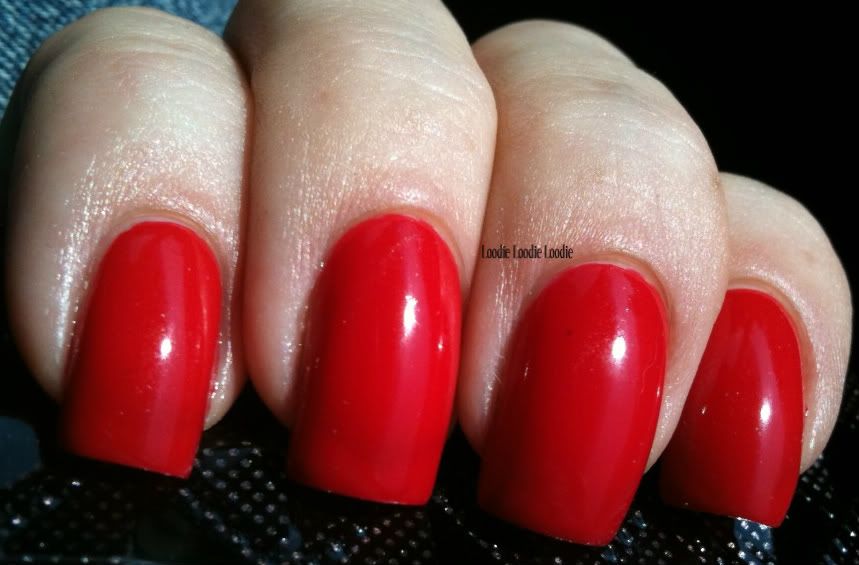
I don't remember ever having any problems with polish wear. As an example, I remember wearing
China Glaze - Stella
for about a week while I was at a conference and it looked flawless.
This product does not contain oil which probably helps with proper polish adhesion.
So what makes this stuff so special? A few key ingredients:
Liposomes!
I don't know about you, but I first heard of liposomes when I discovered
Prostrong. They had a
moisturizing product they included with the accelerator that was pretty great. Later they made it pink (using Red 33) which I have an allergy to and our relationship ended real fast.
Liposomes are really neat little things you can read about
here. Simply speaking they are fatty sacks filled with, well with whatever you want to fill them. They can vary in size.
What is most important is not that this product contains liposomes, because many do, but about the quality and quantity of the liposomes. You can be sure you are getting high quality liposomes that allow moisturizing ingredients to penetrate the nails and provide real moisture.
Biotin:
Normally we are accustomed to hearing about
biotin as a vitamin/supplement taken internally. It is metabolized by the body and delivered ... well everywhere. However, in this product the chemists have specifically formulated it to stay on the nail. An exact amount is stabilized and its delivery is controlled on the nail bed. Does that mean no pimples?!? That could be a plus.
Allantoin:
I love this stuff as I have mentioned in
this post. It has the capacity to increase the hydration levels in the skin and has exfoliating properties. Read
this if you want more info.
Panthenol:
Simply speaking, this is a moisturizer. More fancy ... this is a provitamin of B
5. It can absorb water from the air and is an emollient.
Phytantriol:
Helps retain the moisture in the nail bed.
Overall thoughts:
What a great little product!! The winter months bring me a lot of trouble with dry skin and nails. I need all the help I can get in the cold weather. You can be sure I will continue to
grease up my cuticles extra hard with oils and balms while I'm wearing polish and apply this Balsam under new manicures. *Don't forget to wear gloves when it gets cold outside to protect your nails from the lower temperatures and wind!*
Trind has many other fantastic high quality products from nail hardeners to nail colors. Solveig from
Nailin' It! has had fantastic results with Trind Nail Repair. Have you tried any of the Trind products? Thoughts?
*This product was provided by the company for review*