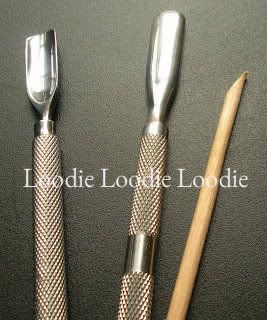
I own several crystal nail files, some are good, some are atrocious. Most, if not all, of the terribly made crystal nail files are made in China; the best come from the Czech Republic. One terrific option is made by Mont Bleu.
Here are two size options:
 |
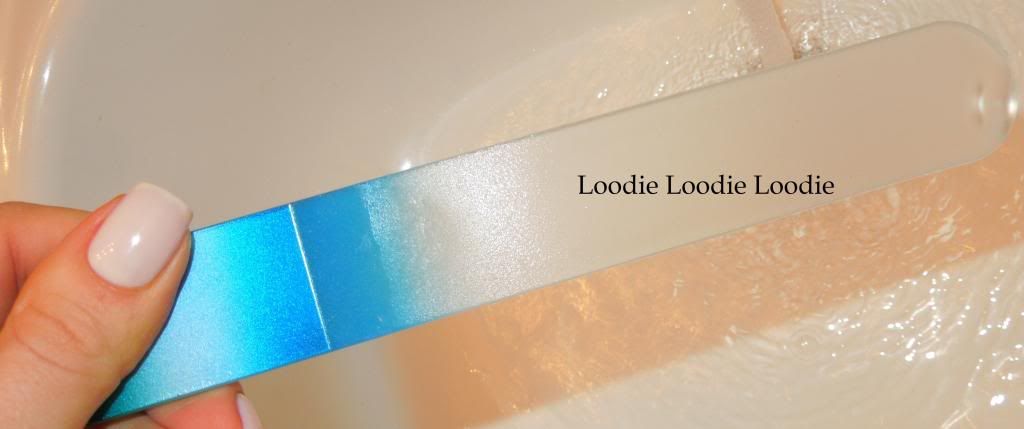
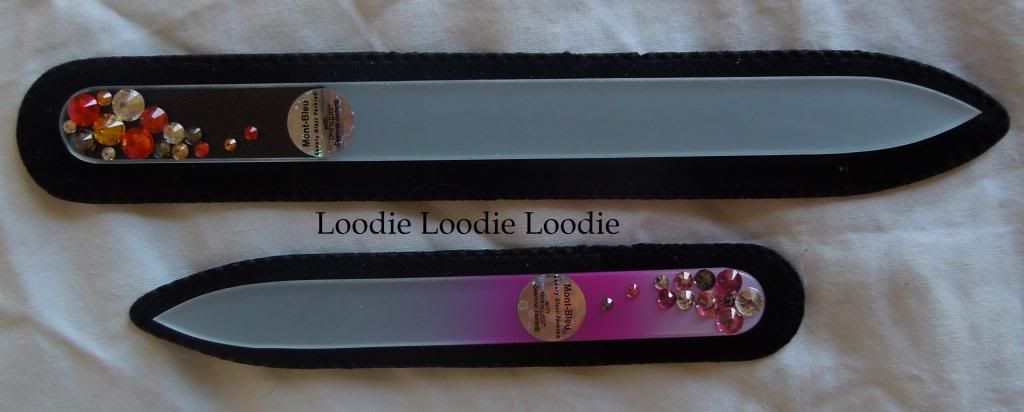
| Mont Bleu Crystal Nail Files |
The top file is your typical standard size and the lower one is a mini file. I know they make a larger one, which I did not receive to show, but I own several and they look something like this:
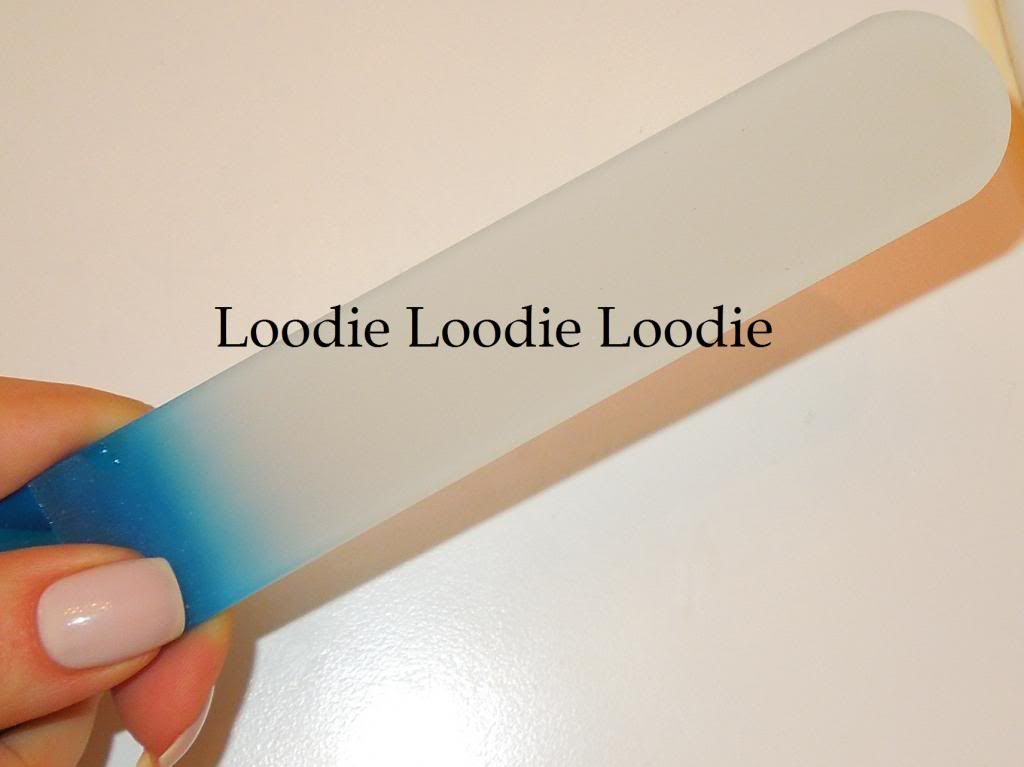 |
| No Name Brand Czech Crystal Nail File |
These big boys are great for sanding the feet area.
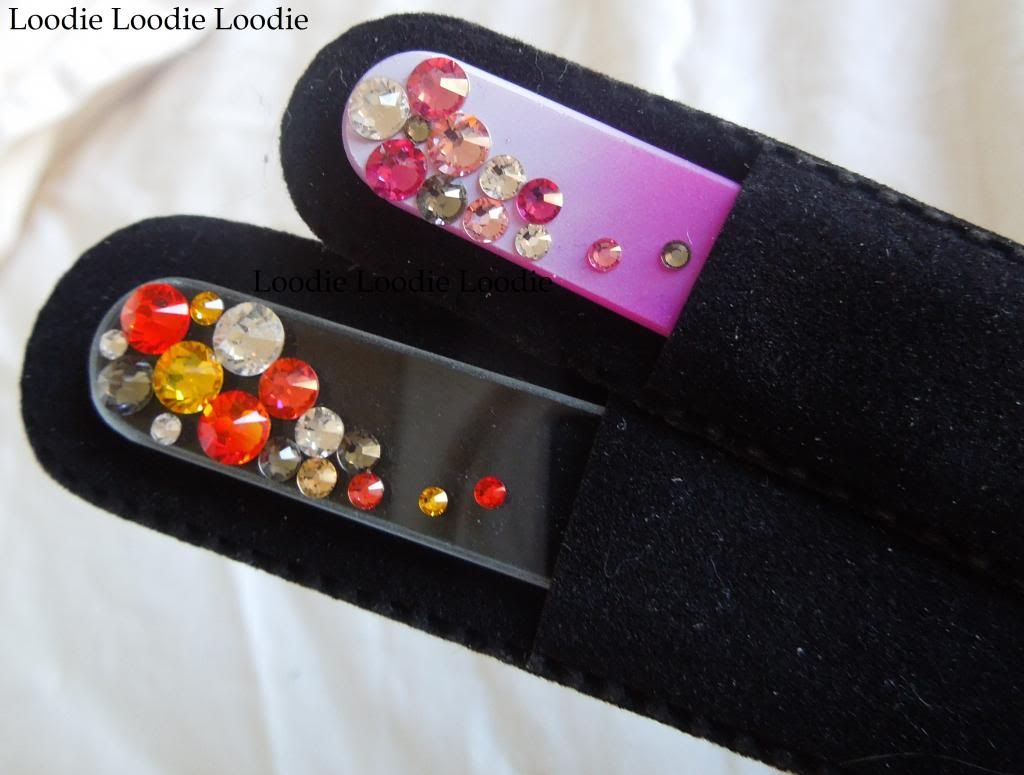
 |
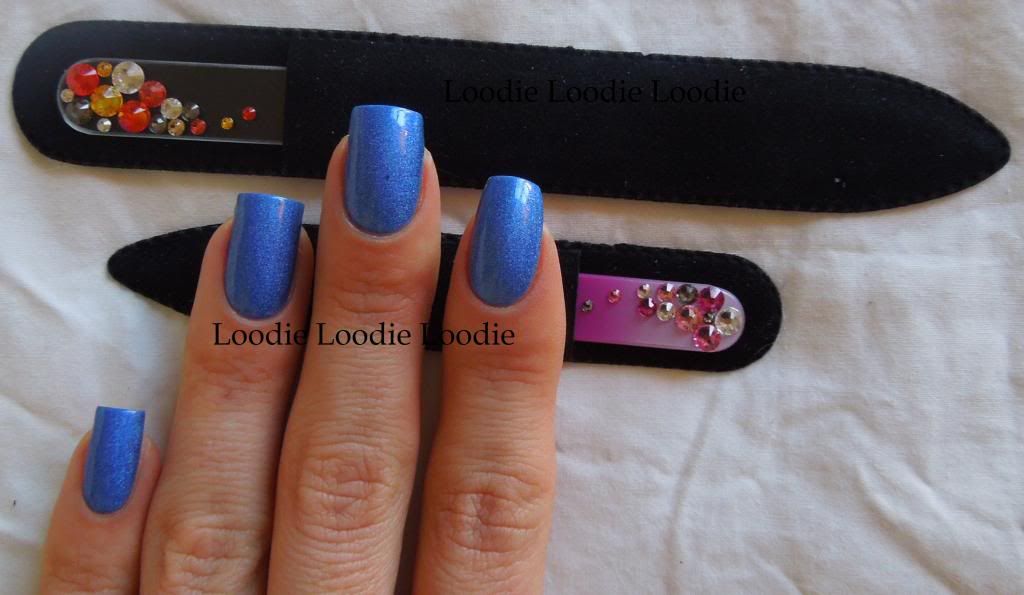
| Mont Bleu Crystal Nail Files |
These two particular files are embellished with Swarovski crystals. The crystals are nice, but I was more concerned with whether the files are able to perform the job.
Durability
In terms of durability,
my cardboard files are pretty heavy duty and I find myself throwing them around haphazardly. Of the crystal glass files I own, I never worry either. I have bought several Nail Tek glass files and each came in a
protective, tight fitting, plastic case, while my OPI crystal file came
in a plastic tube. Unfortunately, I had to be somewhat cognizant of the Mont Bleu files because they came tucked in a simple soft felt protector. Thus initially, I did not reach for them often. I guess it was too much trouble to worry about them. To give them a fair review, I decided I had to place them in a
safe yet easily accessible place. I put one file in a desk drawer I frequent several times a day and the smaller one in a random purse unprotected. I must mention that this company carries a line of files that includes a protective case, it just wasn't the one I received.
Performance
After over a year of use, I can honestly say the Mont Bleu files are of very high quality. They rival the other decent files I own made by OPI, Nail Tek and non-branded files from the Czech Republic. I was thoroughly impressed with not only the performance I experienced, but by the crash test shown in this video:
The file is particularly impressive on the hard tile (at 0:54). Now I wouldn't go throwing my good files at hard surfaces, but I enjoyed the video none the less.
Intent
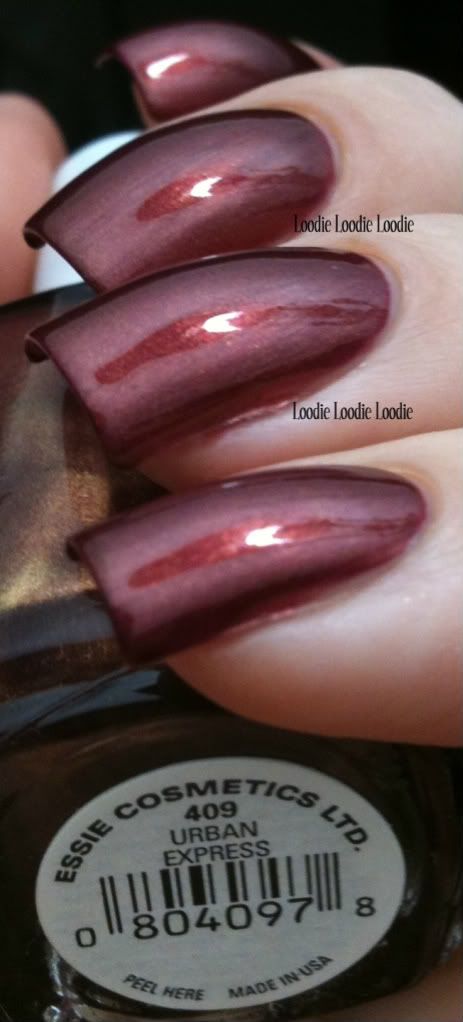
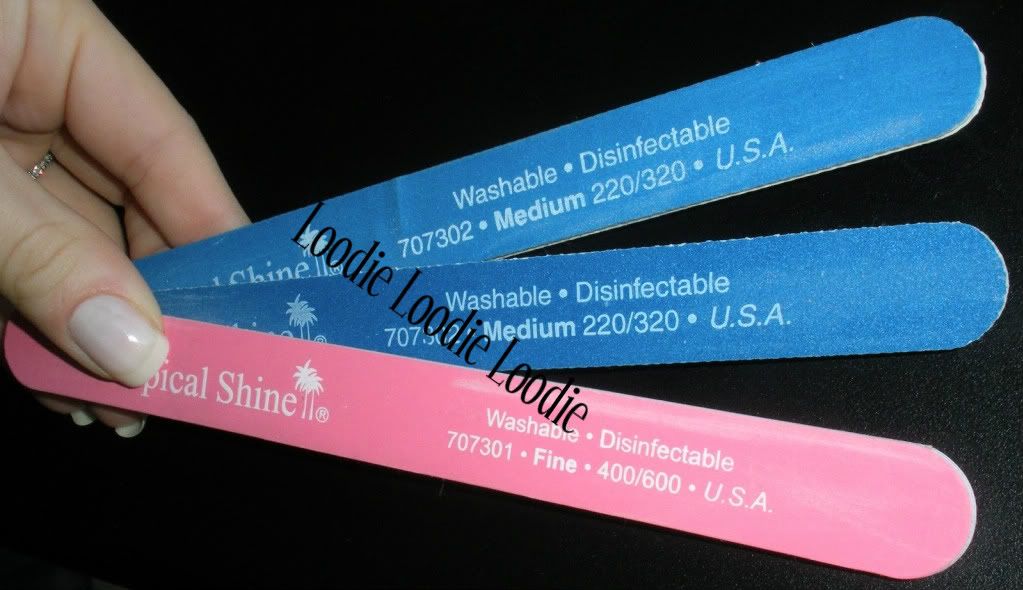
I mainly used these Mont Bleu files to finish or touch up my nail shape, just like I would with the
400/600 grit Tropical Shine files. I still prefer a lower grit strength (like 220/320 by Tropical Shine) for taking down nail length, but it would do well for people with patience or people with nails that are weak, thin or problematic.
 |
| Mont Bleu Crystal Nail Files |
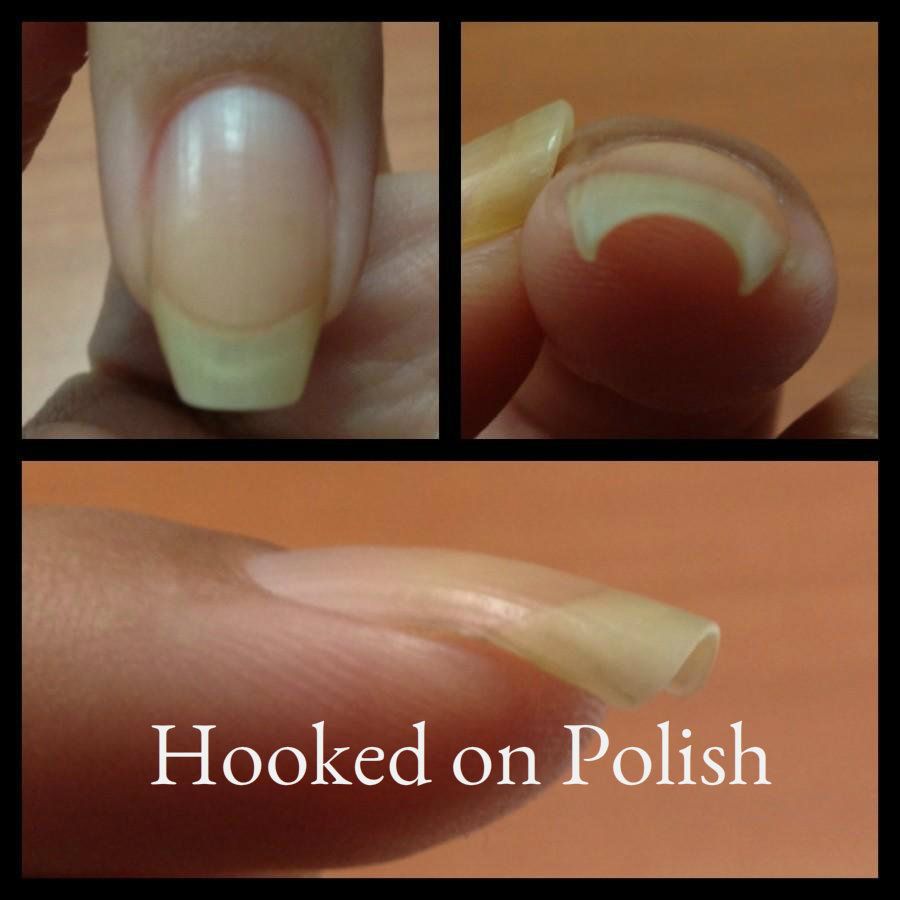
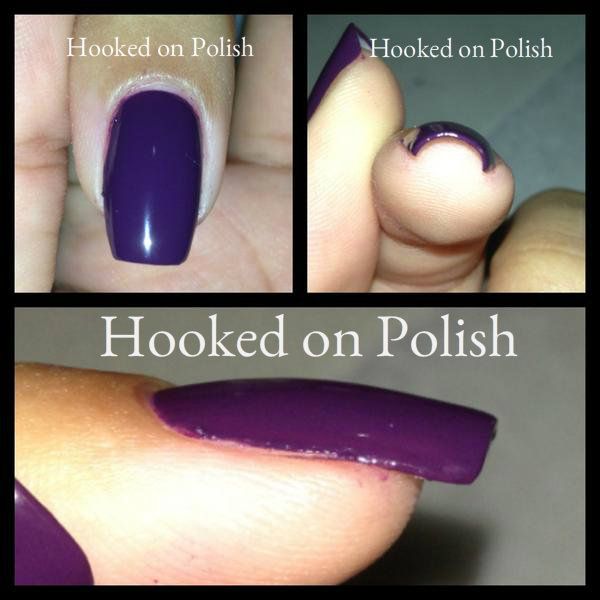
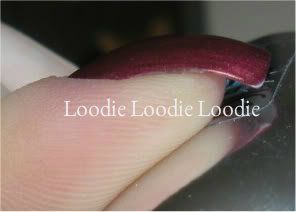
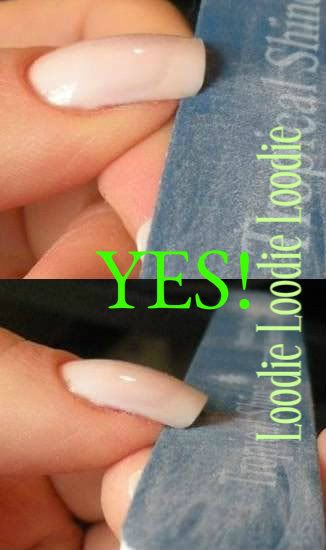
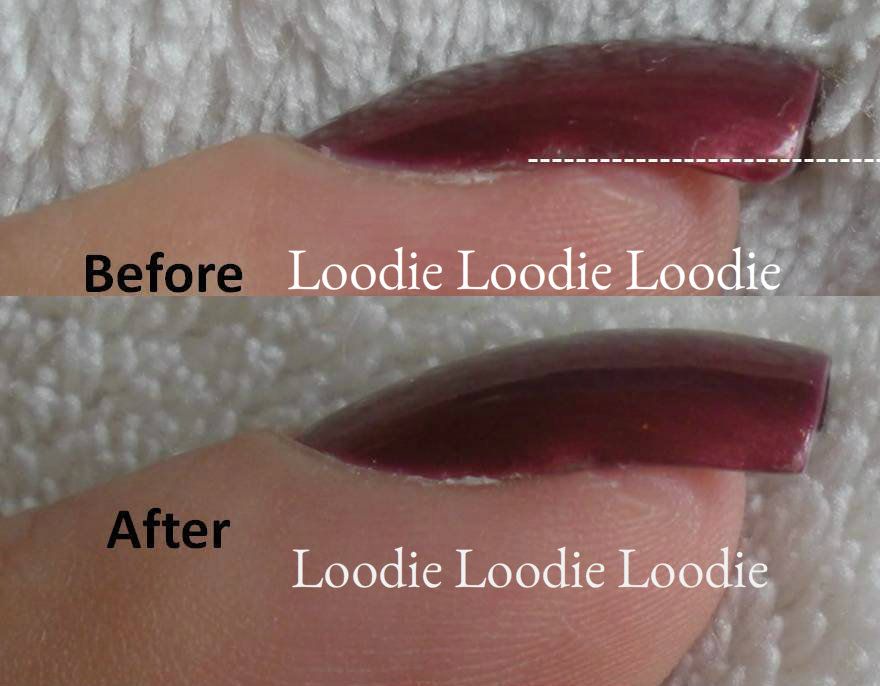
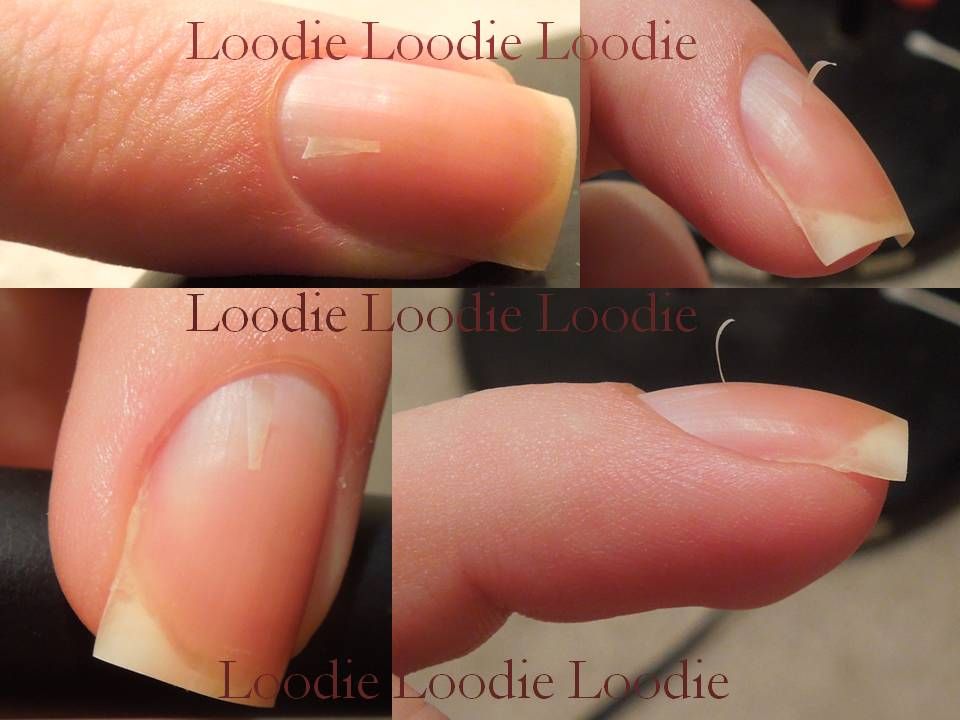
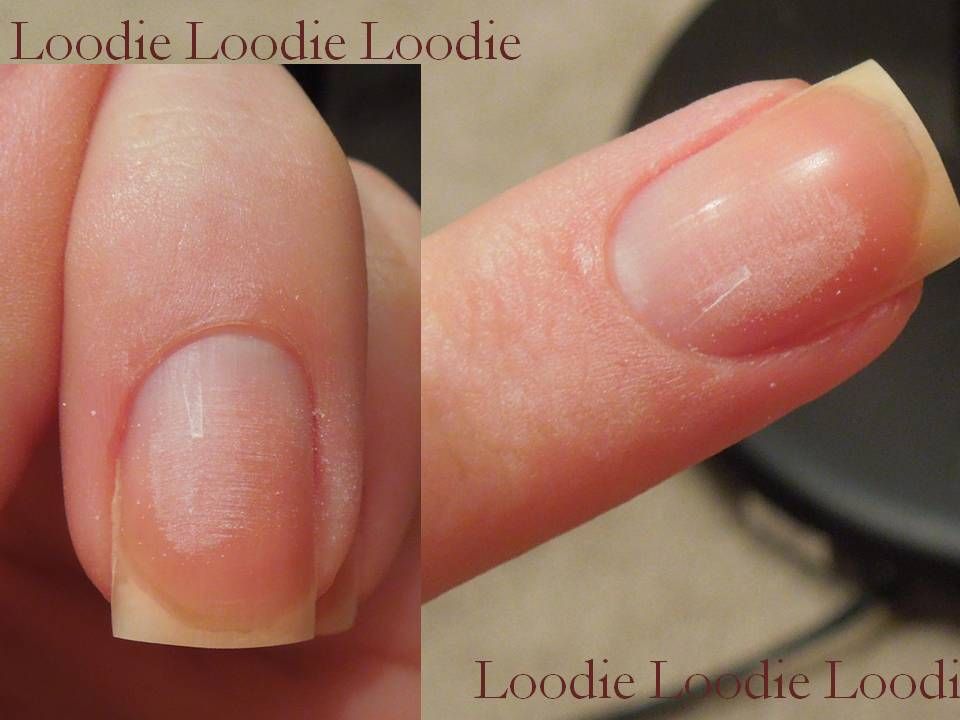
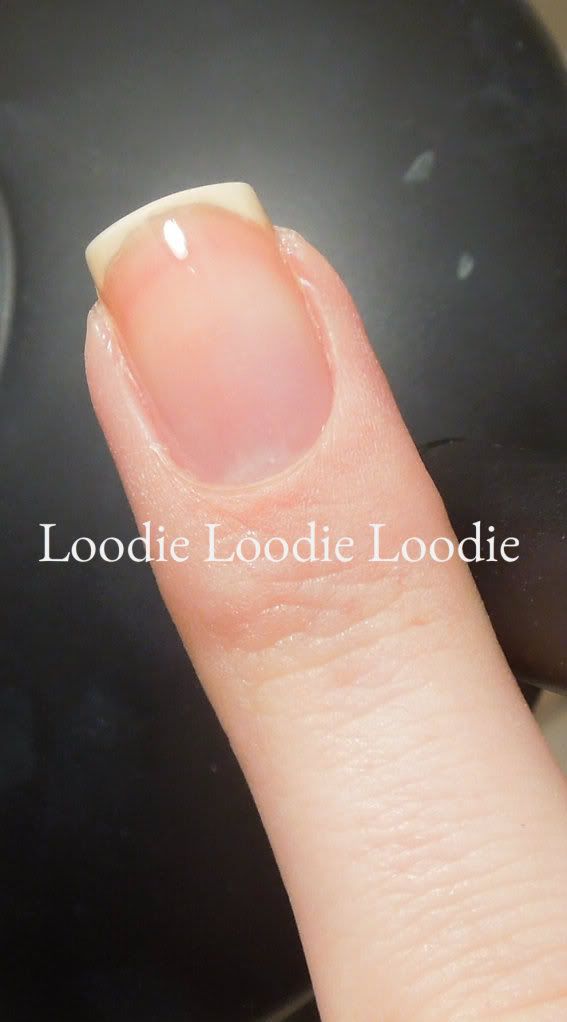
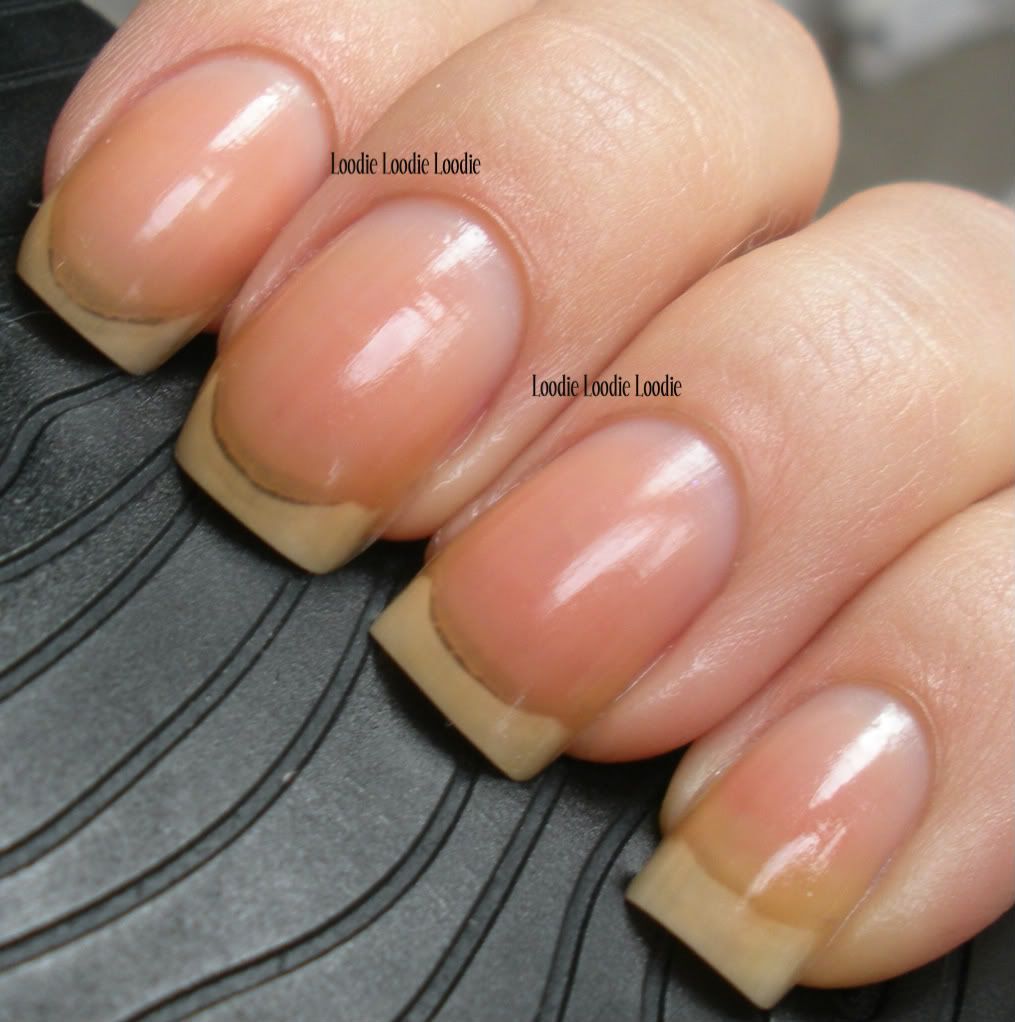
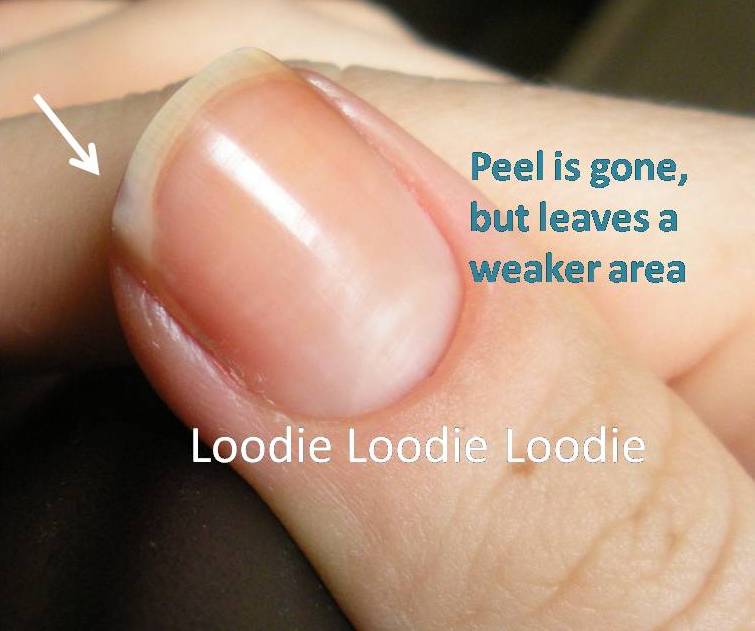
How about an example of how I used, and will continue to use, these and my other crystal files? Let's say you are going for a square shape. Over the course of a week, the nail corners can get a bit rounded. This can be remedied by filing straight across until your desired shape is achieved. Sometimes this type of filing can create "
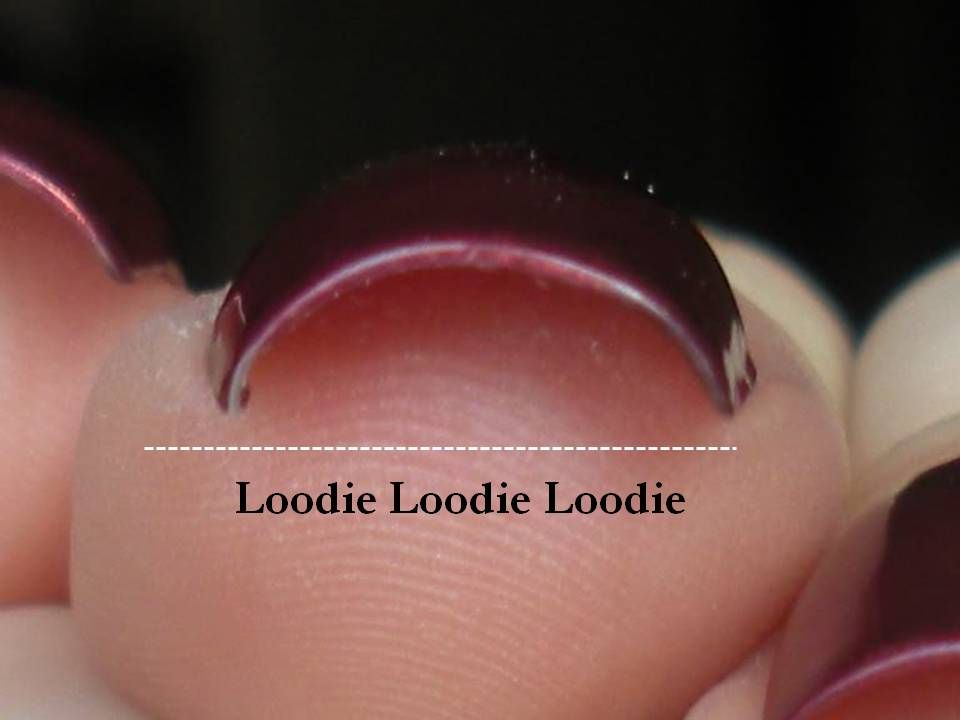
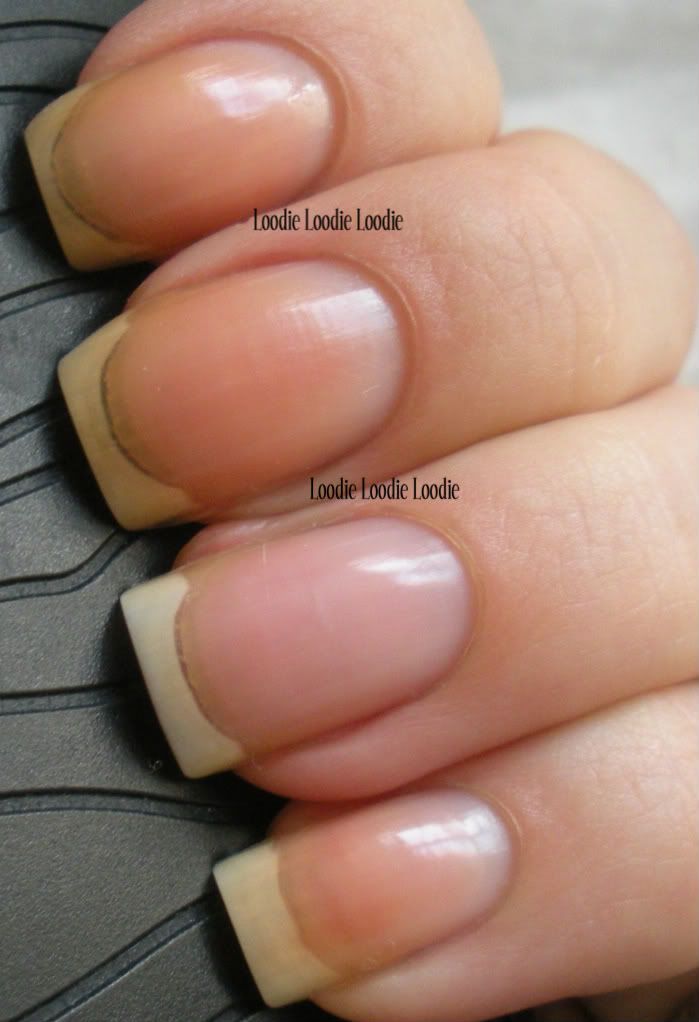
nail shavings". What's that you say? See picture below:
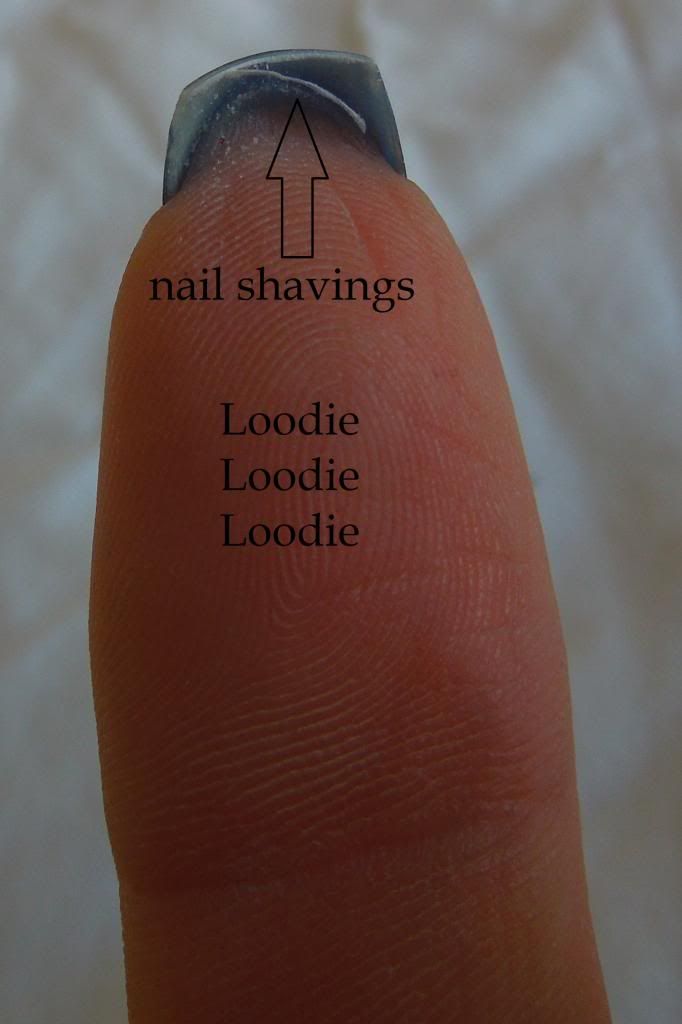 |
| Loodie nail shavings |
 |
| nail shavings |
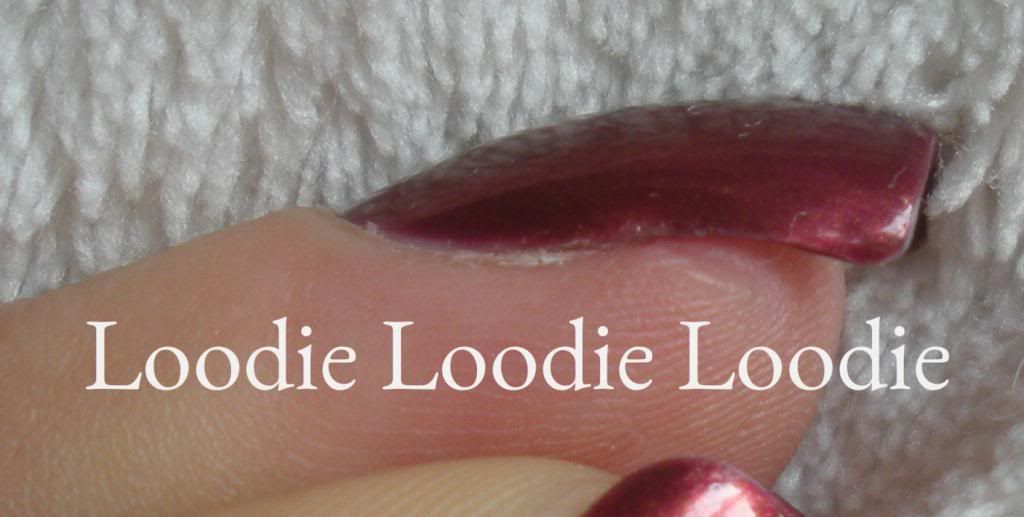
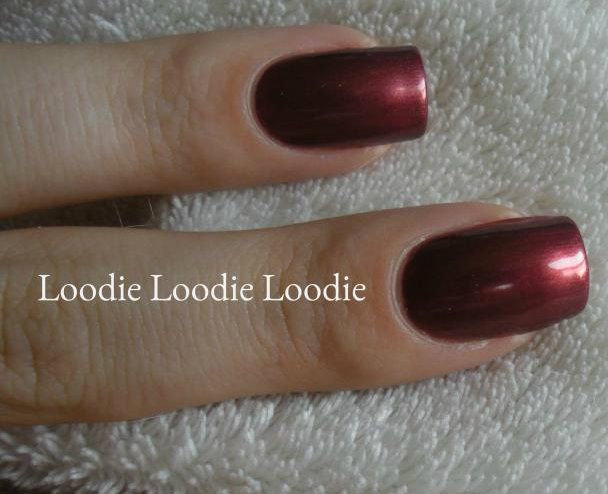
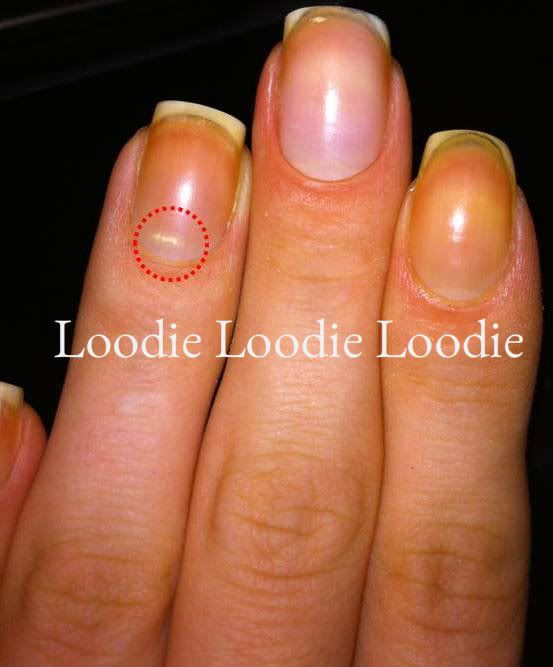
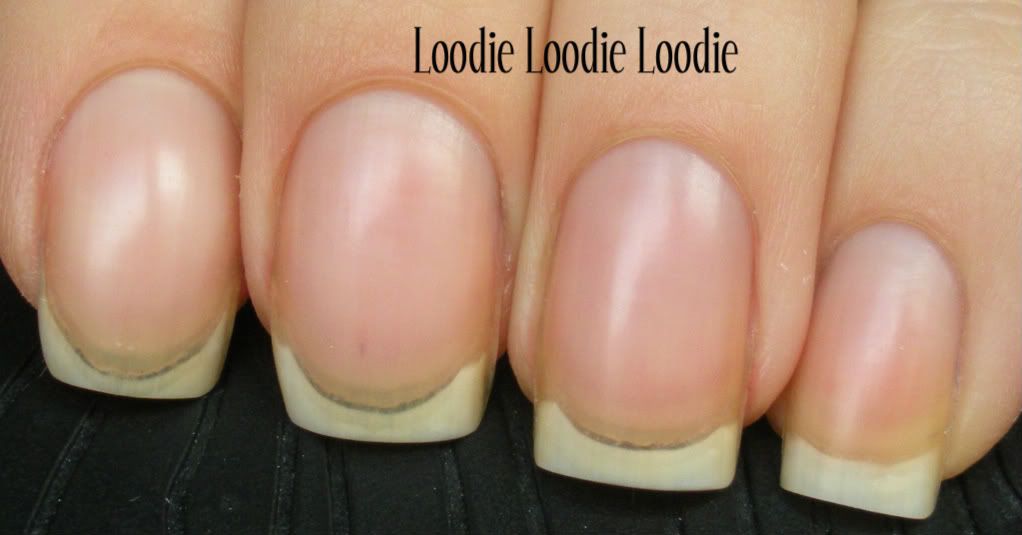
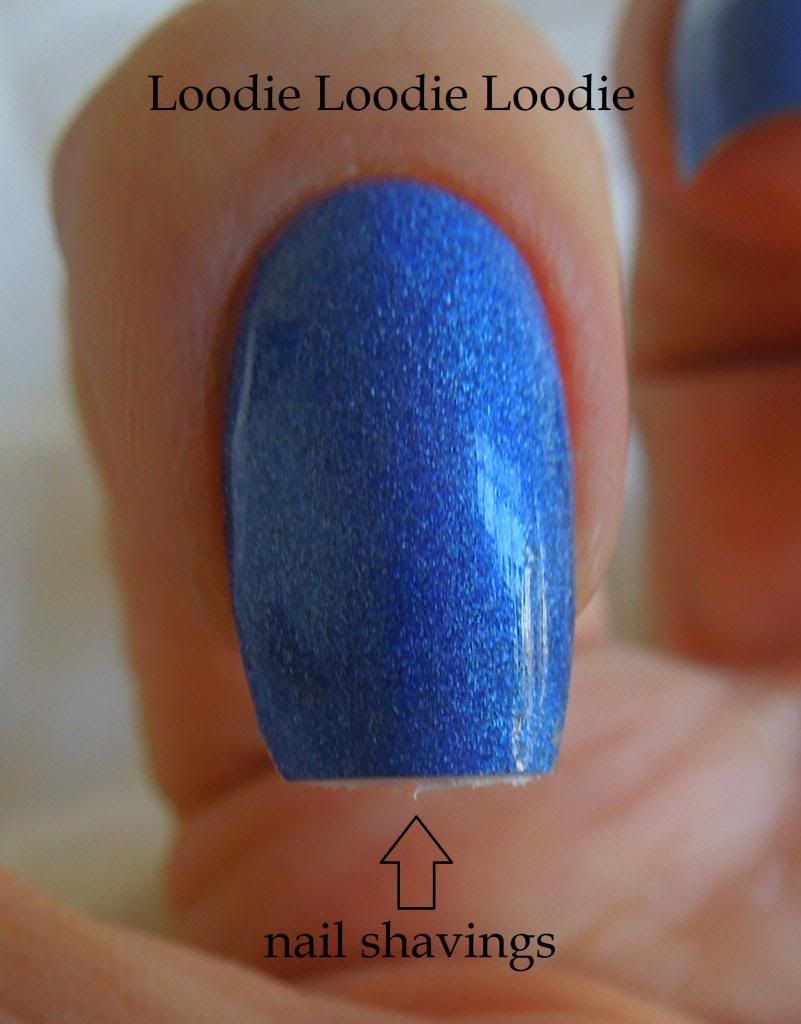
The nail shavings can then be eliminated by dragging your nail down the length of the file. This is the exact same technique I showed in previous
posts/videos.
 |
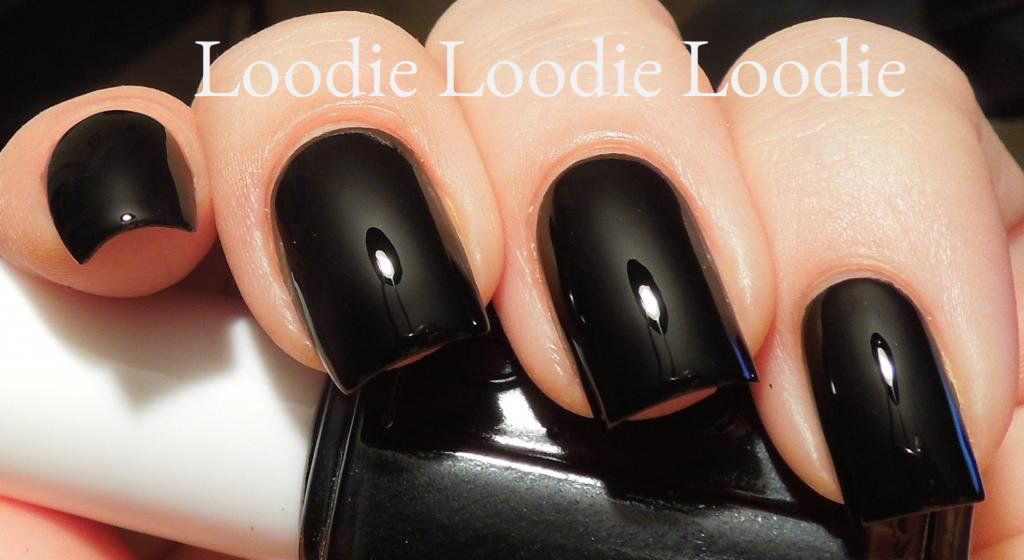
| Nail shavings eliminated! Nail sealed! |
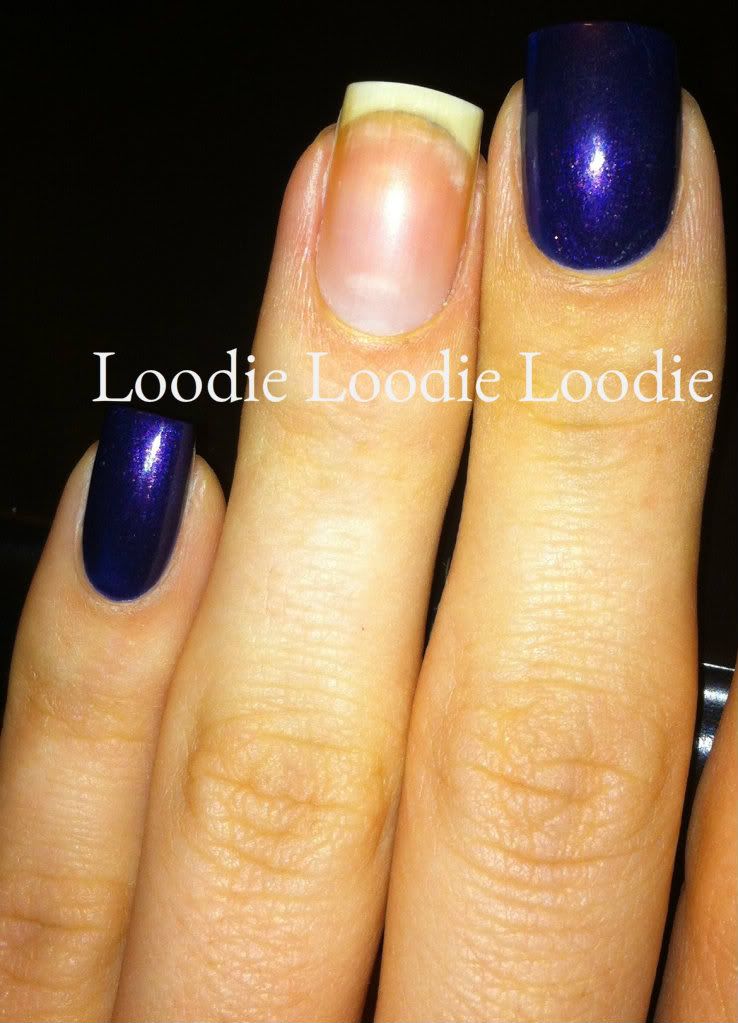
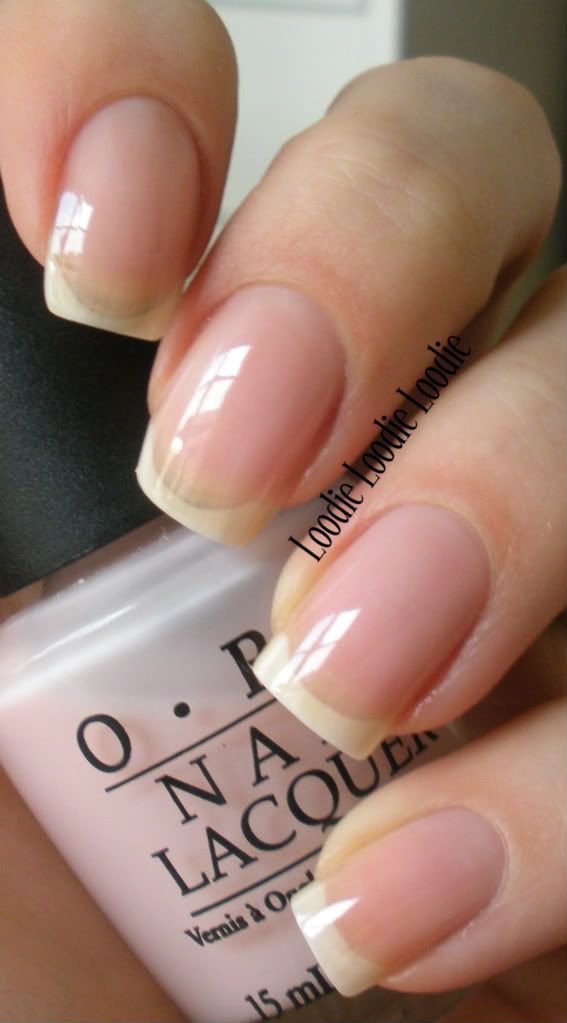
Please don't be alarmed by my
excessive nail meat. I can't help it.
Longevity
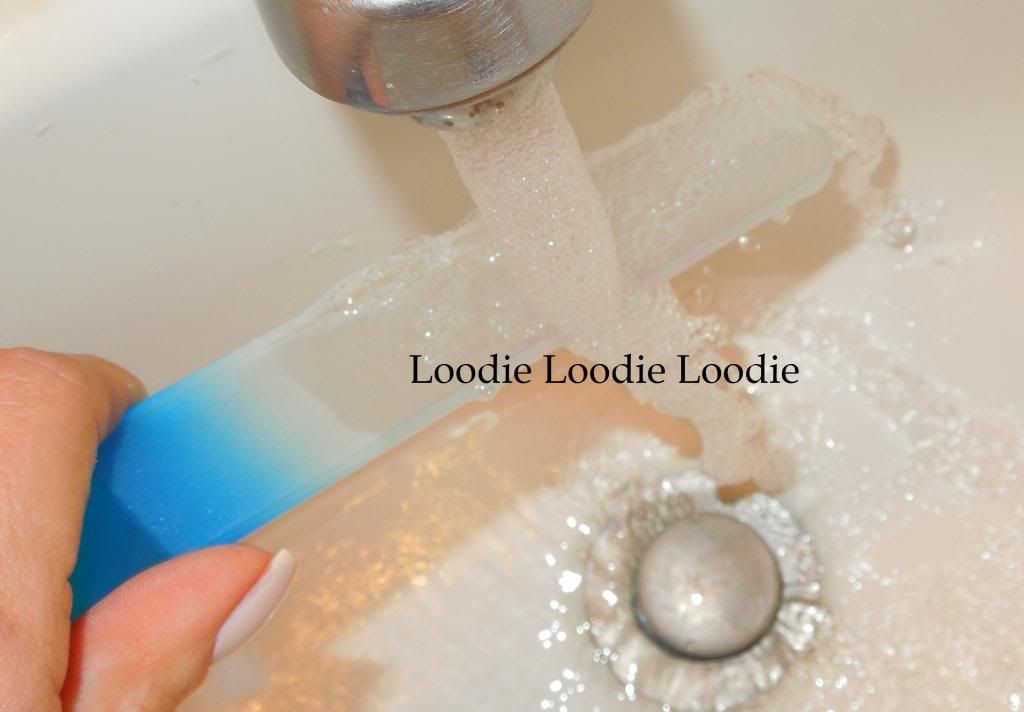
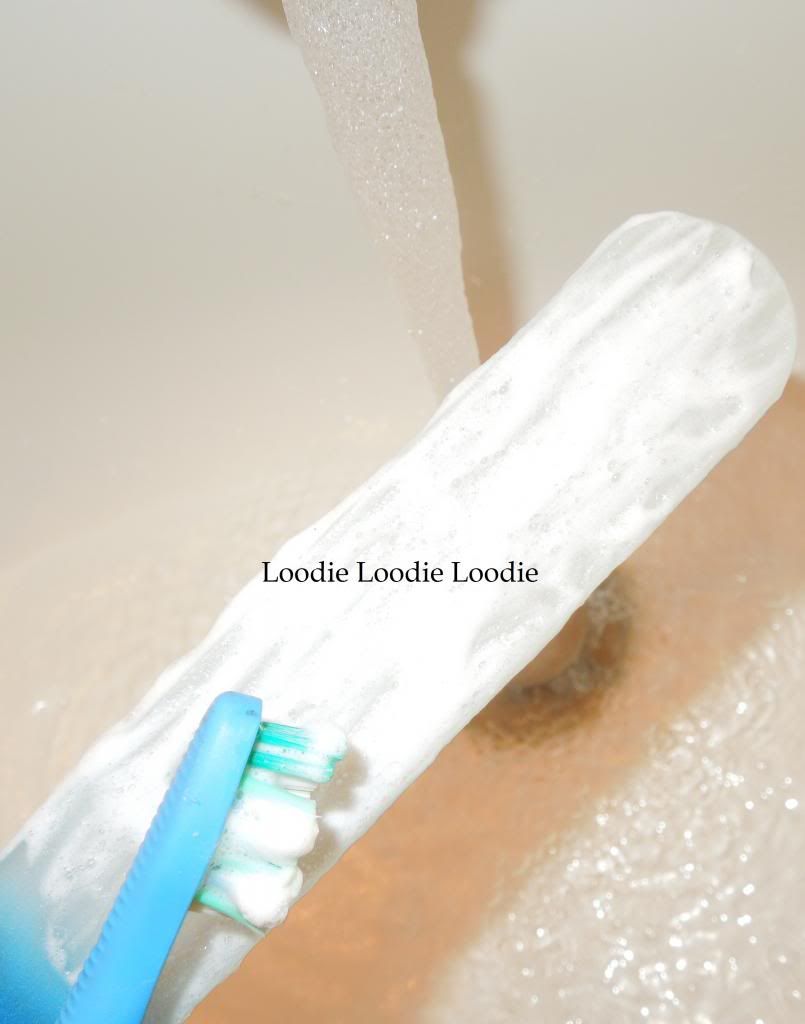
I am repeating myself here, but these files are on par with my other high quality crystal nail files. They have continued to stay sharp, requiring only an occasional washing. I posted on that topic
here!
In Summary
The take home message is, if you are in the market for a glass nail
file, I recommend you demand they be made in the Czech Republic. However, I can not guarantee this wont happen...
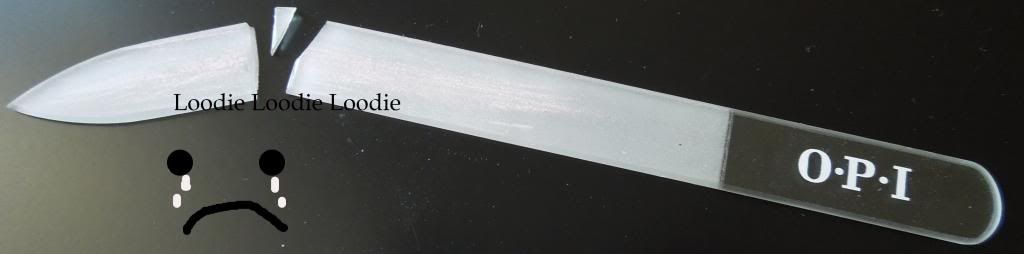 |
| OPI Crystal Nail File Sadness |
Life lesson: Don't leave a glass nail file to hang out on the carpet, while you go get a bowl of ice cream. Your heel will be sure to make direct contact sooner rather than later.
If you are interested in Mont Bleu specific nail files, their website is:
www.design-glassware.com They have many options that may suit your needs.
*Mont Bleu files sent for review*