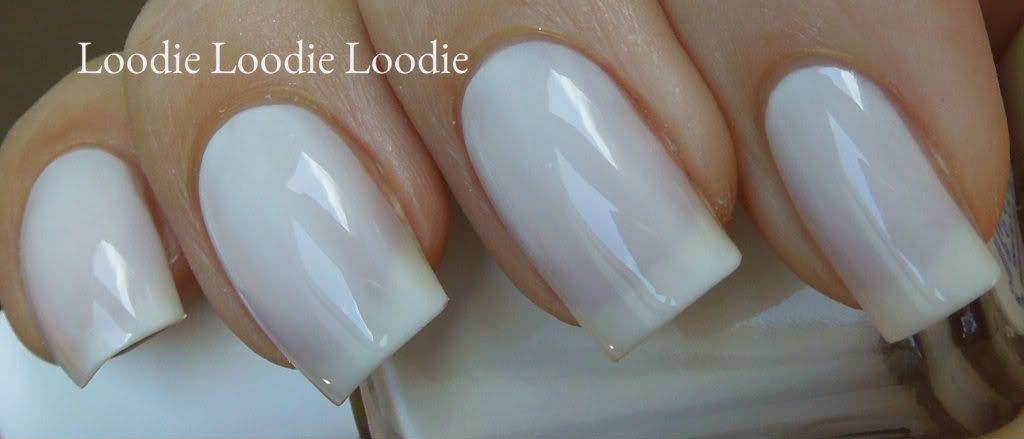
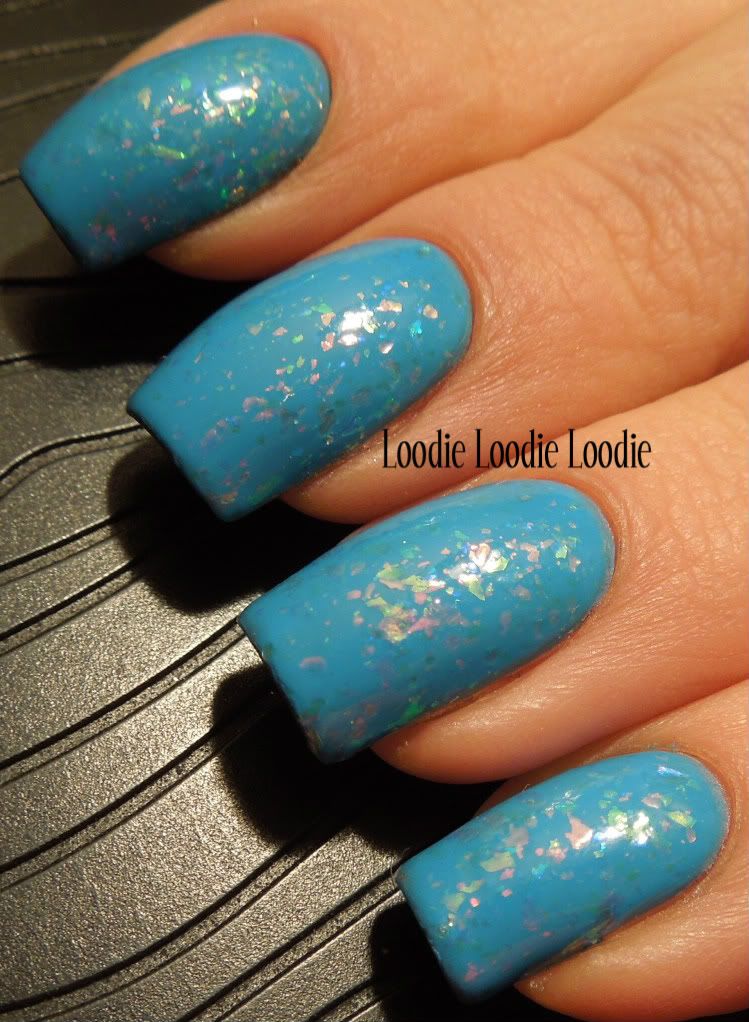
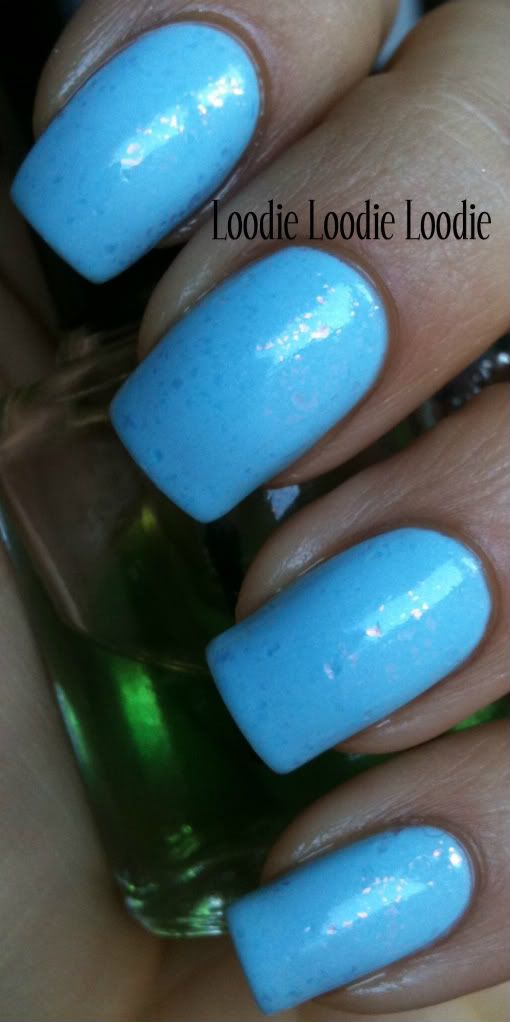
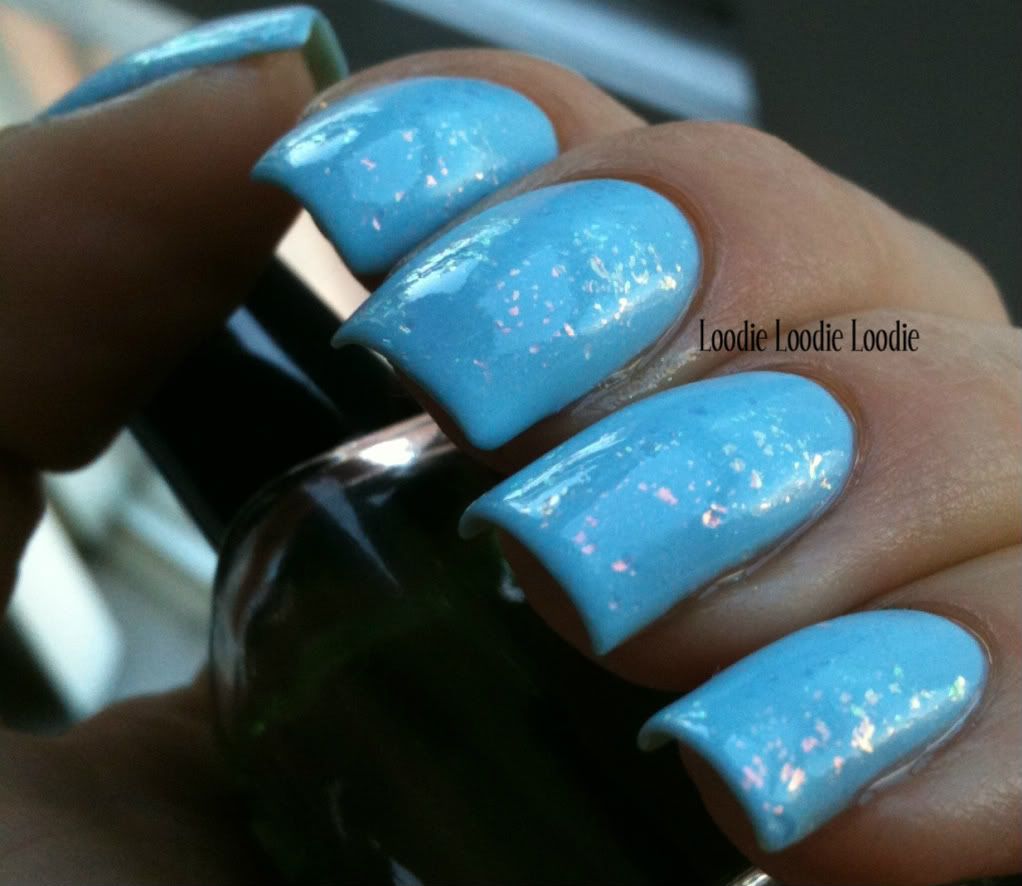
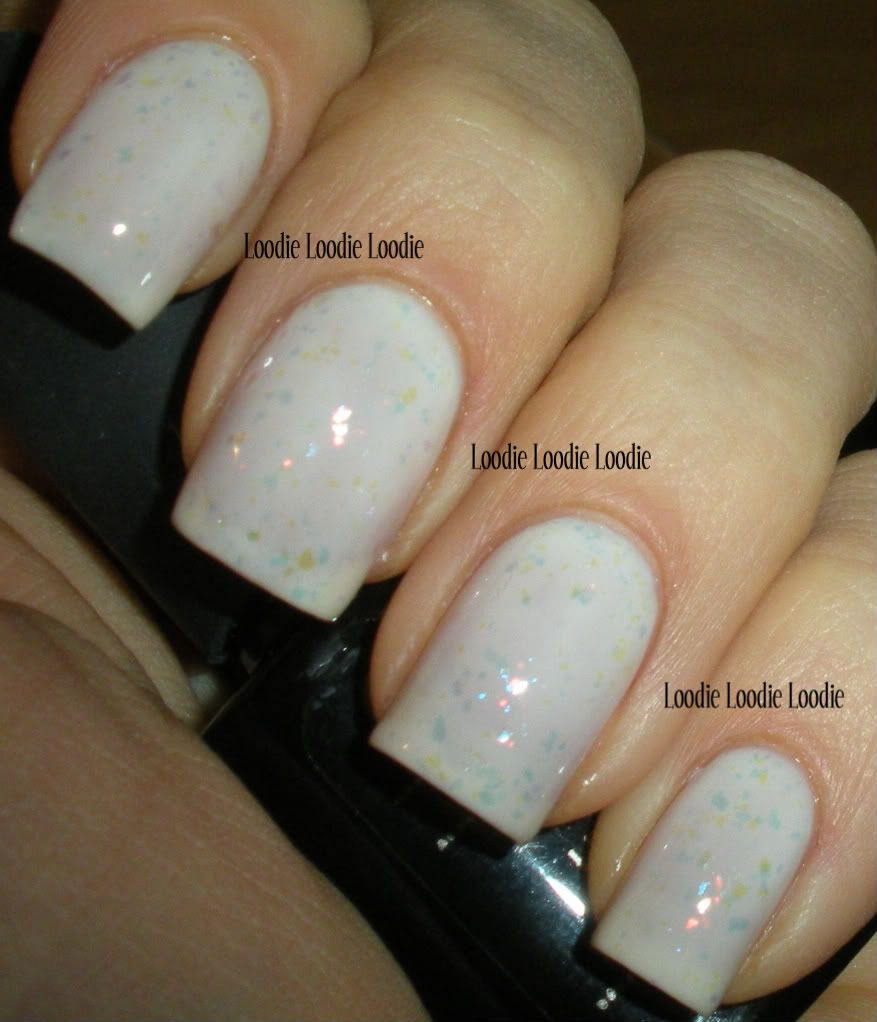
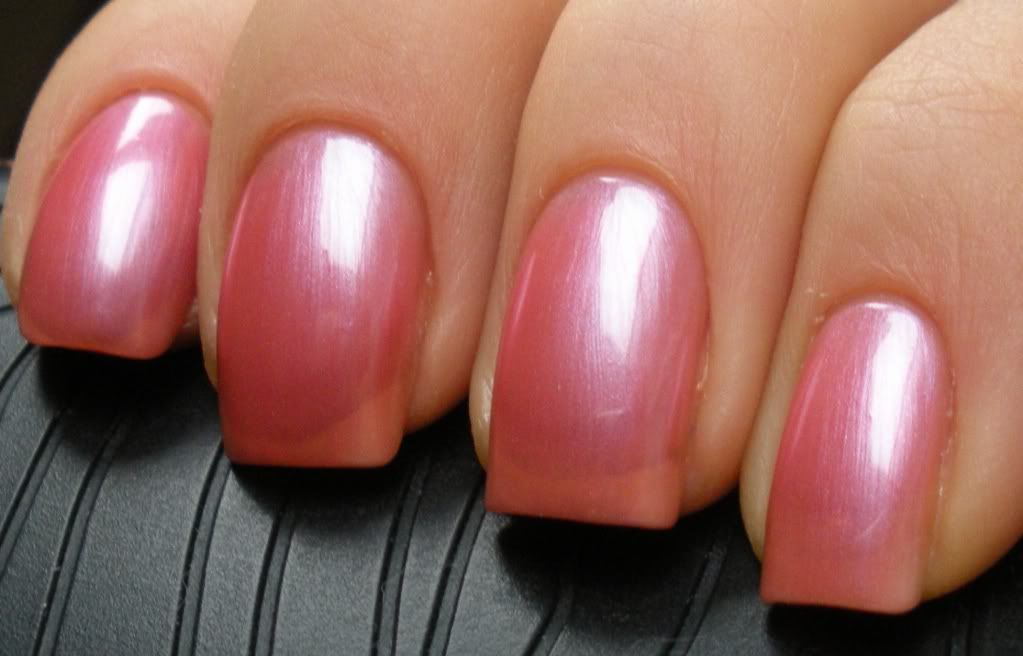
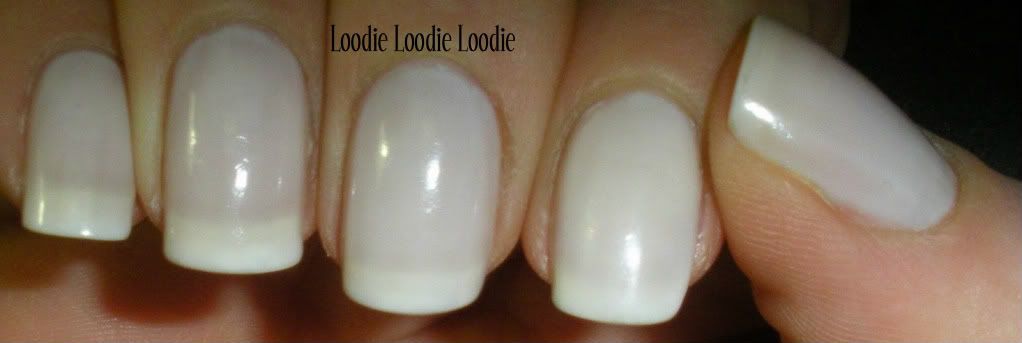
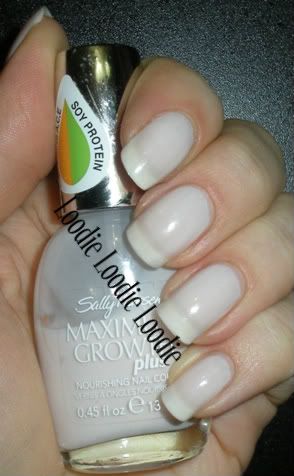
This post shows the performance of Sally Hansen - Sweet Tulip
As I have already mentioned
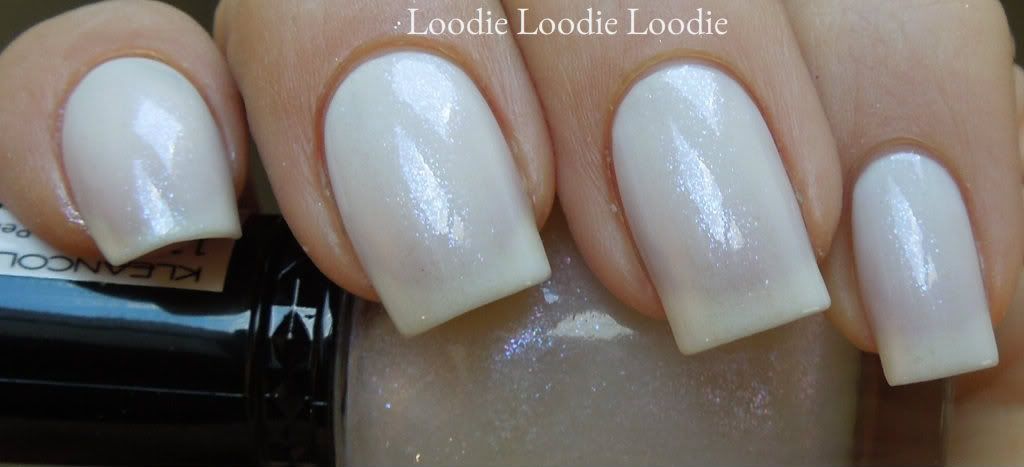
sheer whites are one of my favorites :)
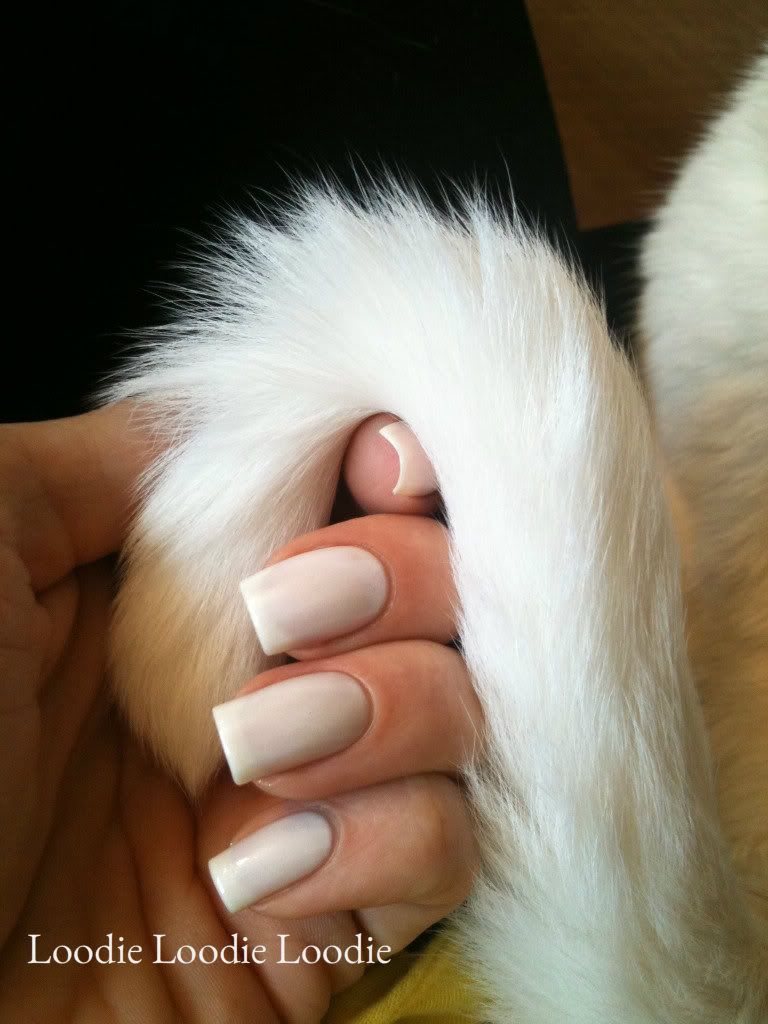
holy moly! My thumb looks weird, lol
This post will show the typical wear (on average) I can get out of this particular polish. Sometimes I get more, some times I get less. I find one of the biggest factors in performance with Sally Hanson Sweet Tulip (or any polish for that matter) is the health and condition of my own nails, assuming proper nail preparation before polish application. If I have any damage, i e. a peel, crack, then the polish will peel or chip there first. Always! It doesn't matter what base coat or top coat I use, whether I wrap the tips or not, and even if I apply refresher top coats throughout the life of the manicure; the chips will always start at the damaged area first.
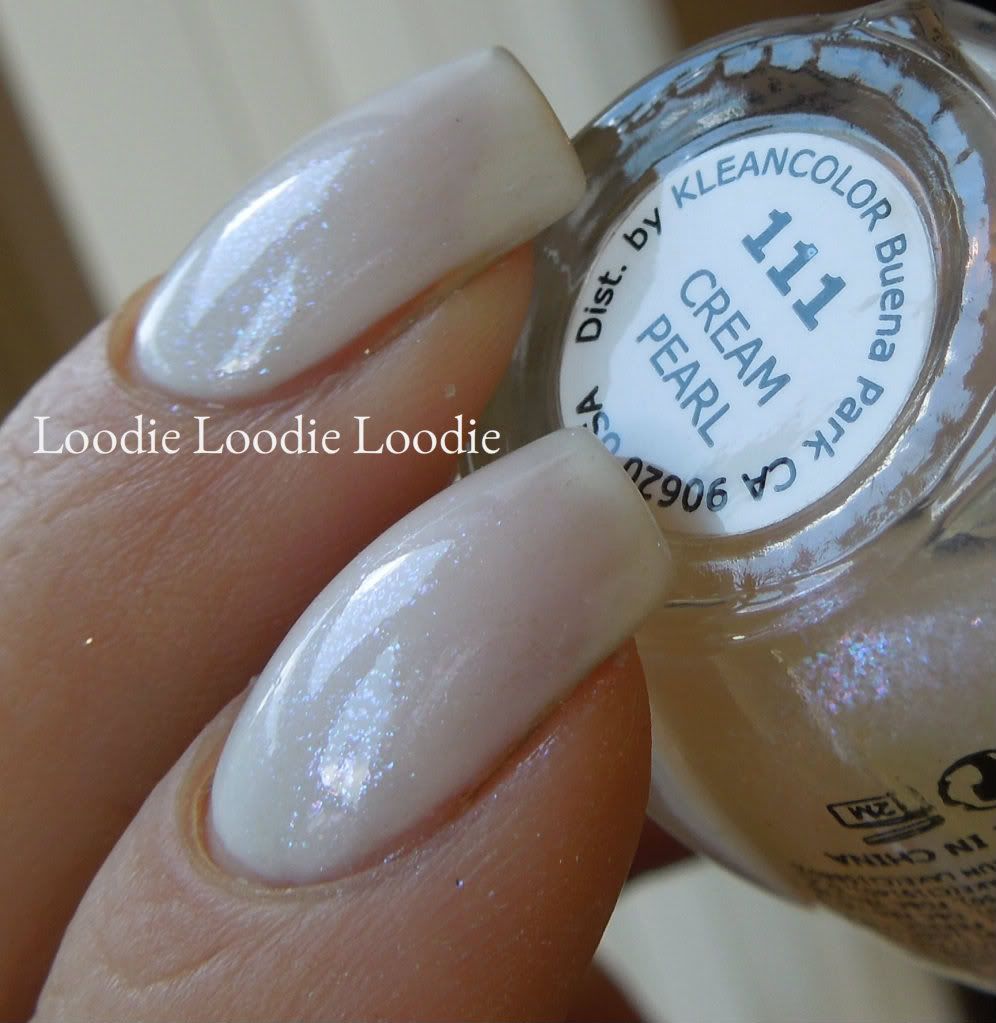
In the case of this color I skip base, I know how hedonistic of me. This color is a white sheer and I have found that it doesn't stain and wears the same with or without base.
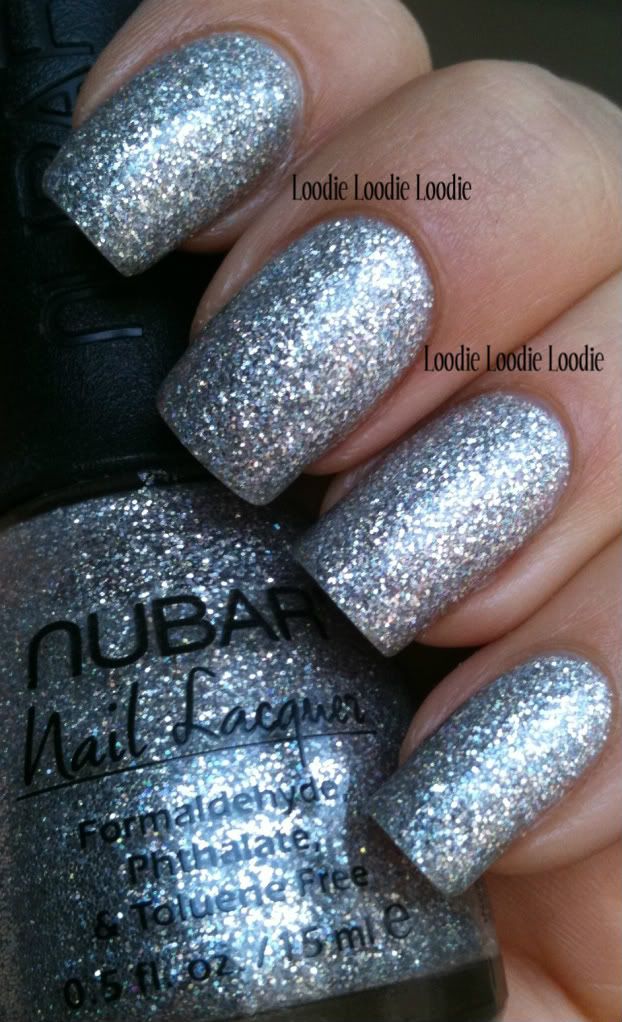
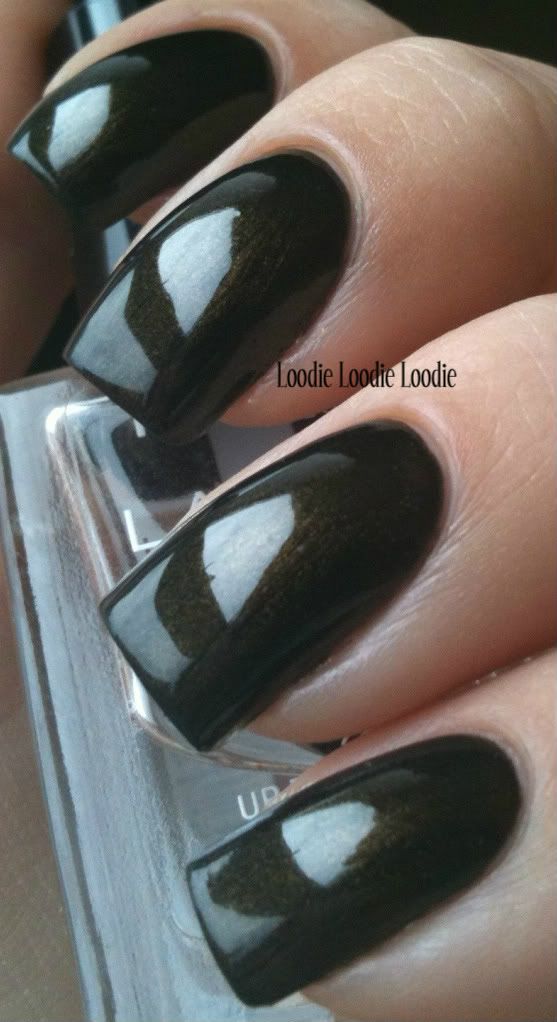
I have a love/hate relationship with fast dry top coats and as such only use them when I am in a rush, know I won't be wearing a color long, or when lots of layers of polish are necessary and feel impatient. I will do a separate post with a more detailed description and pictures describing my frustration :) You can find it
here.
In this particular performance test I did not use a fast dry top coat and unfortunately this Sally polish takes FOREVER to dry, so I have devised an application technique, which works well since its a sheer or any other polish if you have the time.
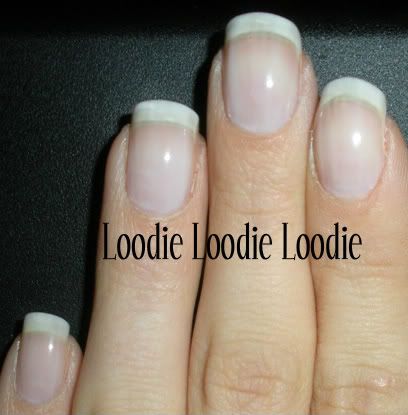
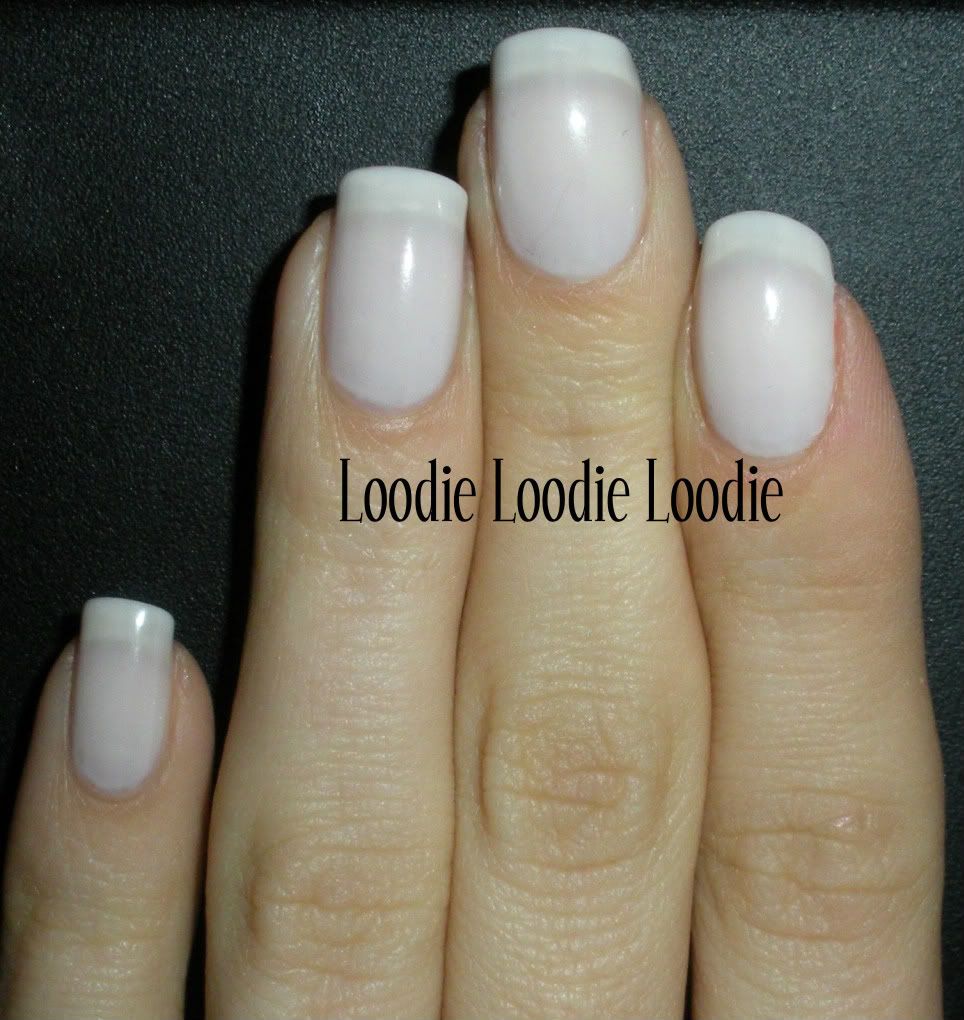
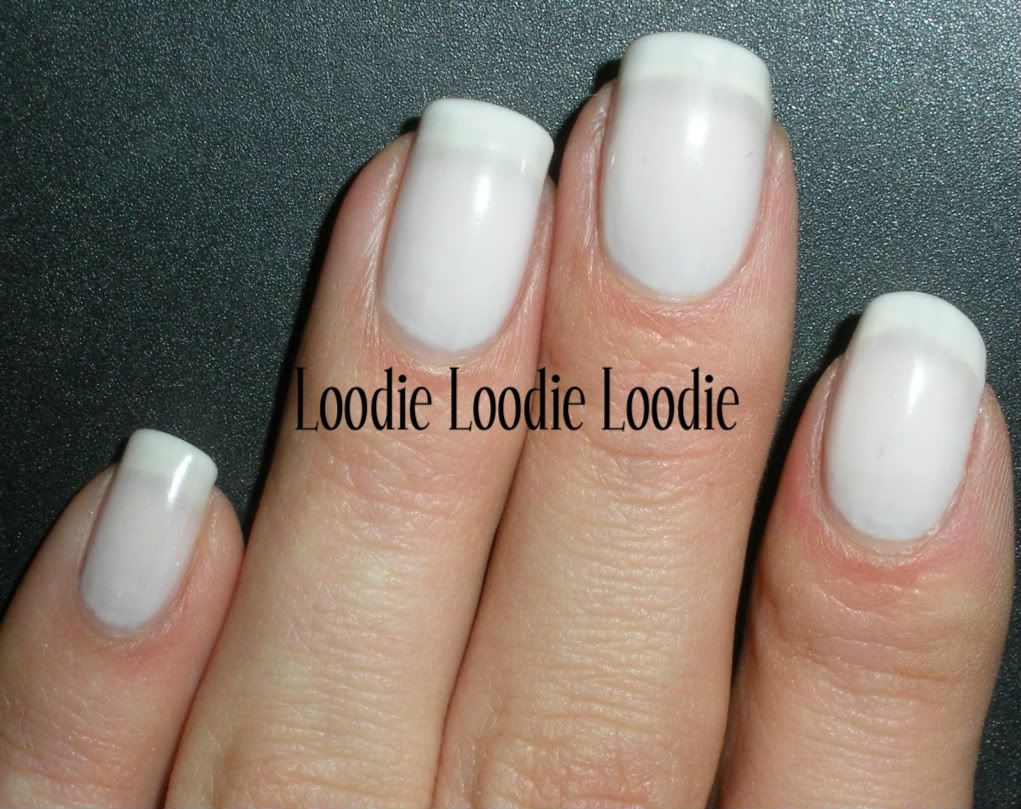
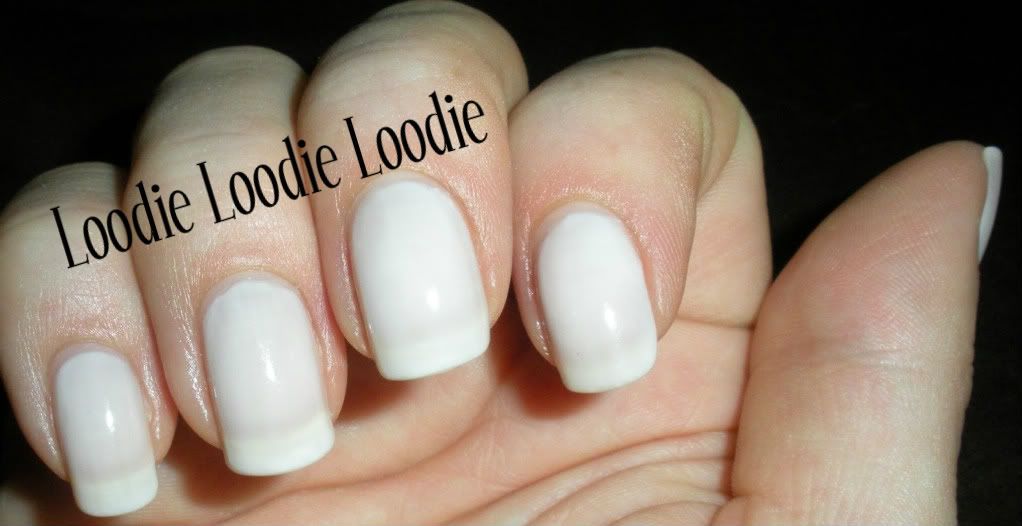
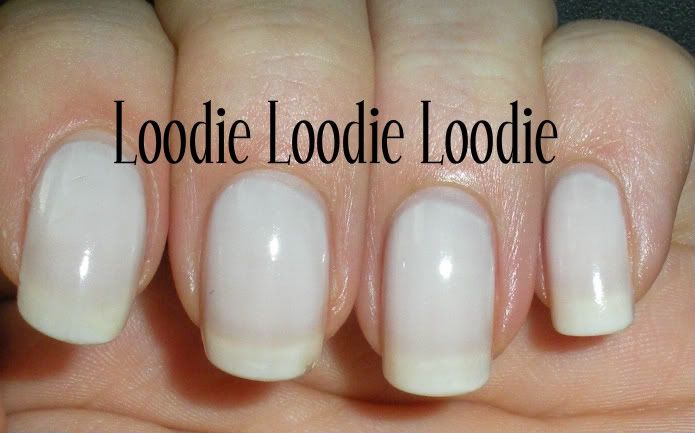
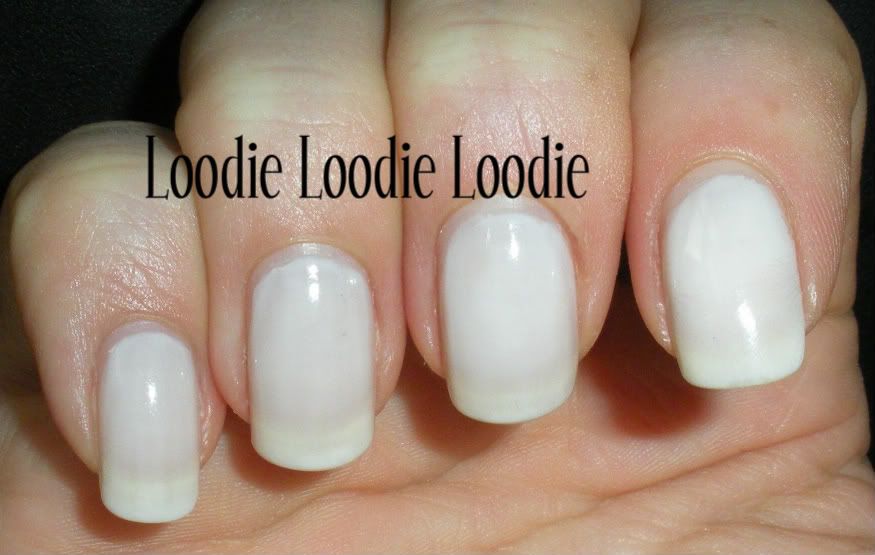
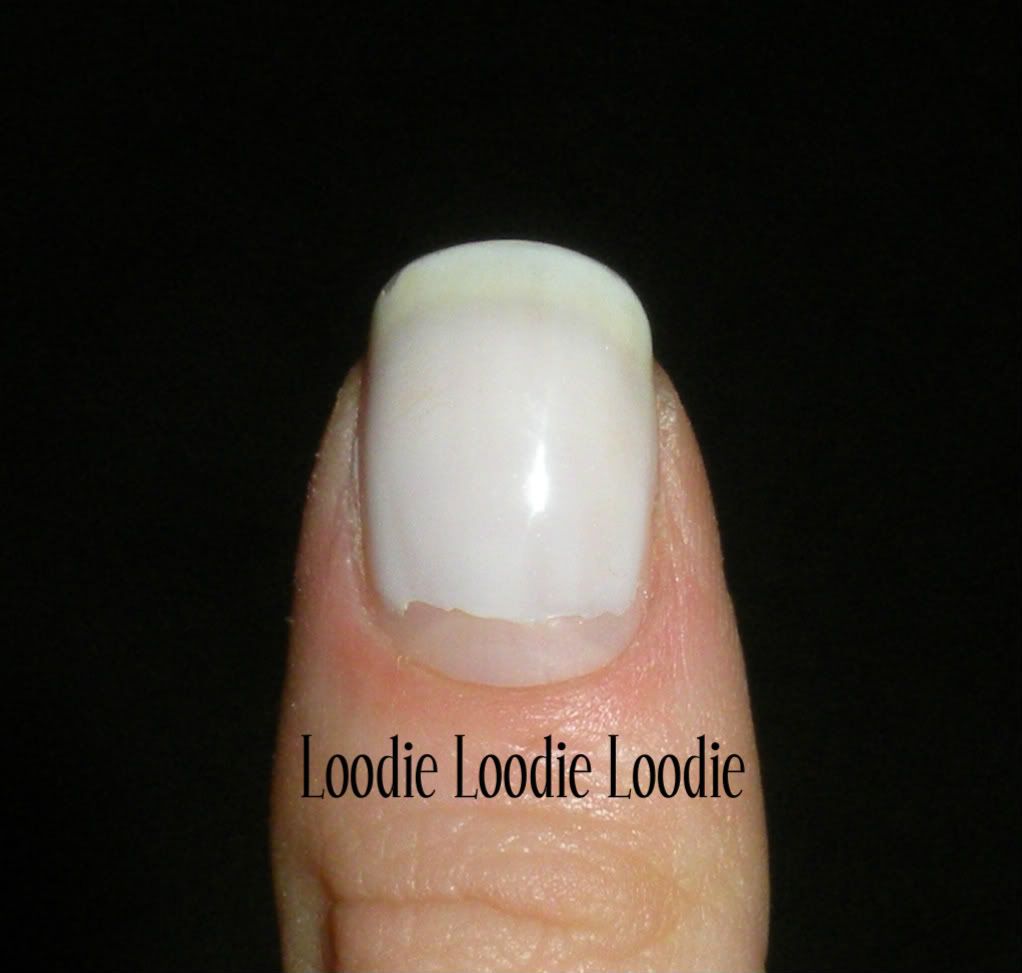
So first let's look at me NAKED ... my nails that is.
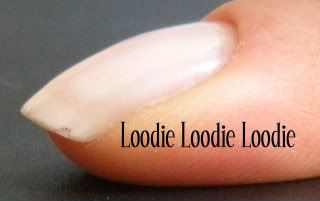
You can learn a lot by looking at naked nails. You can even predict where your polish will chip first. As proof of concept let's take a look where issues may arise.
The white arrows show where my nail is recovering from some trauma. I believe the nail was peeling so I buffed it a bit to even out the nail plate and sealed it. I find that if I buff/seal properly it prevents the peel from going further down the nail plate. I find this is the best technique if I don't want to loose length; otherwise, it's best just to take the length down below the peel. I will eventually show a proper post when this happens again.
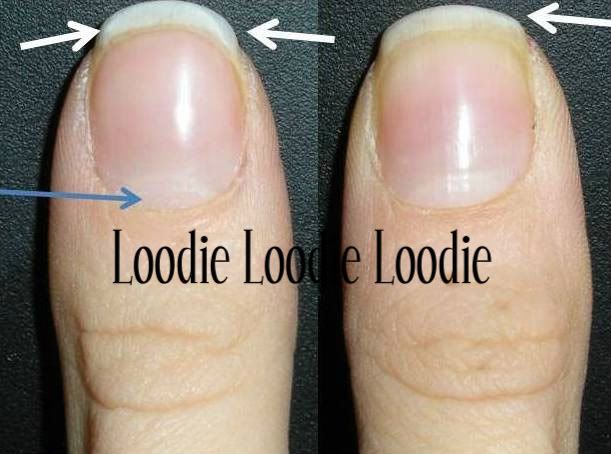
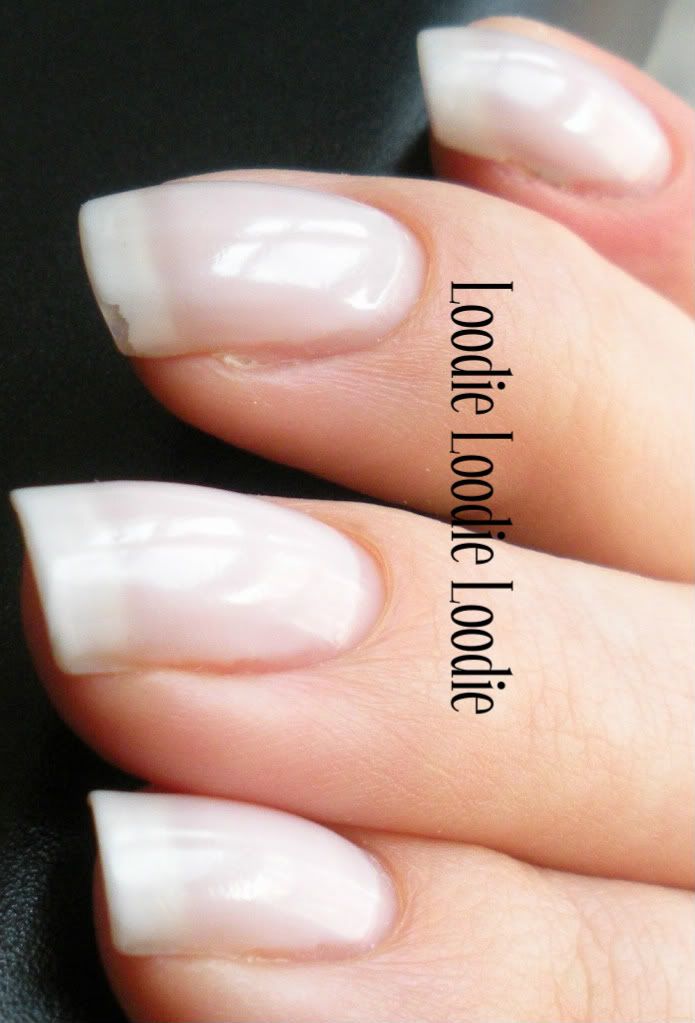
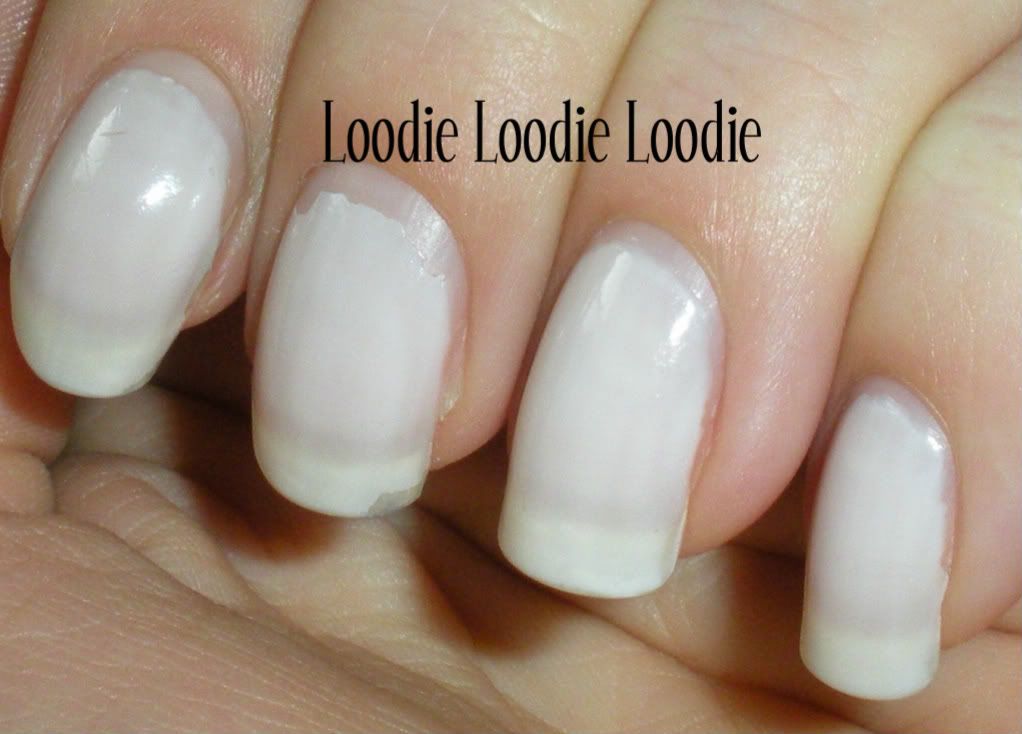
Below are my sad thumbs.
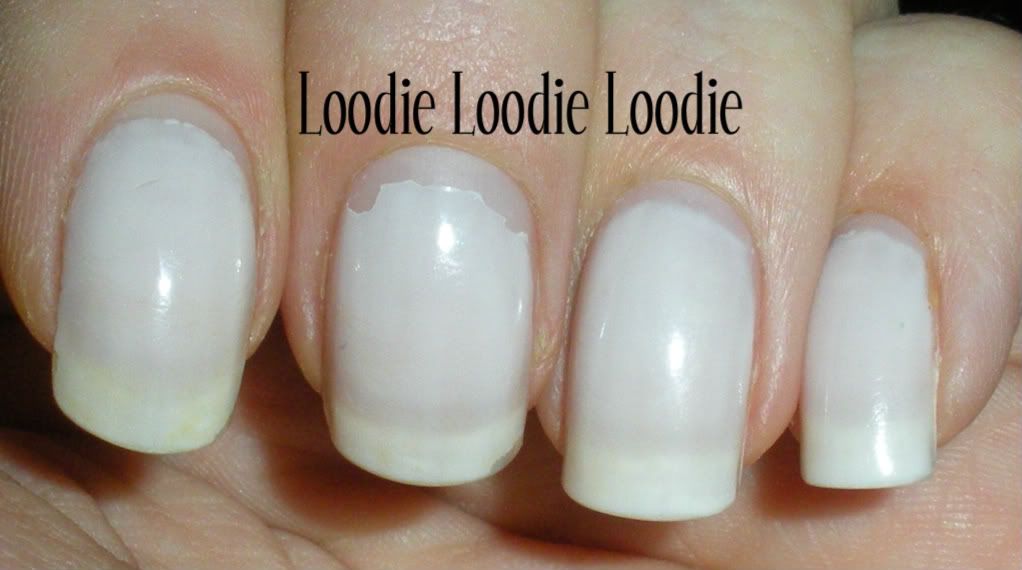
Again the white arrows show the same situation described above. The blue arrow shows that I have not removed the ptygerium (aka
True Cuticle) and we will see that has a big affect on polish adhesion at the base of the nail.
Okay let's polish. A proper tutorial on how to polish and make mani's last will be a separate post, but lets just say we need to start with a clean dry nail plate.
Here is a good way to apply polish that takes forever to dry without the use of a fast dry topcoat. Warning: I hope you've got some time on your hands so plan ahead, lol. Okay it's not that bad, but it does take over two days to do. 0_0
Step #1:
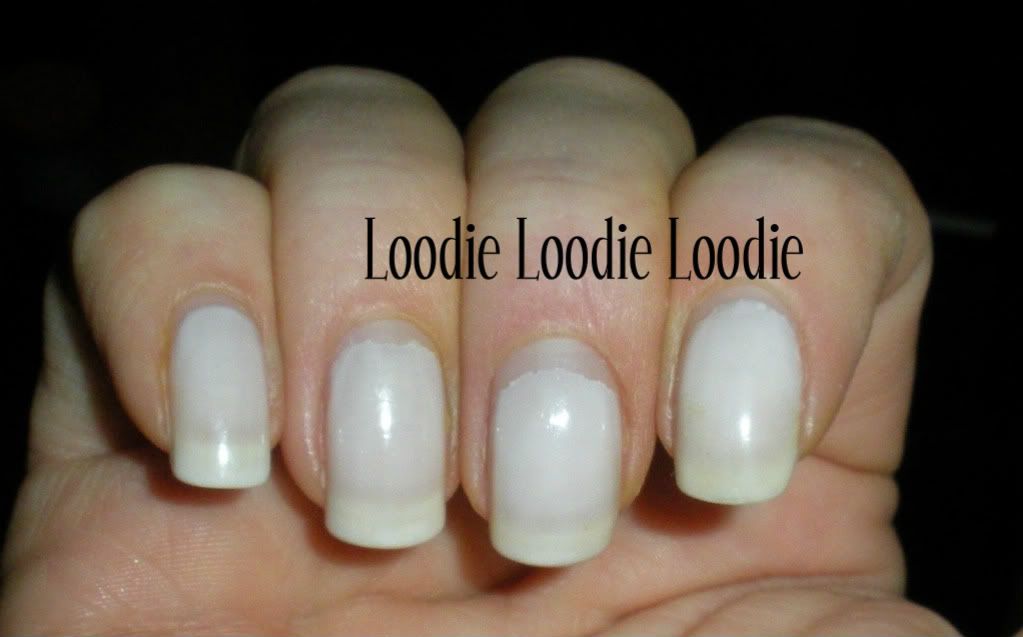
I applied 1 coat of color and let dry for 30 minutes. Yes, I know an eternity. Watch a movie, surf the net, etc., to pass the time.
Excuse the dry fingers and cuticles. I did a swipe with acetone right before application. Oh, and did absolutely no clean up, so overlook that too.
Step #2:
I then applied a second coat after 30 minutes. Wait at least another 30 minutes before doing anything and make sure this last coat is at least 2 hours before you hit the sack, or you might get sheet marks.
You're probably saying to yourself, "hey you forgot topcoat!"
No I didn't. Remember I said it was a two day process? Well I was serious. Topcoat will be done on another day.
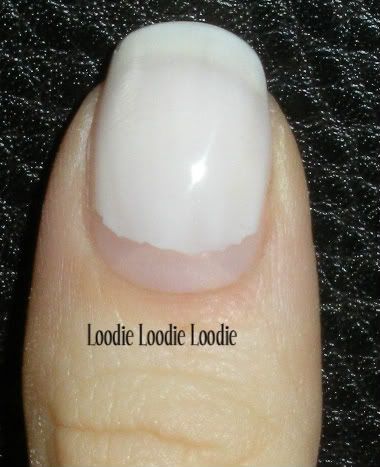
Step #3:
On the second day make sure your nails are clean and dry. I applied a third coat of color since I think it looks best this way. It's a sheer and I realize others don't like visible nail line, but I like it. Anyway, wait another 30 minutes for it to dry (and again 2 hours before you hit the sack).
I don't feel like this particular polish needs topcoat immediately so I don't apply it right away, rather I wait to apply it every other day or two to make the mani last.
Step #4:
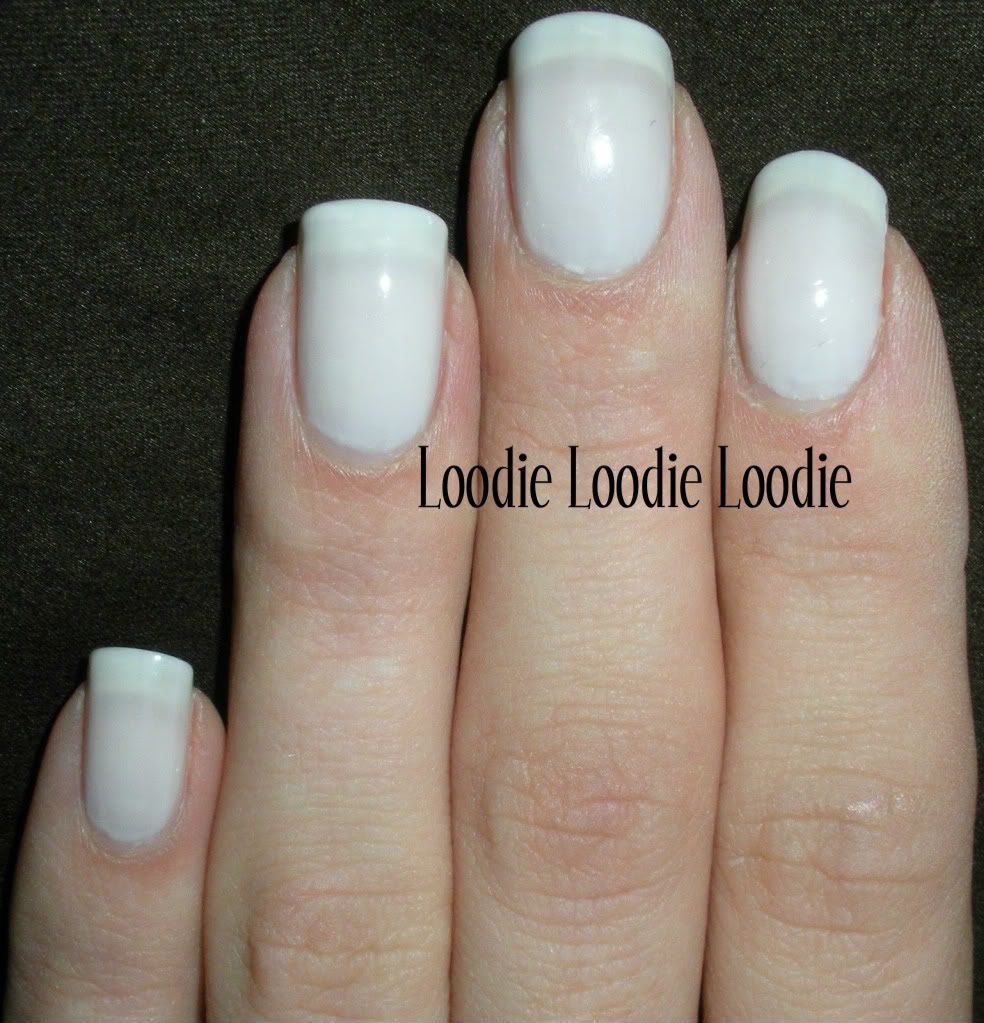
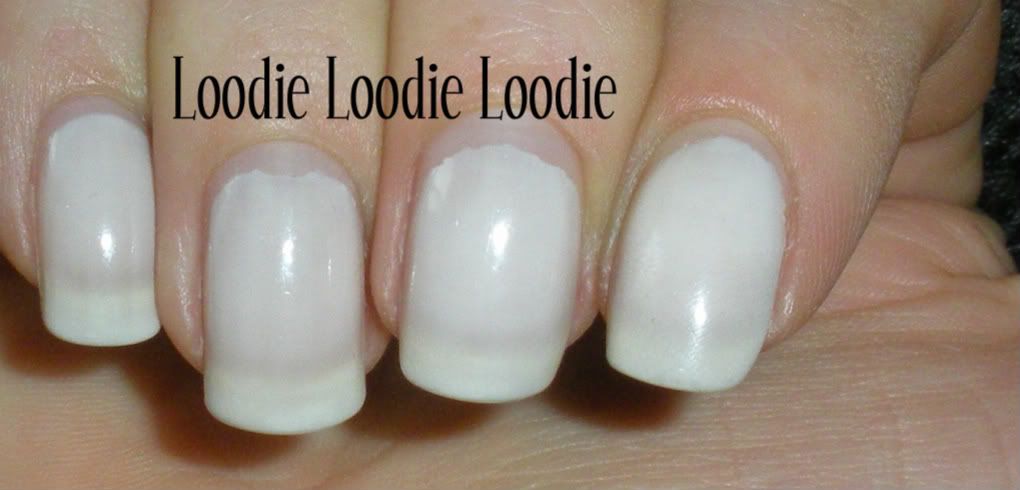
On the third day apply a topcoat after making sure your nails are clean and dry.
Look, your mani is 3 days old and looks fresh and is without sheet marks! wooo hoooo
Not wooo hoooo if you need color change everyday, but hey this is not that kind of post.
And now on to performance. Since I already showed you the first three days, moving on to:
Day 4:
Left Hand:
No problems so far.
This is the right hand, also no problems.
Day 5:
Left hand:
Uneventful
Left thumb:
I realize this is blurry, but you can start to see some chipping at the base of the cuticle. This is the nail I showed earlier in the post where the ptygerium (aka
True Cuticle) was not removed. Nor was it removed from the rest of the nails and you will see as we go along the performance test this has quite an affect on nail polish wear.
Day 6:
Left hand:
You can start to see the middle finger has a slight start of a chip at the base of the nail near the cuticle area. Otherwise all else is fine at the tips.
Excuse the dryness.
The right hand is starting the same problems.
Day 7:
Left hand:
Finally some oil on these fingers. Again another uneventful day. The moisture probably prevents you from seeing the nail polish at the base of the nail lifting a bit.
Maybe there is some growth visible at the cuticle, nothing drastic. This is actually one of my pet peeves. If I have too much gap, I feel like I have to take it off and redo it even if there is no wear at the tip.
Right hand is also fine, and not dry looking for once, lol.
Day 8:
Left hand:
From afar they don't look too bad, but let's take a closer look. The middle finger is chipping.
See. This chip is directly related to that trauma I pointed out earlier. All the others are in good shape.
Thumb is also having issues for the same reason.
Amazingly, the right hand is still uneventful.
Day 9:
Right hand:
I am itching so hard to take this polish off!!!!!!!!!!! Ewwww the growth and the chipping at the base of the nail on the middle finger. Driving me nutso.
Left hand:
Middle nail is really chipping at the base and the chip at the tip is holding steady.
Right thumb:
Chip city at the base. Small slight chip at the tip as previously pictured.
Left thumb:
Chipping at the base. There is slight chipping at the tip on the sides. Another thing you will notice in this pic is the polish is cracking a bit on the surface.
Even though I seriously want to take the polish off, I figured I was only one more day away from 10 days, so I waited.
Day 10:
Left hand:
Not much more to report from day 9.
This looks horrible at the base; proof that pushing back the
true cuticle is necessary if you want a mani to look good after 10 days (and if you can stand the regrowth). The tip is only slightly chipped.
Right hand:
Aside from some chipping at the base of the middle and ring fingers the right hand had NO chips at the tips.
TIME TO REMOVE.....NOW.
In this situation a polish change was in order not because of chipping, but the nail regrowth and chipping at the base. I do admit a real performance challenge is best done with dark colors where little imperfections are obvious. I will have more in future posts.


