Showing posts with label Cuticle Care. Show all posts

Saturday, October 6, 2012

Barnacles off a hull

On this random night I decided to push back my cuticles. But the usual method was not good enough. For whatever reason I felt compelled to break out the metallic instruments. I was reminded why I rarely use them and in general recommend them only under adult supervision, or never.

My usual method:
There are two parts to the cuticle area, the live skin (eponychium) and the dead skin (true cuticle). I have discussed them in great detail in this post and many others. I push back my live cuticle everyday; I have a problem, I know this. The reason is well documented in this post. In short, I apply moisture and massage and push them back. It's glorious and gives me longer nail beds. Now, the dead skin is a bit more difficult to remove. Here, I resort to chemicals; they are my friends and there is no reason why they should not be yours. They rarely disappoint. Take it from a chemist ;) ... I'm slightly biased, clearly. I showed how I remove my true cuticle in this video and post. To summarize, I like to be really gentle and use a q-tip to apply the product and remove the true cuticle. I think a wooden stick is also safe, but personally don't use if very often.

My regrettable method:
The following got me into some trouble...

The perpetrators:
Ignore the innocent bystander (wooden stick). He's an okay chap, but if you use him, be careful nonetheless.

It's true some metal scrapers are sharper than others. I thought I was safe. These felt pretty smooth to me.


I still used Blue Cross cuticle remover, but decided to use the metal scrapers instead of my usual q-tip. Here was the result...

WOOPS!

Ugh. PANIC! NAIL DAMAGE!

IDIOT.

Of course this needs fixing PRONTO!
DON'T PULL IT!! It may pull off more nail deeper down.

Instead...


Grab a semi rough nail file or buffing block, somewhere in the 220/320 or 400/600 range. I like the files from Tropical Shine for these types of jobs.


The first order of business was to remove that large flap. My nails are fairly healthy. I used the blue 220/320 file from Tropical Shine.


Next, I evened out the rest of the nail plate with a buffing block.


I am still in love with this sponge board. I used the 240 grit strength.


TA DA! Beautiful!

right?

NO. The following week I saw what those metal implements did to me...


OMG! Yes, my nails are yellow from Sinful - San Francisco. Don't judge me. Instead see the full story here.

The red circle shows the trauma the implements inflicted.

With time the damage will grow out.


As the damage grows out, the white spot appears and disappears depending on how moisturized my nail plate happens to be.

Here my nail was moist, the spot appeared to dissipate.

**Side note** 
Isn't MOIST the best yet worst word ever?!


Here my nail was more dry, the spot appears more solid.


Moral of the story? I prefer to leave long hard metal objects for self defense purposes OR scraping barnacles of a hull, not cuticle removal.

How do you remove your cuticles?

Tuesday, January 3, 2012

Trind Nail Balsam

A while ago, I was given a bottle of Trind Nail Balsam to review.  Before I go into that, I'd like to say a few words about the company.  I first heard of Trind from one of my readers about 8 months ago, which prompted some late night searching for nail care stuff and beyond.  I must say after many months of communication with the company and the president (US Chapter, Trind Nail & Hand Corp), I have nothing but utter respect and admiration for their products and philosophies on nail care.  I have had amazing conversations with the president and find myself totally smitten with his knowledge, commitment and passion.  I have so much love for nail care that meeting someone with the same passion is enthralling.

I first became interested in the Trind Nail Balsam after reading that it was a moisturizing product you could apply right before nail polish.  This is a bit surprising because normally we aim to remove dirt, oil and other grime from the nail surface before polish application to get the best polish wear.  I was a bit skeptical, yet not totally enraged because after all I put glycerin in my acetone and don't have much problem with polish wear. 

~$13-19 for 0.3oz/9mL

The consumer website can be found here.


How I use it:
The product comes with a brush.  The Balsam smells flowery and fresh; it has hints of the perfume Sun Moon Stars ... to me.  At first I noticed the scent a lot, then I guess I got immune.


I shake the product well, then apply a thin layer to each nail.

I have gotten quite good at taking pictures with my chest and chin no?


Allow the product to soak in for about 2 minutes.  It will look wet.  Sorry my nails are a bit yellow; that situation was remedied here.


I massage any excess into the nail and cuticle.  The product penetrates really well and leaves the nail and skin nicely hydrated.


The nail surface does not feel sticky or dirty, just hydrated.

Now I am all ready for base coat and polish without having to further prep the nail with alcohol or acetone!


In terms of polish wear ...
I don't remember ever having any problems with polish wear.  As an example, I remember wearing

China Glaze - Stella

for about a week while I was at a conference and it looked flawless.


This product does not contain oil which probably helps with proper polish adhesion. 


So what makes this stuff so special?  A few key ingredients:

Liposomes!
I don't know about you, but I first heard of liposomes when I discovered Prostrong.  They had a moisturizing product they included with the accelerator that was pretty great.  Later they made it pink (using Red 33) which I have an allergy to and our relationship ended real fast.

Liposomes are really neat little things you can read about here.  Simply speaking they are fatty sacks filled with, well with whatever you want to fill them.  They can vary in size. 

What is most important is not that this product contains liposomes, because many do, but about the quality and quantity of  the liposomes.  You can be sure you are getting high quality liposomes that allow moisturizing ingredients to penetrate the nails and provide real moisture.

Biotin:
Normally we are accustomed to hearing about biotin as a vitamin/supplement taken internally.  It is metabolized by the body and delivered ... well everywhere.  However, in this product the chemists have specifically formulated it to stay on the nail.  An exact amount is stabilized and its delivery is controlled on the nail bed.  Does that mean no pimples?!?  That could be a plus.

Allantoin:
I love this stuff as I have mentioned in this post.  It has the capacity to increase the hydration levels in the skin and has exfoliating properties.  Read this if you want more info.

Panthenol:
Simply speaking, this is a moisturizer.  More fancy ... this is a provitamin of B5.  It can absorb water from the air and is an emollient. 

Phytantriol:
Helps retain the moisture in the nail bed.


Overall thoughts: 
What a great little product!!  The winter months bring me a lot of trouble with dry skin and nails.  I need all the help I can get in the cold weather.  You can be sure I will continue to grease up my cuticles extra hard with oils and balms while I'm wearing polish and apply this Balsam under new manicures.  *Don't forget to wear gloves when it gets cold outside to protect your nails from the lower temperatures and wind!*

Trind has many other fantastic high quality products from nail hardeners to nail colors.  Solveig from Nailin' It! has had fantastic results with Trind Nail Repair.  Have you tried any of the Trind products? Thoughts?

*This product was provided by the company for review*

Saturday, December 31, 2011

Video version of me cutting you

A while back I made a post about hang nails and how to trim them.  That post can be found here.  Last night I made a video about it!  Want to see?!


YouTube Channel ... click here

Tuesday, November 1, 2011

A non greasy moisture option

Recently I was sent a moisturizing cuticle cream for review ...
Dermelect Cosmeceuticals Rejuvenail Fortifying Nail and Cuticle Treatment.  And by recently I mean months ago.  I have had the last few months to try it out and see what it has to offer.

As you know I am a tyrant when it comes to moisturizing nails and cuticles.  It is one of the most important things you can do for your nails, if you want them to be strong and flexible.  I have preached several times on the topic in the following posts:

1. Have you moisturized today?
2. In a pinch here is a possible substitue
3. Moisturizing Nail Polish Remover ... i.e. Zoya Remove + substitute and the video here.
4. My face telling your face that you need to moisturize

If you have previously perused the posts you know that I favor a combination of two ingredients ... oil, followed by a waxy cream/balm/butter to seal in the moisture.  However, moisture delivery is a highly individual thing.  For example many people don't like the greasy feeling or have had  unfavorable reactions to oils.  I hope to show you that perhaps Dermelect Cosmeceuticals Rejuvenail Fortifying Nail and Cuticle Treatment would be a good alternative to your moisturizing routine ... I'm talking to you Abby and Lena! <3

First a few vitals:
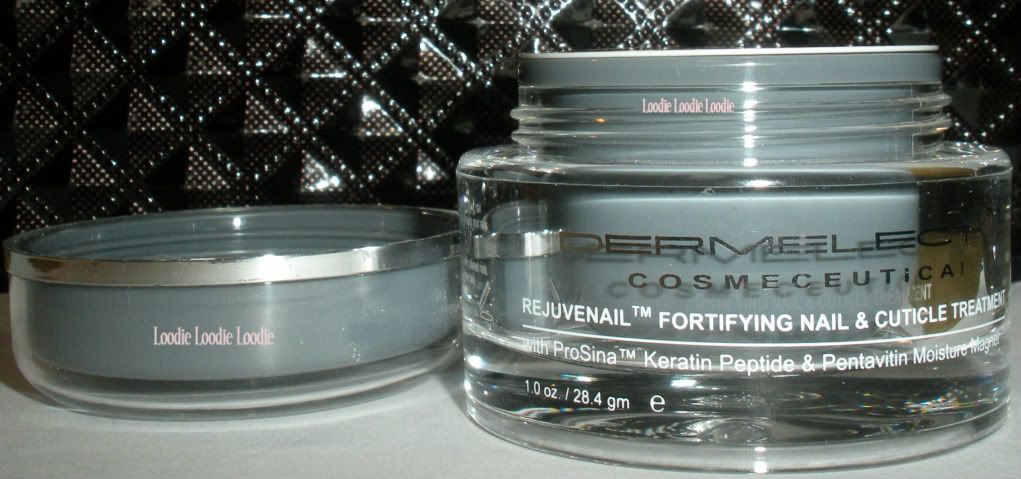
Product: Dermelect Cosmeceuticals Rejuvenail Fortifying Nail and Cuticle Treatment
Size: 1 oz.
Price: $18
Can be found here

Now some pictures:
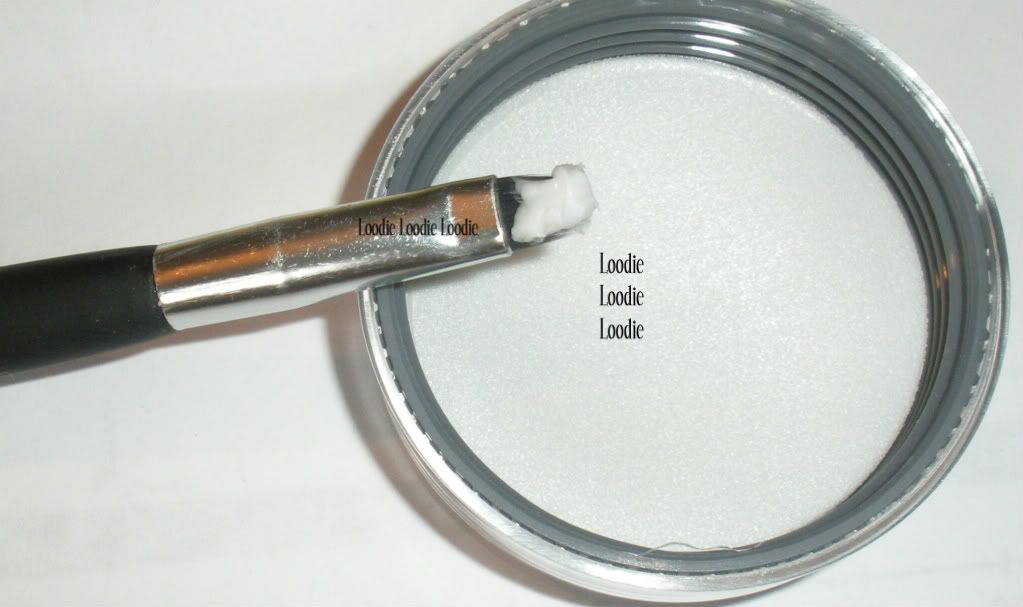
Here is the humungous pot you get.  I am not sure if you realize, but 1 oz. is a lot ... especially when you're only putting it on your cuticles!  Therefore, the $18 price tag is not as frightening.  It will last you a long time.


The product itself looks heavy, but is surprisingly light on the skin (more on that when I get into the ingredients).  It has a very light scent of roses, but not old lady roses, because that crap stinks.


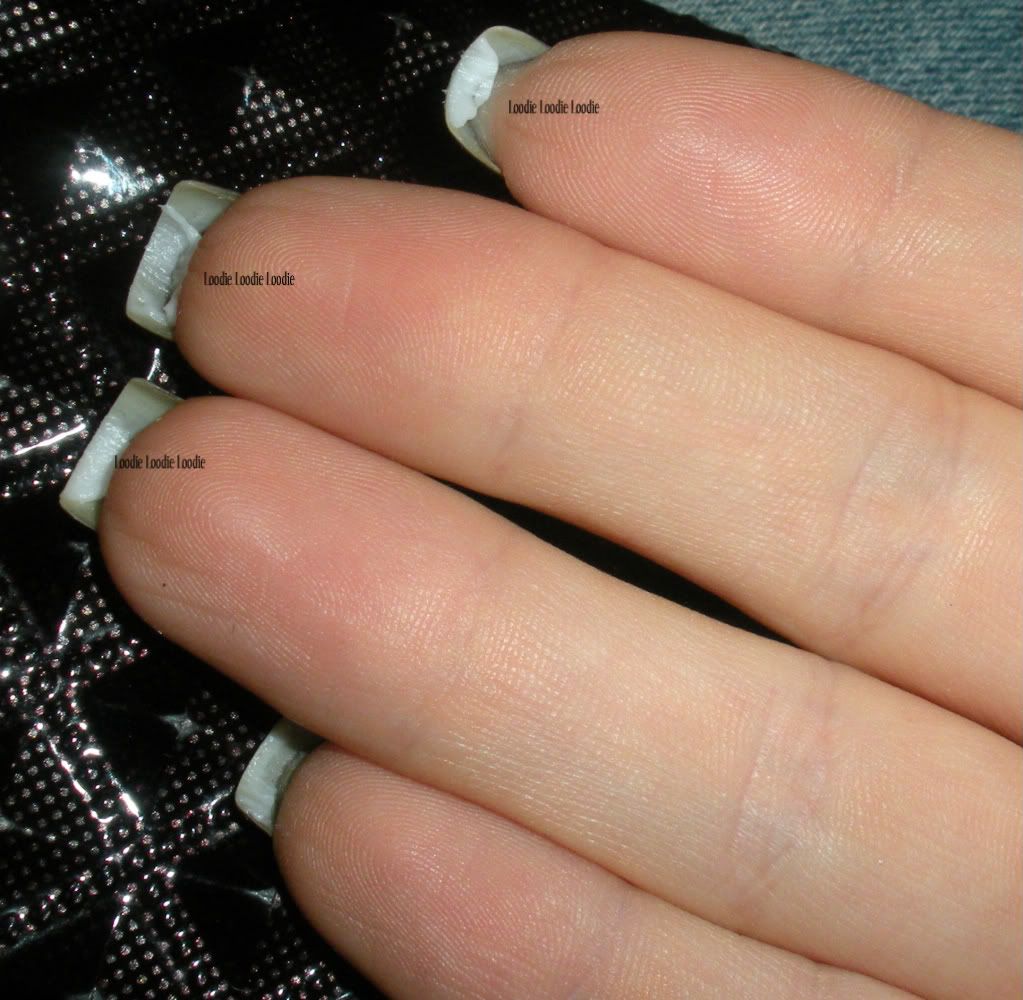
  I would normally take a small bit out ... like so ...


Put a small bit on each finger.  Actually you can put waaaay less than what I have done, but surprisingly either way your hands will not be greasy.  Your skin will just be left hydrated.


Then start working it in by massaging each finger nail and cuticle for a few seconds.  Stimulate those cuticles!  Hopefully this will get the blood flowing and encourage faster nail growth.<--not a proven fact, I'm just a dreamer.

It makes no difference whether you have polish on or not, as long as you moisturize frequently and consistently!

I love that the directions on the box tell you to use it 3-4 times a day, hell yes! Listen to them ... see I am not the only one spreading the crazy moisturizing love.


The product seeps into your skin and leaves your cuticles and skin hydrated and silky.  I was pleasantly surprised and thought this would be the perfect option for those ladies who can't stand greasy fingers.

Since I would put more product than necessary, I would just let the stuff sit there for 5 min or so then massage again.  This is probably overkill, but hey ... I have a problem, this we know.


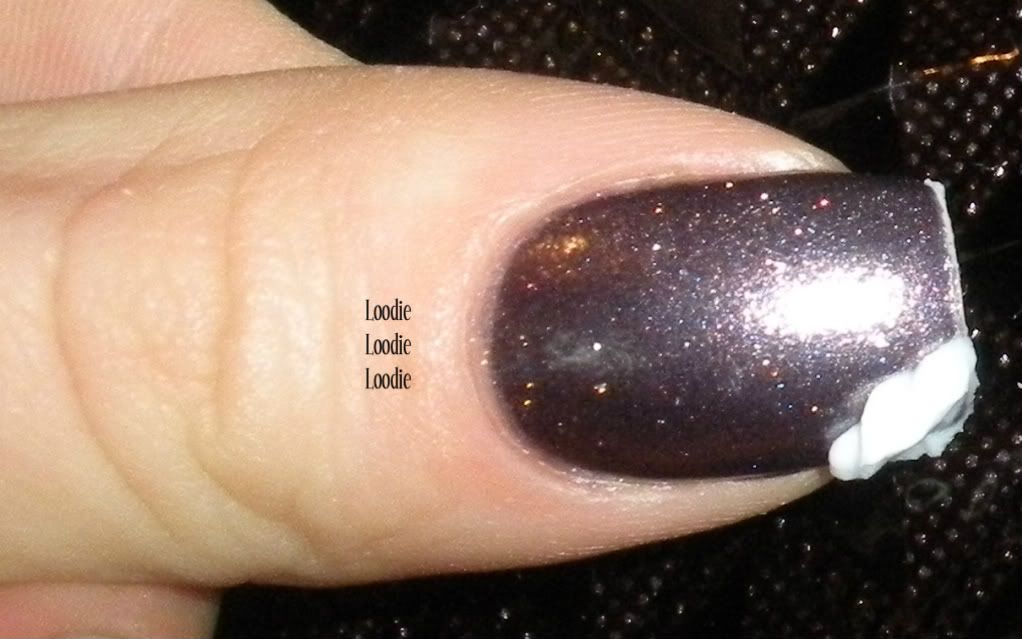
After a second massage it is nearly gone, but I leave what is left on my cuticle and go about my business.  The non-greasy formula allowed me to do this.
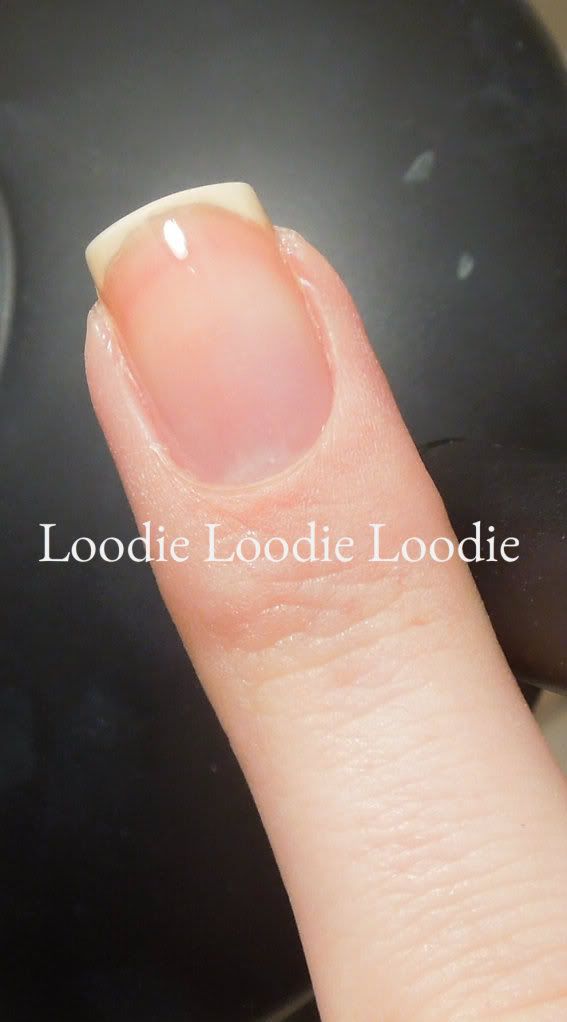
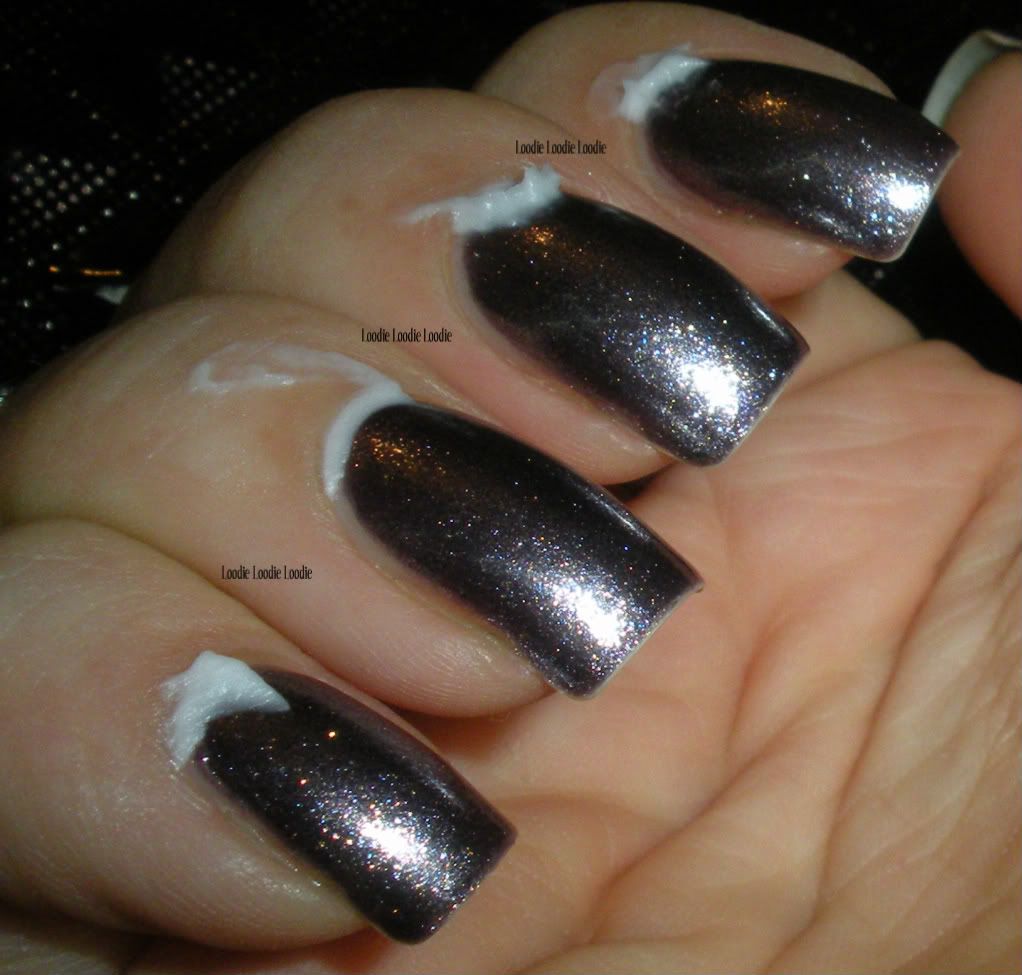
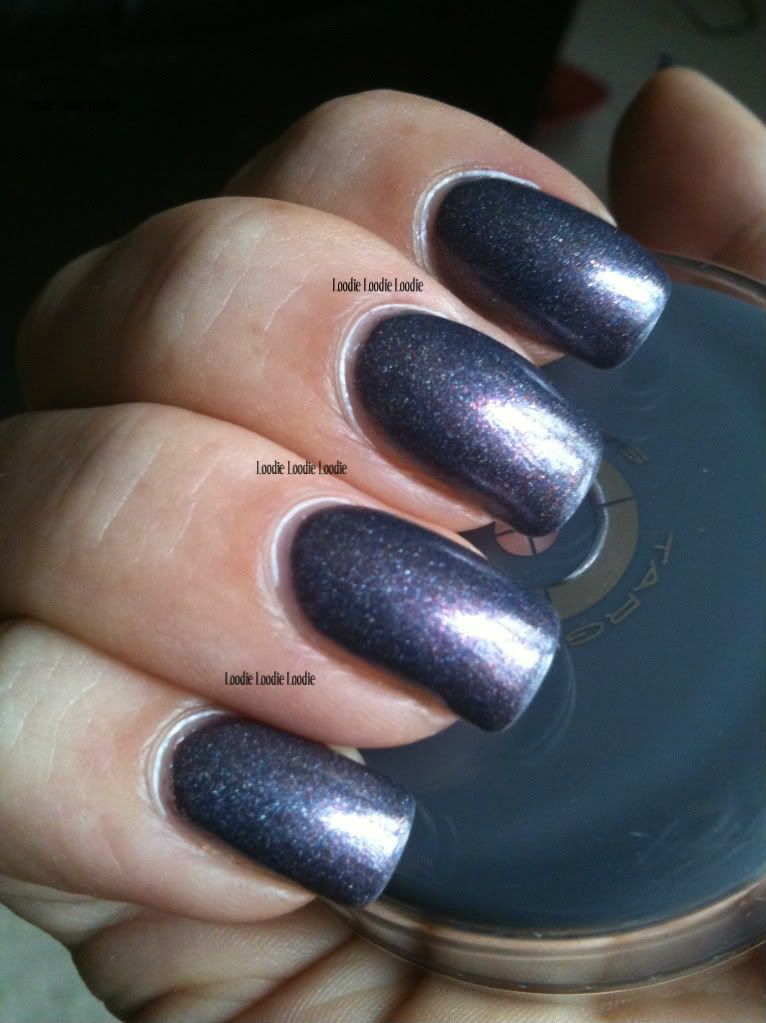
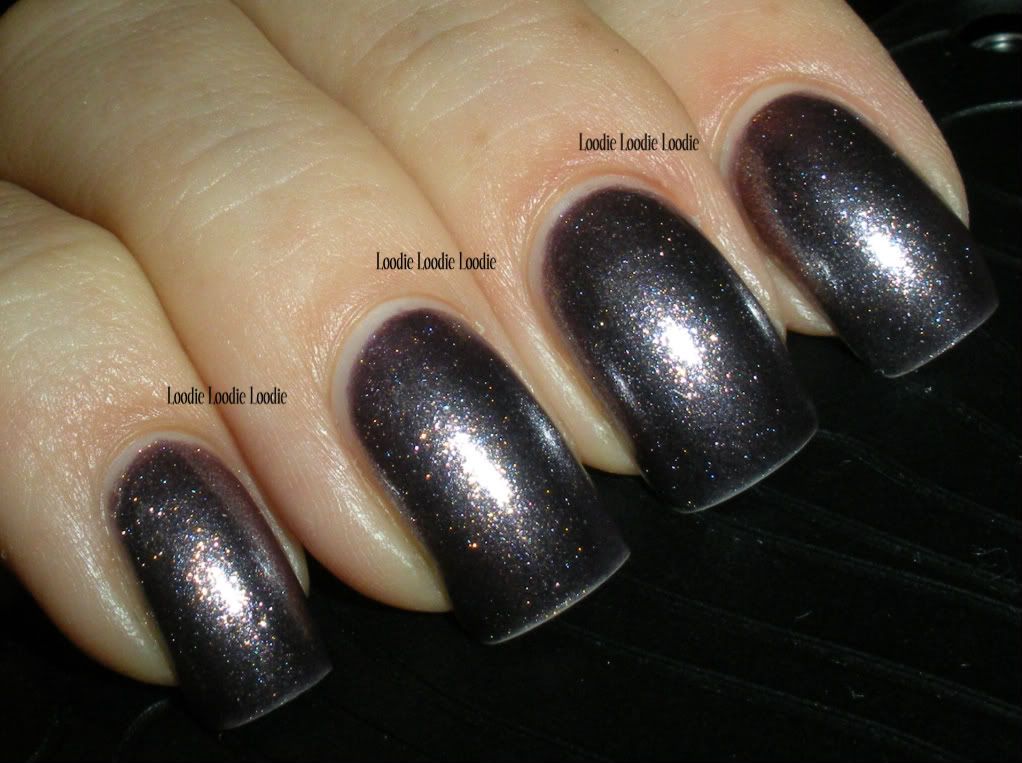
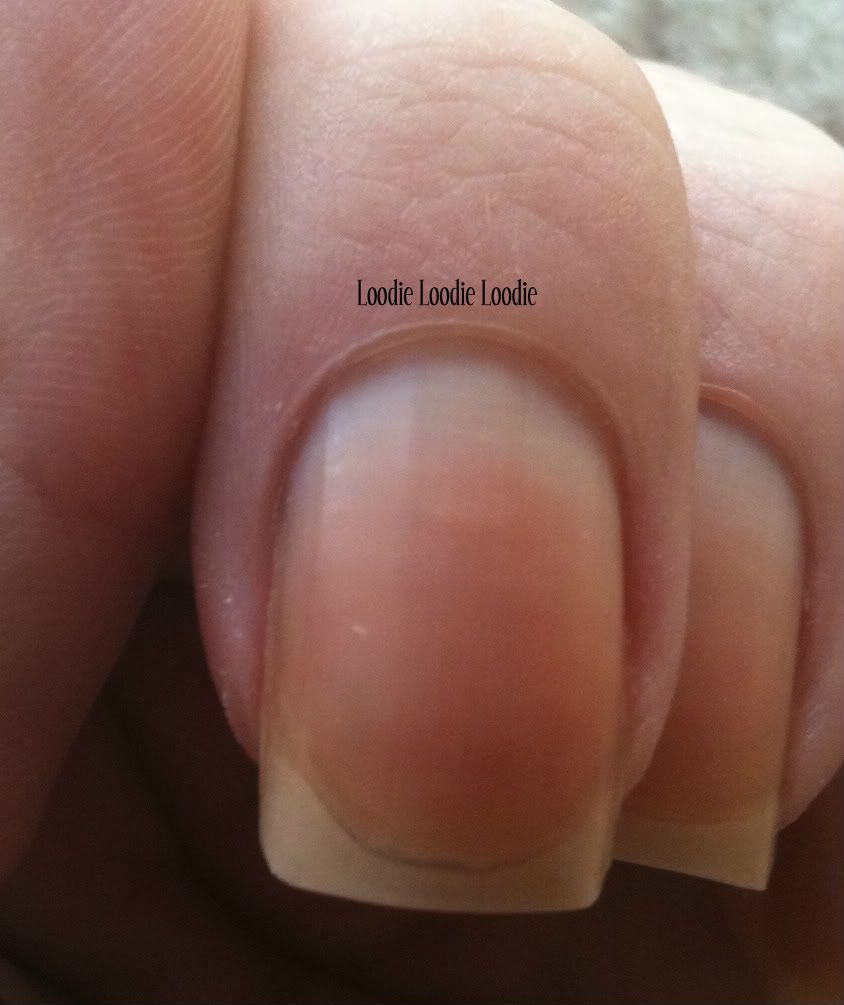
Now the result ...


So hydrated, but NOT greasy!


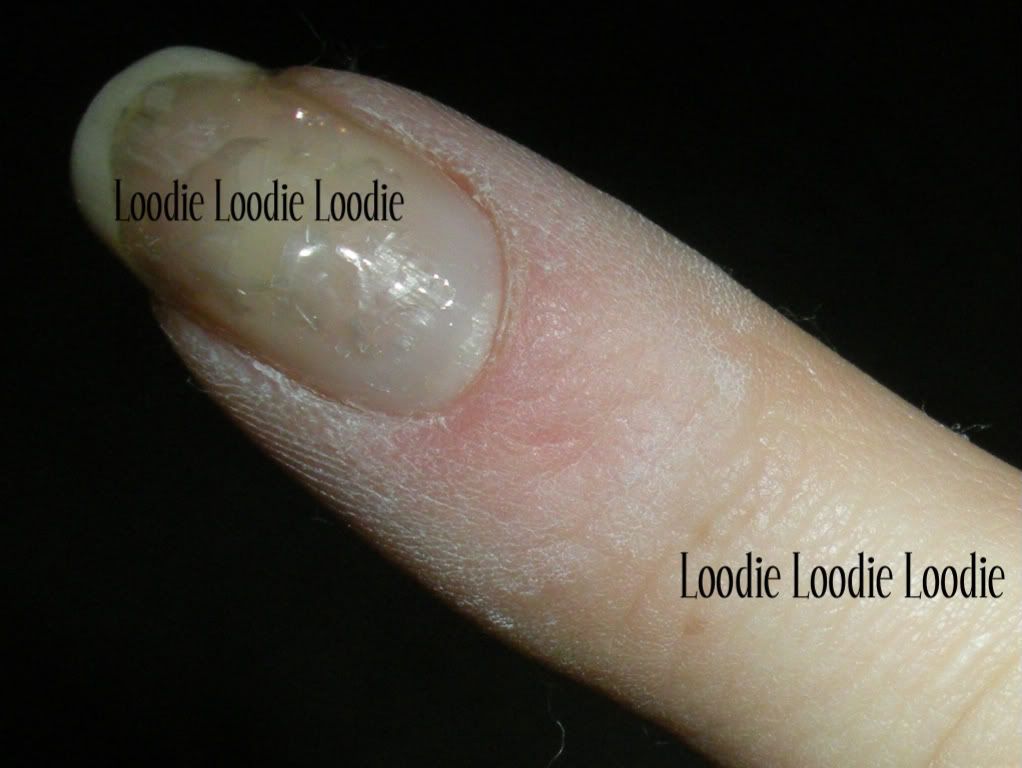
Don't forget to moisturize under your nails too.


A brush is totally unnecessary for application, however, if you are feeling fancy, do eet!


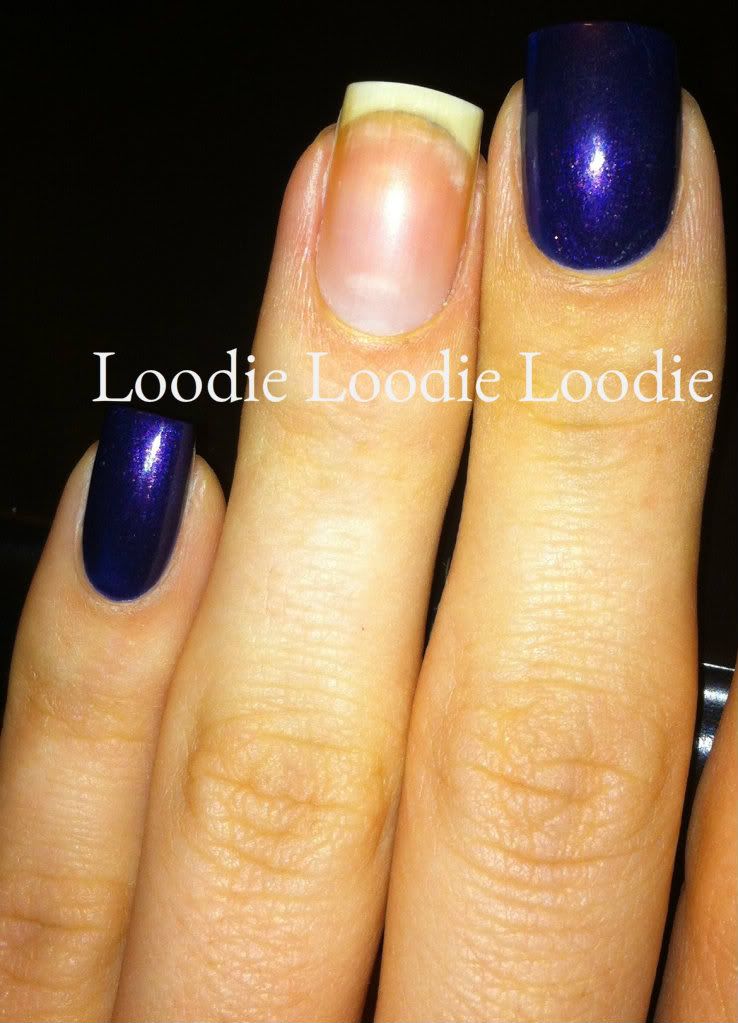
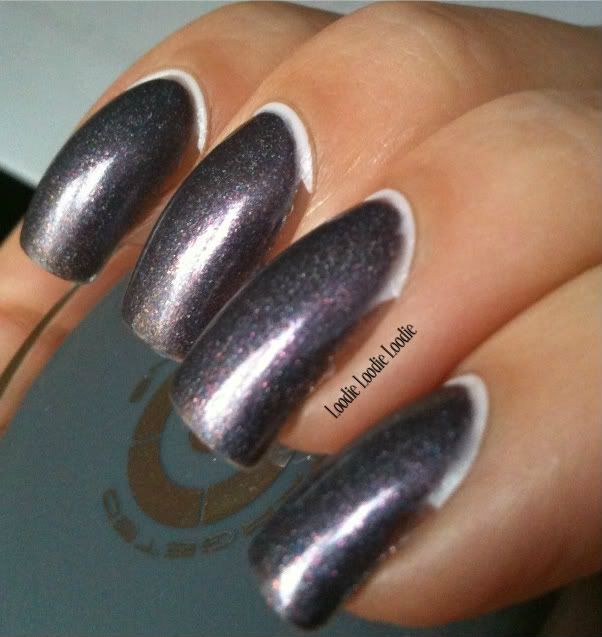
I have to include the following two pictures because I used my mouth and chin to take them, enjoy!


Work it in!


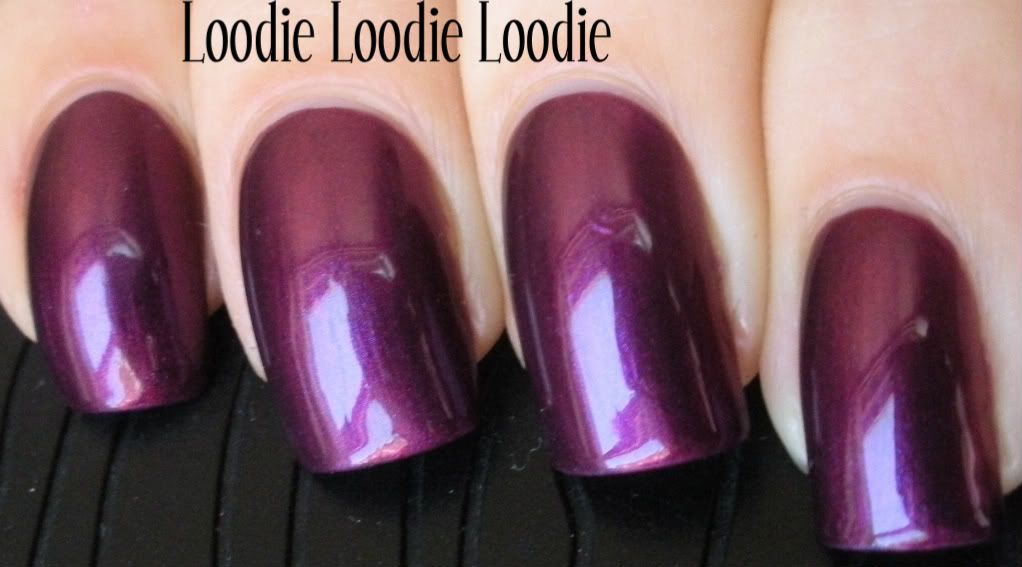
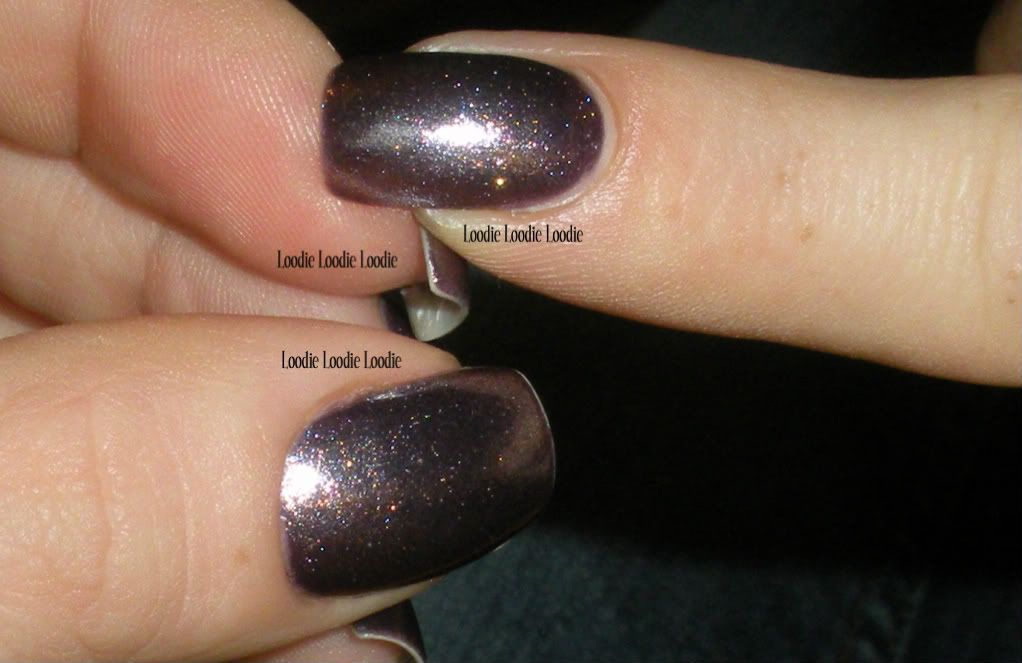
Polish: Color Club - Alter Ego

Find more pictures of it here.


I must discuss all of the great stuff in the formula.  Many of the ingredients are not the simple moisturizers, waxes and butters that we are used to seeing, although they can be found in there as well.

First I am going to group a whole bunch together, then go over individual ingredients I find interesting:

Emolliants, conditioners and lubes galore!:
cetearly alcohol
dimethiconol
isododecane
cyclopentasiloxane
glycerin
shea butter
almond oil
vitamin E
Isoparaffin
panthenol

The other more interesting ingredients:

Alkyl Benzoate - the main skin conditioner that allows for the non-greasy silky goodness. 

Wax - yes you are my friend.  Not that interesting, but I love you. <3

Hydrolyzed Keratin - Like the keratin in nail treatments, I am not truly convinced they do anything with regard to cross linking to my own nail keratin, but I like having it in there. You can read my thoughts and opinions on protein based nail treatments here.

Allantoin - I love this ingredient.  It does so many things.  It has the capacity to increase the hydration levels in the skin and has exfoliating properties.  Read this if you want more info.

Saccharide Isomerate - marketed as "Pentavitin", it is essentially a moisturizer that has a unique method of delivering hydration.  It contains carbohydrates similar to some found in your skin.  Their interaction apparently results in longer lasting water retention.  I would love to see published scientific research on this, but okay.  

Sodium Hyaluronate - Like Hyauronic Acid (HA) ... but better.  I first heard of (HA) watching Adrien Arpel on one of my favorite TV channels.   This is a great ingredient, but this is not the time or place to go into how it works.  In short, it is a moisturizer, but belongs in it's own category. One day I may write a post on the topic.  Until then, it will suffice to say, when I see it in an ingredient list it makes me happy.

Retinyl Palmitate - not to be confused with Retin-A, which I LOVE, but similar to retinoic acid, it does have complicated anti-aging and conditioning properties that I will not go into in this post.  I will leave it as a possible future post.


Short comings:
1. The container is really large.  It makes it quite cumbersome to carry around and apply 3-4 times/day.  However, like my other cuticle moisturizers, I would happily distribute the product into smaller containers.  Doing this makes it quite easy to reach for and use often.  You can place it anywhere you occupy space ... house, car, purse, work, etc. 

2. Price.  I would consider this a higher end moisturizer, however the ingredients are well worth it and speak for themselves.  You will achieve hydrated healthy nails and cuticles with these high quality ingredients. A price comparison to other popular cuticle moisturizers:

Lush Lemony Flutter Cuticle Butter: $15/1.5 oz. = $10/oz
Burt's Bees Lemon Butter Cuticle Cream: $6/0.6 oz.  = $10/oz
Hard as a Hoof Nail Strengthening Cream: $7/oz
Palmer's Cocoa Butter Formula: $1/oz (not popular, but cheap and good) :D
Olive Oil:  $0.29/oz (wow! I never did this calculation before, but I like it)

Conclusion:
I looked at the ingredients alone and fell head over heals over this cuticle treatment.  After having tried it, I am highly impressed with what it is able to do.  Dermelect Cosmeceuticals Rejuvenail Fortifying Nail and Cuticle Treatment is a superb, high quality moisturizing option for the lady (or gent) that does not like greasy fingers!

Remember, no matter what you choose to moisturize your nails and cuticle with, just make sure to do it frequently and consistently!

*The product in this post was provided by Dermelect's PR department ... thank you!*

Monday, August 29, 2011

Come here, I want to cut you!

I used to watch Ricki Lake back in the day.  I remember this one episode was about bad ass girls in gangs.  They were so bad ass they carried razors in their mouths 24/7 ... ya know in case they had a hangnail.

On occasion I will get a nasty hangnail.  In today's post I will show you how I take care of it.

The hangnails I get these days are different than the ones I use to get when I first started caring for my nails a long time ago, in a galaxy far far away.  The kind of hangnails I used to get were from dry skin.  Also their location is somewhat different now too.  They would either start at the cuticle (eponychium) or on the skin right near the cuticle called the proximal nail fold (see the second picture for these terms).  These types of hangnails can be taken care of with a regular moisturizing routine (2-3 times a day) using your favorite moisture delivery system.  I have several posts on the importance of moisture.  You can visit them here, here, and here.   

Now they look more or less like this:

Please excuse the stainage.  I will be taking care of it soon.  For now, let it soil your eyes. 


Actually this is a continuation of stainage I got from China Glaze - Italian Red that was further enhanced by China Glaze - Rodeo Fanatic.  


Thank you China Glaze! <=== SARCASM 

Pictured here is a recent hangnail.


I don't have too many hangnail issues from lack of moisture these days because as I have told you before ... I am slightly obsessed.  When winter rolls around things can get a little tough, but I do what I can.  Nowadays my hangnails appear after I use cuticle remover. 

If you are not familiar with my earlier post on cuticles please visit this post.  In the mean time, I will continue to use my hubs ugly stumps for demonstrations purposes.  Yep, I'm still holding a grudge.  

The point of cuticle remover is to remove the "true cuticle", not the eponychium, however since you are putting the solution near the eponychium it too will do its chemically business there as well.   Perhaps I leave it on too long or get a little rough with the towel action ... as seen in this video.  

Either way, I will get the hangnail on the eponychium as shown in the first picture.  


I seriously wish I was taught to carry a razor in my mouth, because that would be some interesting self defense skills that could double as hangnail resolution.  However, a better tool for the job is the ...


Cuticle Nipper

This picture shows my jaundiced finger nails wearing 3 coats of OPI Bubble Bath.


You know what makes me laugh ... my mom calls them NEEEEPERS.  I freaking love her for it.  Every time she's looking for them, I pretend I don't know what she is talking about just so I can get her to say it over and over.  <3


There are many kinds out there and generally speaking the sharper they are the better.  These kinds of tools can be on the pricey side, but are much better for hangnail removal than say a razor you hide in your mouth or a nail clipper like I have seen being used on YouTube quite often. 0.o


The sharp pointy slanted end allows for a more precise and accurate removal of the hangnail without tearing the eponychium (which is live skin) further.  Since the eponychim is live skin you want to be careful when you are cutting anything in that area as a deep cut can cause a wound that may lead to bleeding and possible infection ... if you are a dirty girl.  But seriously be careful!

It may be a good idea to reserve nippers just for the purpose of cutting skin; avoid the temptation to clip nails (or other hard things) so that you can keep them as sharp as possible.  


This picture shows the finger after the hangnail was snipped.  


With continued moisture and perhaps a little AHA cuticle cream this area will smooth out and be glorious again! 


Do you get hangnails? How do you get rid of them?


More importantly ...
Do you know how to hide a razor in your mouth?

Monday, August 8, 2011

Part time position available!

I'm going to preach for a second ... then a video ;)

One of the most important aspects of taking care of your nails is moisturizing the nail AND cuticle.  Moisturizing the nail beds is fairly self explanatory, but recently I realized there is some confusion as to why we must moisturize our cuticles.  Yes, part of the reason we moisturize our cuticles is because we don't want them to look to' up from the flo' up.  More importantly however, the root and matrix of the nail is located right below the cuticle, slightly under the (proximal fold) skin.  Lets review the nail.

My lovely husband volunteered his tremor hands as specimens in this earlier post.  Let's continue to mock him.

At the base of the nail is your "cuticle". As I have discussed already this cuticle is actually made of two parts, the 'true cuticle' and the 'eponychium'. Underneath the proximal nail fold is the root and matrix, i.e. the heart of your nail.


Because the nail root is near the cuticle, moisturizing the cuticle creates the moisturizing environment needed to keep the nail flexible from the very start of its growth cycle.  Eventually your nail will fully grow out from cuticle to tip having been moisturized the entire way up.  It takes about 6 months to grow out a nail fully from root to free edge.

Since many of us keep our nails painted at all times, it becomes even more important to moisturize the cuticle since moisturizers can not penetrate through polish to moisturize the nail bed.

Keeping the nail and cuticle area consistently and frequently moisturized will promote a healthy nail bed, which will allow you to grow healthy nails at any length. When a nail plate balances both hardness and flexibility peeling and breaking can be prevented.  I previously talked about the importance of moisturizing the nail and cuticle in this post and also an alternative here.

As I said in my first moisturizing post, there is no "right" moisture delivery system.  It's up to you to choose what is "right" for you.  The only real rule is to use them ... consistently and frequently.  Seriously, moisturize like it's your job!

The follow video goes into a few options, but it is in no way the end all be all, just random stuff I grabbed around the house.  I also go into what I prefer and how I do my thang!

If you are looking for a cuticle oil recipe head on over to For Me It Works.  This chica has such lovely nails because she too is a stickler for MOAR MOISTURE!


NOTE:
For you ladies that can't stand greasy fingers this may be a viable option.

Friday, July 29, 2011

Faux Zoya Remove Plus ... Video

As a follow up to my last post, here is a video for my lovely Youtube followers!  As always the actual blog post is more detailed, click here to visit.


My channel: http://www.youtube.com/user/loodieloodieloodie

Tuesday, July 26, 2011

Moisturize Your Nails with Acetone ... kinda

One of the most effective solvents for nail polish removal is ACETONE.  I have previously described acetones’ positive attributes (regarding efficiency and safety) in this post.  However, if you change your nail polish often or soak off polish, acetone can eventually dry out skin.  Umm can we just look at this picture … redonk!

This is a picture from the Nail Fix Series.  I use Shellac (or other gel nail polishes) for nail breaks and after removal my hands look like they have been mummified, lol.

So what are some options for us?  How about a moisturizing nail polish remover?


Everyone LOVES Zoya Remove +, am I right?  In particular Rachel Marie ;) I will have to agree with the fact that it is a great remover.  Not only is it effective, but it is very moisturizing and great for the nails and cuticles.  However, the smell and price seriously disturb me.  For non-licensed people, Zoya Remove is $10 per 8oz ($25 per 32 oz.).    Let’s take a look at the ingredient list:

Zoya Remove + ingredients are:
2-propanone, water, glycerin, fragrance, violet 2

In layman’s terms, the Zoya Remove + ingredients are:
Acetone, water (surprised they didn’t use aqua or something fancier lol), glycerin, stink, unnecessary dye.

Considering I buy acetone for $5 per 32 oz. at the local nail supply store this is crazy!!  F U unnecessarily expensive products!  Guess what?  We can make our own moisturizing remover for way cheaper! :D

There is a lot of talk on the MUA nail boards on this topic, so you may already know that the basic recipe for moisturizing polish remover is … Acetone + Glycerin, however I have something science-y to add to this recipe with lots of pictures! 

An inherent physical property of Glycerin is that it is ONLY PARTIALLY soluble in acetone.  This is why the recipe often quoted on the nail boards is accurate and will work, BUT there is a slight problem.  If you put an excess of glycerin in acetone at some point they will NOT (and simply CANNOT) mix any further.  If anything you will see two separate solutions, similar to oil and water (or another visual ... yummy salad dressing - oil and vinegar :D) … here is an actual picture of glycerin in acetone. 


As a side note: Glycerin is more dense than Acetone so it sinks to the bottom.  Haha, I just tricked you into learning something, yay!

Now, if you have the right proportions you can get them to mix completely.


I tried to mix it well, but darn it I added too much glycerin from the start for it to mix in a miscible manner. 


So how do we fix this problem? With science of course! :)
Another inherent physical property of Glycerin is that it is completely miscible in water!  It will mix in any proportions of water and never separate.  Furthermore, Acetone is miscible in water.  So the beautiful thing is that we can jam more glycerin in acetone by adding a small bit of water!  Water helps to keep the glycerin that can no longer mix with acetone in solution.    

Add a splash of water and mix well! 

As you begin to mix, the solution will initially be hazy.

 COOL DUDE!

Want to see a video of this? click here
Here is the resulting solution after adding water to a solution containing excess glycerin in acetone and thoroughly mixing. 

Hellz yes! Cheap reproduction of Zoya Remove.


You can find glycerin in your local pharmacy.  I had problems, my eyeballs kept glazing right past it, but the pharmacist helped me find it immediately.

This one was about $7 per 6oz.


The recipe:
As a guideline only, I would say 1-2 tablespoons of glycerin per 200mL of acetone.  
Then add small splashes of water until the solution is mixed completely.  
However, you can play around with different amounts glycerin and adjust to your personal preference.  You should adjust the water amounts to your glycerin levels of choice.  Only add as much water as necessary to incorporate the glycerin because it weakens the effectiveness of the acetone.

Caution:
Although I showed you the process in a glass, that was just so that you could see the different layers.  You should do your mixing in the acetone bottle.  It's much easier and safer to mix with a cap on.  Watch your eyes and try not to get acetone in them, because I almost did.  After you mix it well in the bottle, you might want to loosen the cap to release any built up pressure, then close it back up for storage purposes. 

Another thought:
In my initial post about acetone, I mentioned that glycerin may interfere with polish adhesion.  From personal experience, I can't say this is necessarily true, at least not as true as it is for oils and waxes.  So, I kinda retract this statement, but would love your opinion or experience on the topic! 

Short Video Version

Friday, February 18, 2011

Time to play with chemicals!

Let's remove some cuticles shall we?

I made a video way back when and just now got around to posting it.  In the video I am using Blue Cross cuticle remover, but as I mention Sally Hansen is also a popular one. Also, in the video I use a q-tip to apply and remove the dead skin; if you don't like that, use a wooden stick to remove the skin.  I hope you enjoy my awkwardness!


Here are some relevant posts I mention in the video.

Cuticle Tutorial: Are you a cutter?

Why you shouldn't file when your nails are wet and Other rules to live by

Do my nails look fat?

Why using cuticle remover is useful for polish adhesion and results in longer wear:
Sally Hansen Performance Test

Do you want longer nail bed? 
Taking care of the cuticles will help!

Wednesday, December 1, 2010

In a pinch

I always stress moisturizing the cuticle area and nails because, in my opinion, this is one of the most important factors in nail health.  By balancing nail hardness with flexibility we can help eliminate peeling, cracking, breaking and promote healthy long nail growth.

It's good to keep some sort of nail moisturizer within reach where ever you happen to be.  Home, work, bedside, book bag, purse, jacket pocket, you get the picture.

One day I was on a long car ride and threw my bag and jacket in the trunk.  My nails were feeling really dry and I was suddenly in a real pinch. What to do???

I checked my jean pockets and found chap-stick.


I said what the hell lets check out the ingredients!
They are:
Ethylhexyl Palmitate, Ceresin, Beeswax, Squalane, Jojoba Oil, Shea Butter, Sweet Almond Oil, Vitamine E, Phenoxyethanol.

I have to admit, I had no idea what the first two and last ingredients were, but my thought was if they are okay for my mouth, they were more than okay for my fingers. I was very familiar with the other ingredients as either moisturizers or moisture sealants, so I didn't hesitate any further. I scraped some off and went to town.

For any other nerds out there, I later found out that ethylhexyl palmitate is used primarly as a solvent/carrying agent/emollient, Ceresin is a wax, and Phenoxyethanol is used to kill bacteria.

What a great substitute in a pinch, but not a replacement for a good moisturizer as I have discussed previously.

Friday, November 19, 2010

Are you a cutter?!

To cut or not to cut cuticles?  That is the question.  This question always seems to divide the MUA nail boards and raises up a storm of answers. 

I feel like one day we might battle .... the cutter's in one corner, ready to slice em and the non-cutters in the other corner ready to spray with cuticle remover.  How can we end this controversy??!!  Dare I say it ... I think I have an answer to make both parties happy ... but, it's not a short one.

I think there is a lot of misinformation or misunderstanding out there.  The bottom line is, the normal person either doesn't know or understand nail anatomy and wrongly identifies the "cuticle".  So lets all get on the same page.  The graphic below shows some nail parts.  We only need to concentrate on a couple terms at the moment.

The cuticle is comprised of living and dead tissue. There are two thin skin strips between the nail tip (distal edge) and the proximal nail fold. The skin strip closest to the proximal nail fold is called the eponychium and is alive, while the skin that grows on the nail plate is dead and is considered the true cuticle; it is located right underneath the eponychium.  So, just to summarize and finally clear the air, when we refer to the cuticle we are referring to the "true cuticle" (dead tissue) and not the "eponychium"  (live tissue).


Warning: Google image eponychium at your own risk ... it's mega gross!

With that said, it is completely safe to remove the dead cuticle (true cuticle).  Notice I said "remove" and not cut.  You should choose which ever method you are most comfortable with. 

It's no fun unless we have real pictures of fingers so, lets take a look of what to expect on your own fingers.

My husband was nice enough to be provide his nasty fingers for today's viewing.  Yes, I said nasty.  He won't let me fix them, so the consequence is of course name calling. 


The top image shows just the fingers and the bottom has all the parts labeled.  Look at the finger on the top left, I have slightly pushed back the true cuticle so you can see it (clearly more crusty white).  If you look very carefully to the finger on your top right you may just be able to see the true cuticle.  The true cuticle can be pushed back all the way to the eponychium, removing it thereafter can be done by trimming or with a cuticle remover.

Do your own research online and check out your own fingers.  If you are unsure about what is what, go to a reputable manicurist and get a manicure. (I stress reputable!)  I am sure they would be willing to show you where your cuticle is since this is what they learned in school.    

A couple of points I want to make:

1. Cutting the true cuticle is fine as long as you are confident in what you are trimming off.
2. Cutting the eponychium (or any live skin) can lead to infection, not to mention ragged cuticles.
3. Not everyone needs to cut their cuticles, this depends on what they have going on down there. Sometimes a cuticle remover is all that is necessary.
3. Simply pushing back the true cuticles would be a good start.  AND don't forget to moisturize!
 
I will eventually post how to remove cuticles both by cutting/trimming and with a cuticle remover.  Stay tuned!

Post about using cuticle remover can be found here.

My final words of caution .... Be careful before you start cutting away or you may end up like some of those Google images for eponychium .... gross!

Thursday, November 11, 2010

Have you moisturized today?

If you are reading this blog, I assume you have some motivation for obtaining better looking fingers.  If your motivation is running low, at the very least if you do nothing else, please moisturize.  This is one of the best ways to get rid of hang nails, prevent breaks, peels, and many many nail problems.

In my opinion there is no right moisture delivery system, but here is a good list of possibilities:

1. Lotion (body, hand, thick, thin, rich or whatever)
2. Butters (body butters, lemon butter, cocoa butters, hand salves)
3. Oil (olive, Vitamin E, almond, specialty mix)
4. Brand name cuticle cream

Only you know your skins moisture level and it can be trial and error until you find something just right.  Some people don't like a heavy greasy feeling while others love it.  The only real rule is to use them! A lot, or at least twice a day on the cuticle area.

If in doubt start with something you already have at home and then venture out.  Most likely you already own Olive oil, so get to it!

Check the ingredients!
Make sure that the first couple of ingredients listed on your cuticle moisturizer of choice actually participate in the moisturizing process and is not just a filler.  The ingredients listed first are of highest concentration in the formulation.

EXAMPLE:  Palmer's Cocoa Butter Formula with Vit. E
Ingredients: Cocoa Extract, Mineral Oil, Microcrystalline Wax, Cocoa Seed Butter,                           Dimethicone, Fragrance, Vitamin E, Benzyl Alcohol, Carotene

1. Cocoa Extract - Skin softener, antioxidant.  Some say the cocoa molecule is too big to penetrate the skin so it's unclear if it can properly moisturize.
2. Mineral Oil and Wax - Does not provide moisture but rather helps seal it in.
3. Cocoa Seed Butter - The ingredient that provides the moisturizing, since it can penetrate skin.
4. Dimethicone - Skin protectant, conditioner and antimicrobial
5. Benzyl Alcohol - most likely a solvent, (i.e. helps mix all the ingredients)
6. Carotene - a natural (plant based) color additive

This is a decent cuticle cream, but I would use it in addition to an oil or butter.  The reason being is that the first three ingredients include Mineral Oil and Wax which are better at holding in moisture rather than providing it.  

Once you get one what do you do with it?
Work in your moisturizer of choice into the cuticle area and underneath the nail tip.  I would concentrate for at least 20 seconds on each finger. (remember at least 2x a day)

Why so long you say????
Well this message will help stimulate the blood flow to your cuticle.  Lots of blood flow can stimulate nail growth.  I am not promising miracles, but moisturizing + massaging this area will help.

There is much more to cuticle care than this, but this is a great start.  I will post more in the future about how you can improve your nail bed length (yes you can lengthen your nail beds!), clean up cuticles and prepare them for polish.

It's November and on the east coast its getting pretty chilly, so during the winter months you might want to step up your moisturizing levels as needed and always wear gloves as much as possible.

Next post: Moisture in a pinch!
Other Posts: Greasy and not greasy...
Grease is the word!
OR
Say no to grease!