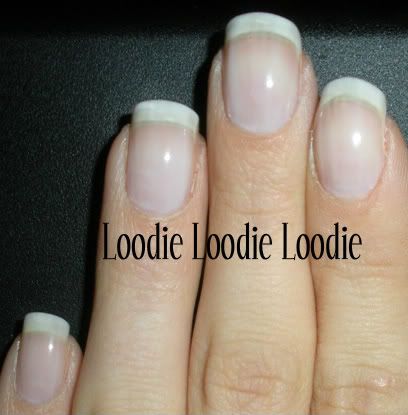
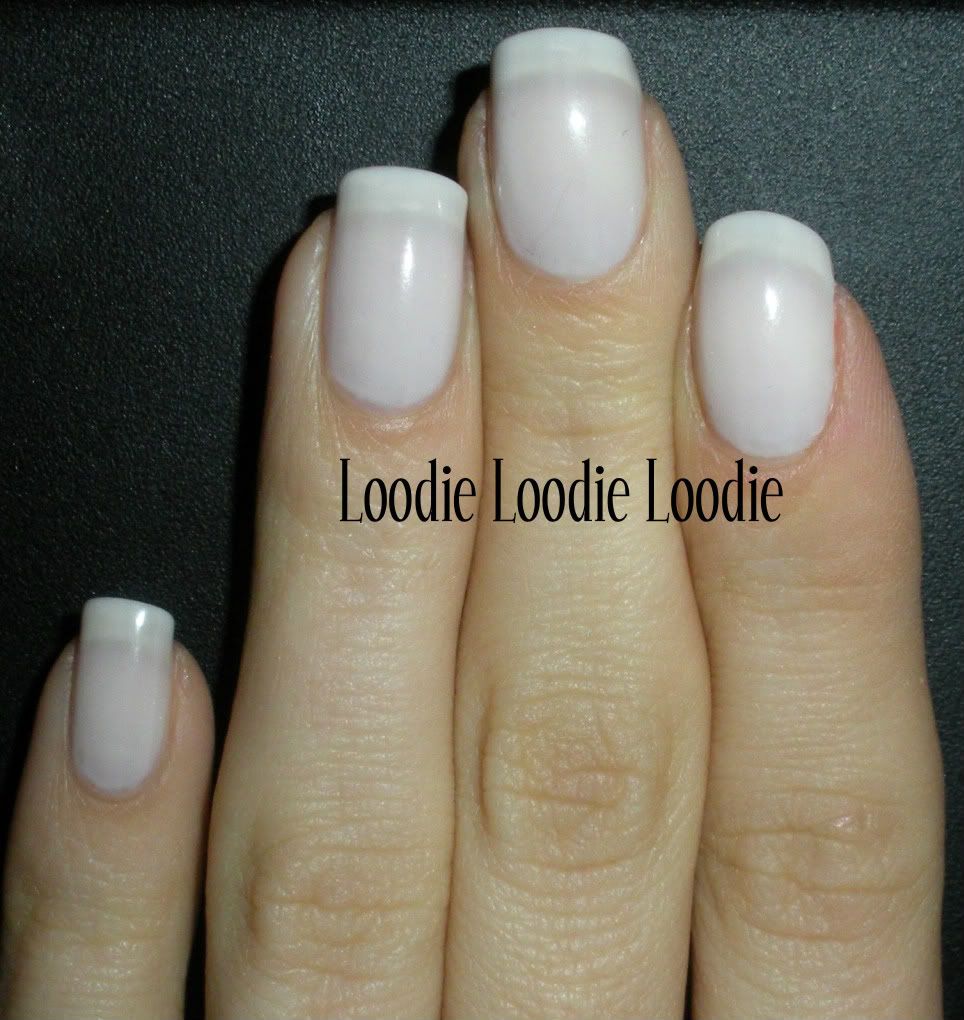
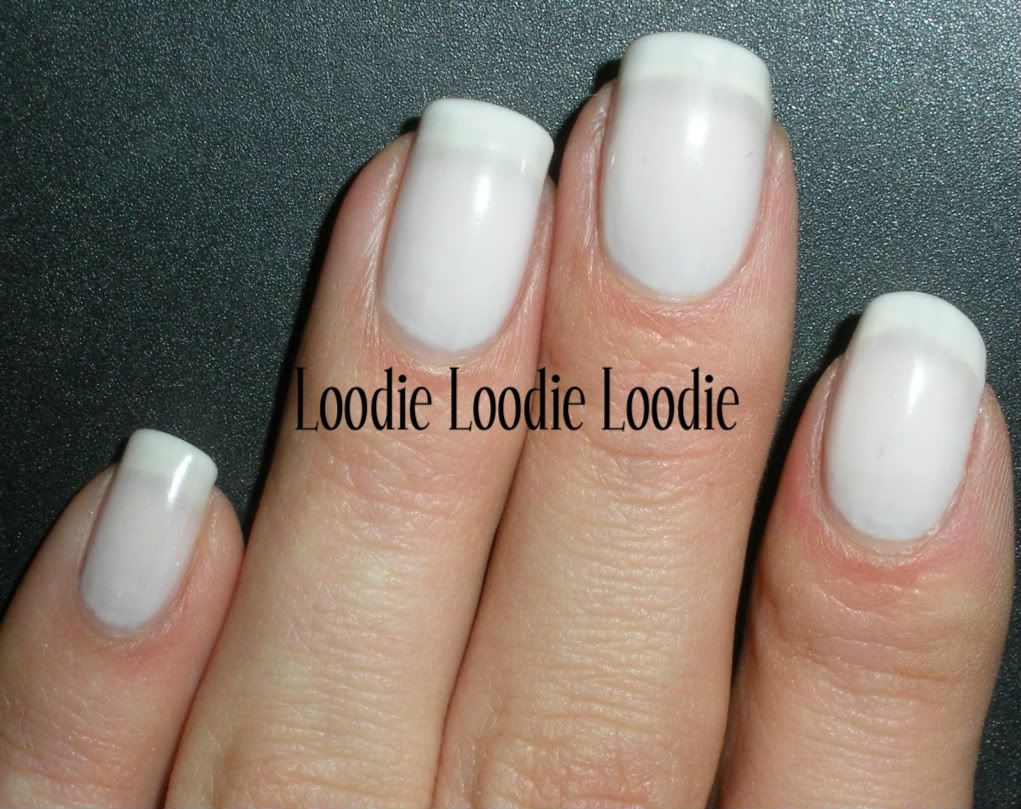
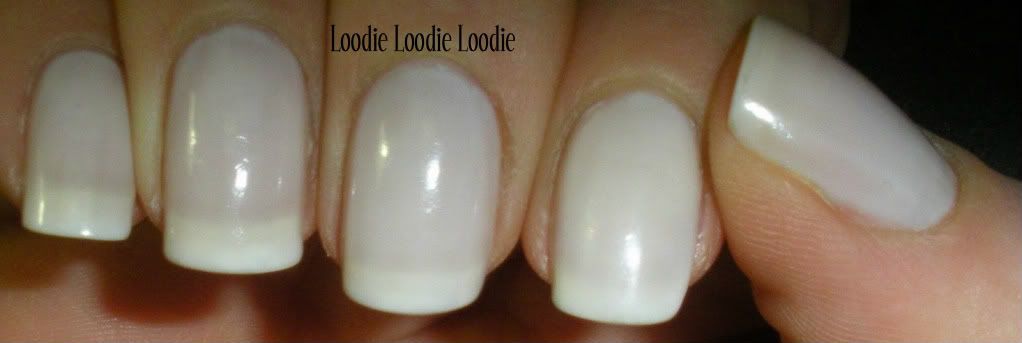
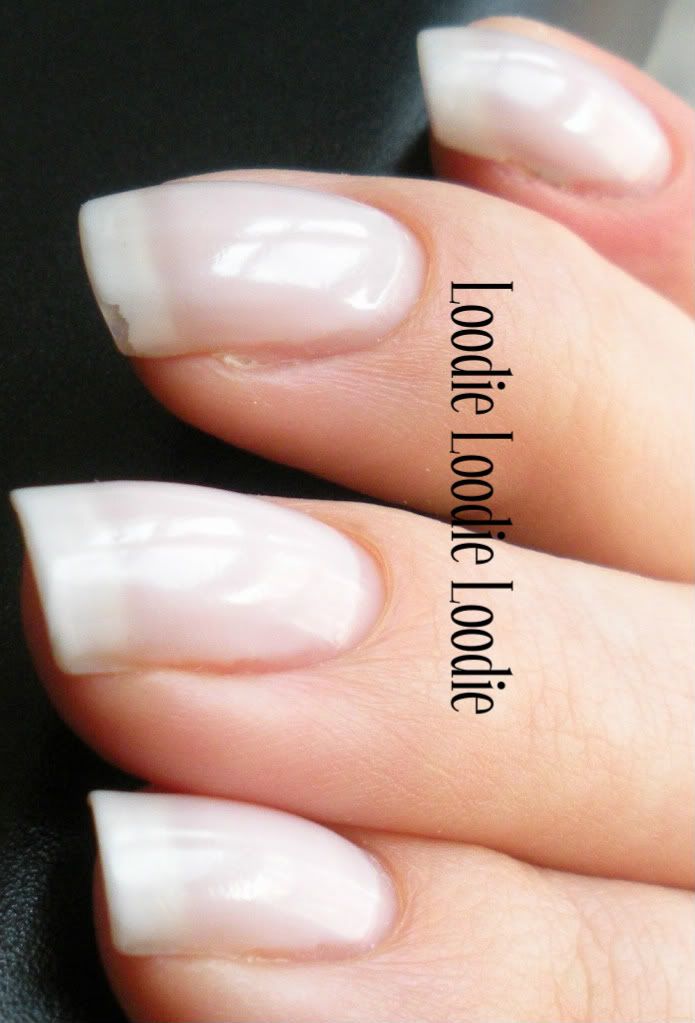
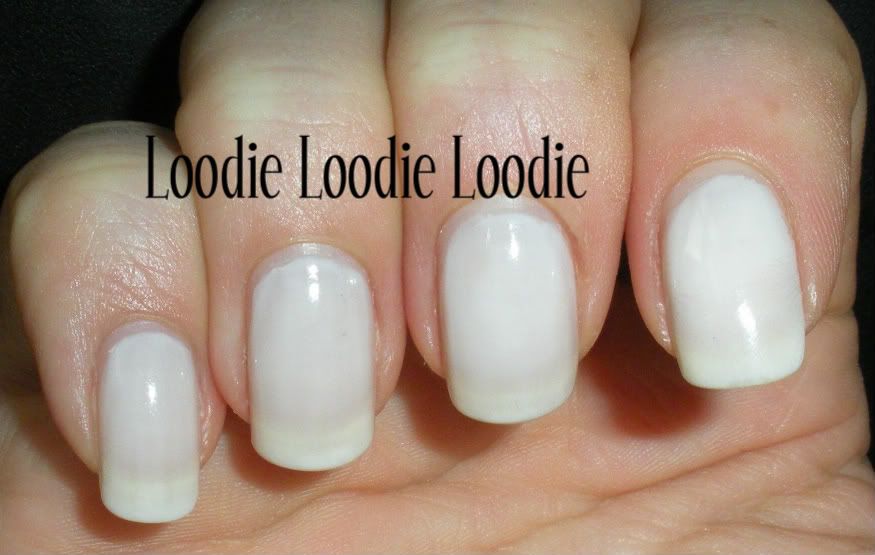
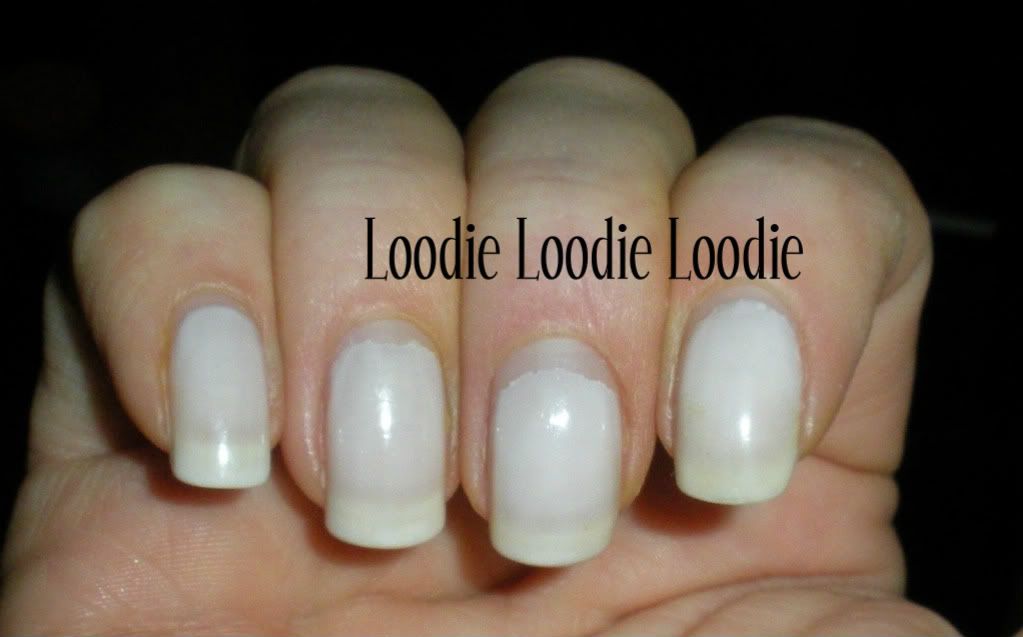
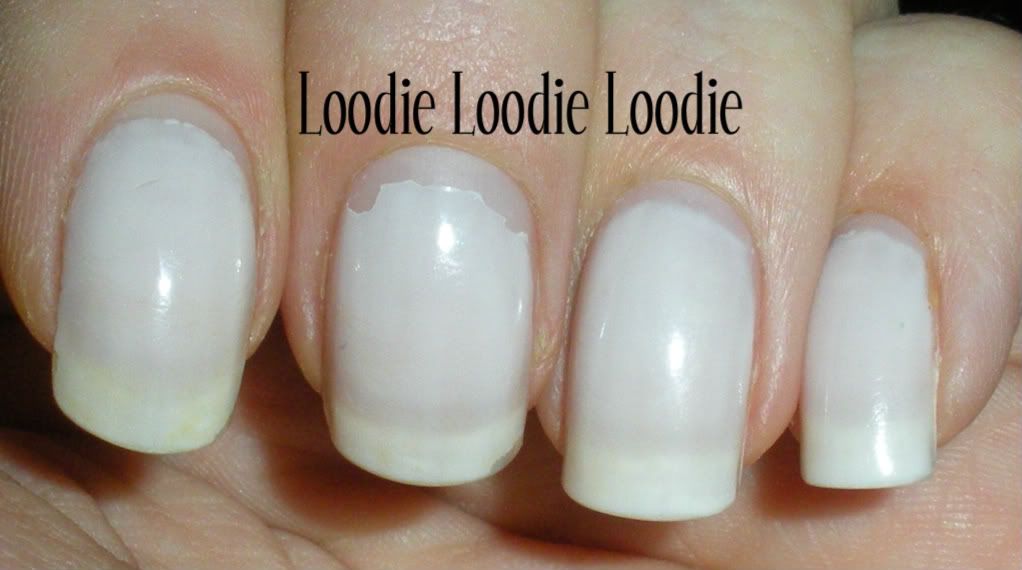
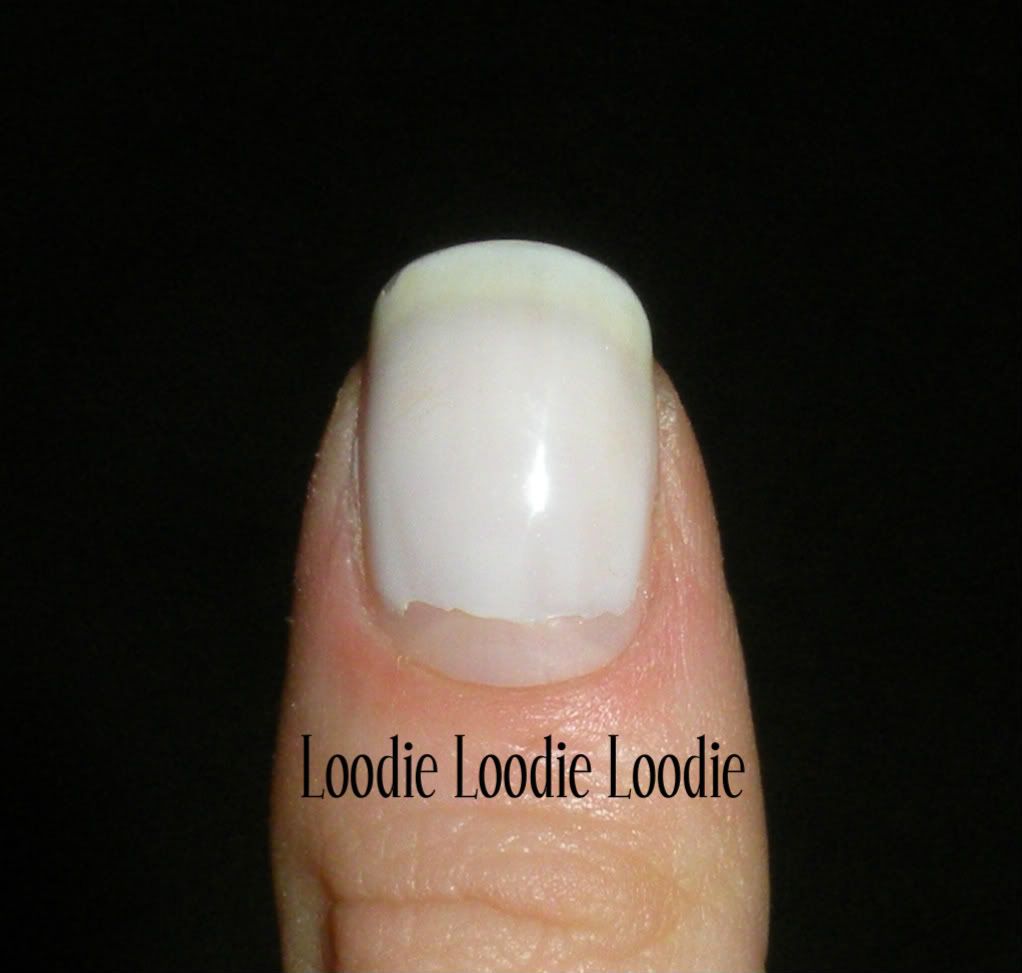
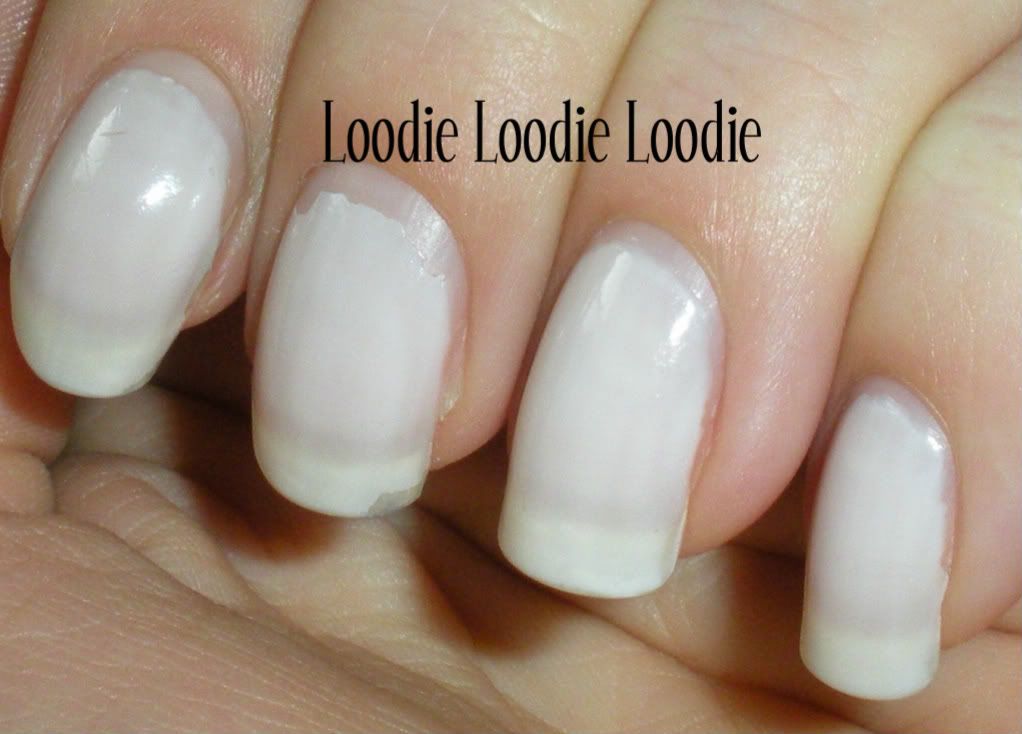
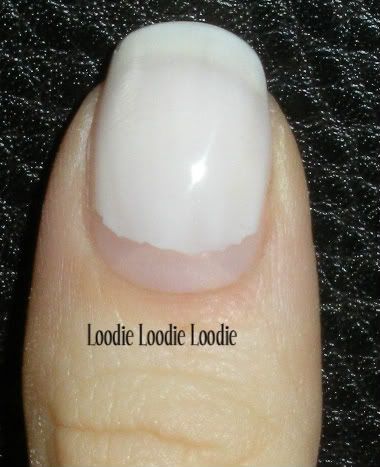
The second classification in my series of Nail hardeners are Protein based nail treatments.
I have to admit I don't even like to put protein containing polish/treatments into the hardener category. From a science perspective, I don't believe they work the way some describe, but I do love them.
How do they work?
Your nail bed is comprised of a protein called keratin. This protein has naturally occurring cross linkages in the filaments which give nails their hardness. However, not enough cross-links and the nail is very flexible and lacks strength. As I have mentioned already, one way to create more cross-links in keratin is with the use of formaldehyde. However, formaldehyde is not for everyone. You can check out why that may be here.
The thought behind protein based treatments is that the protein supposedly helps make further cross links in your own nail bed keratin. I have not seen any real science to prove this claim, so I don't buy it. I do however, like them because protein is essentially long chains of filaments. When these filaments are layered on top of the nail plate I do believe it gives topical protection to the nail plate. I made a graphic to explain this. Imagine the blue sticks as tooth picks and they are the building blocks to a structure. The thick red block is a weight on top of the structure.
From an engineering perspective you can have strength in either the vertical or horizontal direction. If you stack in the horizontal direction you have lots of strength. If you place a weight on top it will be supported easily. The down side is each building unit adds weight and may havve building cost disadvantages; the weight and cost may not be as relevant to nail care, but I'm just saying. In the vertical direction you also have strength, but an obvious stress point. One way to reinforce the structure is add cross beams. Now, what the heck does this have to do with protein based nail strengtheners/nail treatments??! Here are a few pics of protein polymers filaments.
I hope you see how a protein based treatment can add reinforcement to your nail bed, at least topically.
A few examples of protein based nail treatments and base coats (this list is not extensive, just what I have come across and includes protein based polishes without moisturizing agents. The protein + moisturizer combo will be covered in the next post in this series):
Essie - Protein Basecoat Nail Fortifier
Nailtiques - Formula I Maintenance for Healthy Nails
Nailtiques - Formula II Treatment for Soft, Peeling, Weak, Bitten or Thin Nails (formulation ca. 2006 may have had formaldehyde)
Nailtiques - Formula II Plus Treatment for Excessive Problem Nails
Nailtiques - Protein Formula III Care for Naturally Hard, Dry Nails
There are more, just look for ingrediensts like, keratin, hydrolyzed protein/keratin, soy protein, wheat protein, etc. Proteins can be extracted from many sources hence the difference in names.
Other ingredients can have this same type of effect. For example, nylon and silk have similar properties, so if for some reason you don't like or allergic those other proteins, these may be an option. Nylon is a synthetic polymer while silk naturally occurring protein fiber.
Even more ingredients in nail polish can provide similar protection and I will do a separate post going through what ingredients do what in another post.
None protein based strengthening type treatments:
Barielle Hydrating Ridge Filler (contains Nylon)
Sally Hansen with Nylon
Sally Hansen Complete Care for Dry Brittle Nails Extra Moisturizing 4-in1 Treatment (this actually has protein, nylon, and moisturizers and I shouldn't even listed here, but in the next post about protein based treatments with moisturizers.)
Protein based treatments are good, but I prefer them with moisturizers, so that they can give me reinforcement and moisture. :) Keep in mind that your nail "situation" is different from someone else so make judgment calls based on that.
Next up: Mix of Protein and Formaldehyde
Other posts you may have missed:
Formaldehyde based treatments
Are formaldehyde treatments right for you?
Protein + Moisturizers, Formaldehyde + Protein + Moisturizers, Formaldehyde + Moisturizers
The complete series:
Categories of Hardeners and Formaldehyde
Are Formaldehyde Hardeners right for you?
Protein Based Hardeners
Formaldehyde + Protein Based Hardeners
Formaldehyde or Protein Based Hardeners + Moisturizers
Fluoride Based Nil Treatments Part I
Fluoride Based Nail Treatments Part II
Dimethyl Urea Base Hardeners
Nail Conditioners Post or Video Review of DermaNail
Nails, Life, and more nails. Not so much a nail polish obsession, but more of a nail care obsession.
Nail Hardeners and Treatments
Tuesday, December 28, 2010
Nail Hardeners: Protein Based Treatments
Labels:
Nail Hardeners,
Protein,
Treatments
Saturday, December 25, 2010
CND - Romantique
After all that dark polish, I needed a break. That Red Velvet (Color Club) was really making me feel Elvira like ...
Pardon the scandalousness, just look at the NAILS, lol.
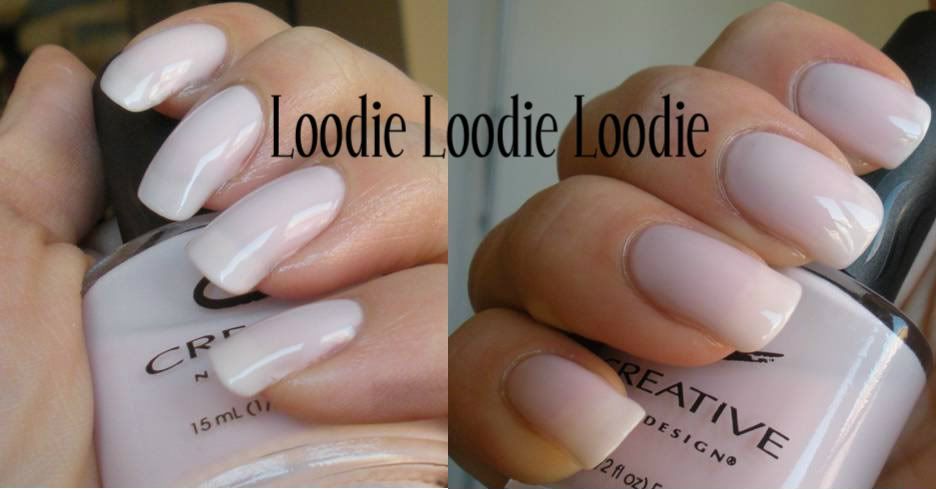
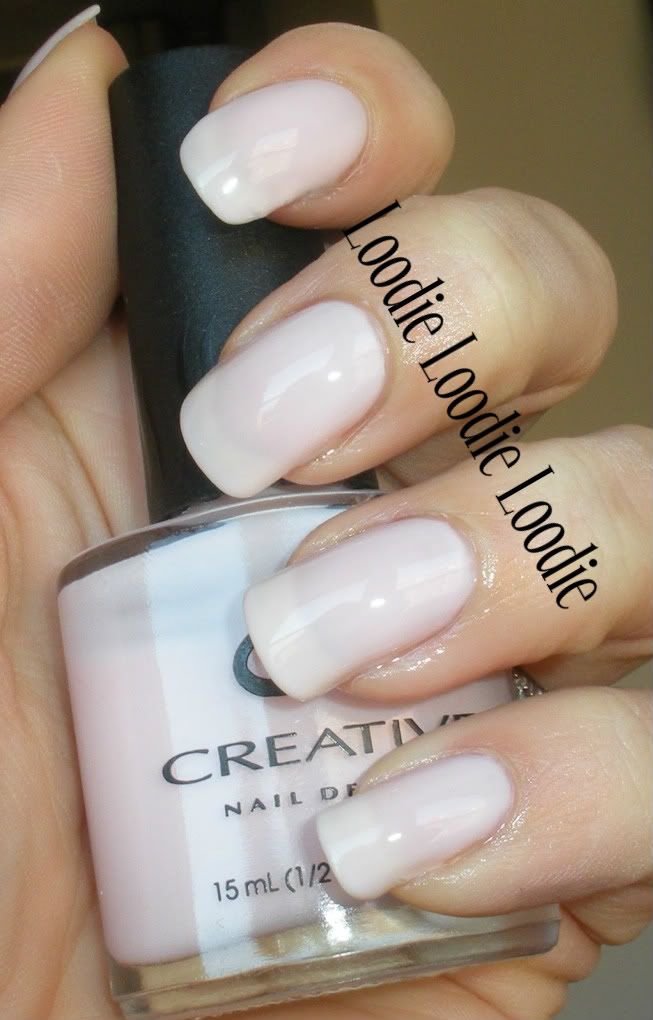
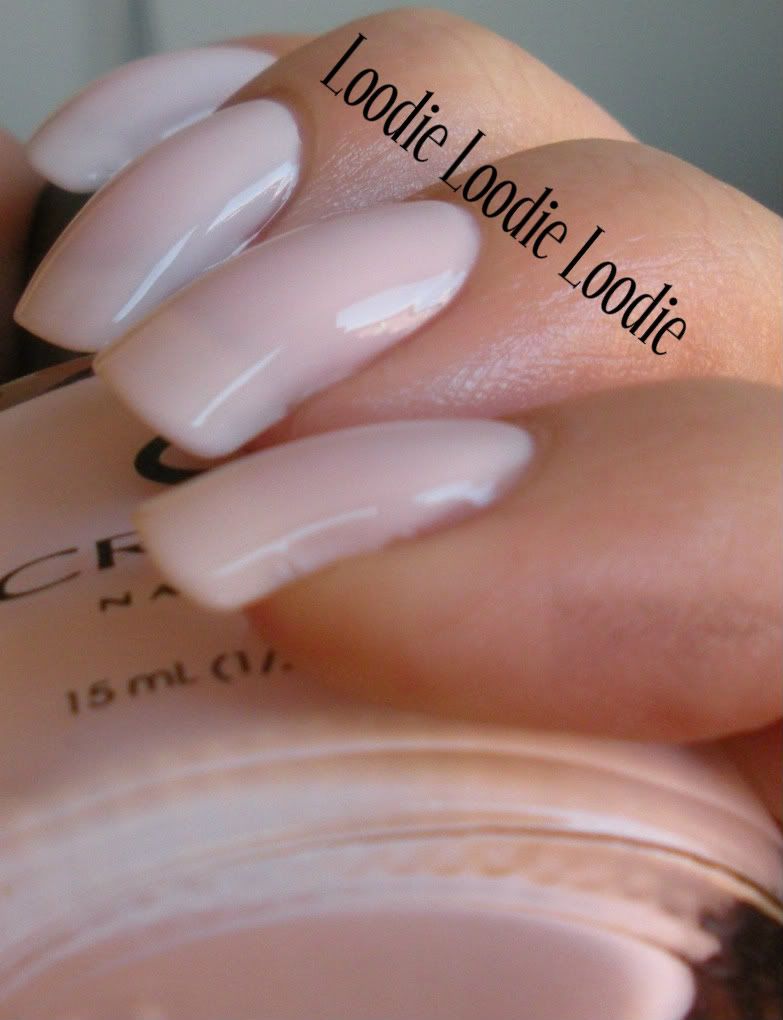
I decided on Creative Nail Design's (CND) Romantique.
The picture on the left is in direct light, while the picture on the right is slightly out of direct light.
Thumbs!
Base: forget it, I didn't waste my time with this light color and it's a good thing since I messed up the mani seconds after I took pictures, aaaaahhhh, oh well.
Color: CND Romantique x3
Top: Seche Vite
Here is a picture with flash.
Application was easy enough and I didn't have to do any clean up.
The wetness is just quick dry.
The polish was shiny enough, but with three coats and in a rush to get out the door, I put on Seche Vite. Uh, then like said, I messed it up. How you ask? I decided to do my hair. BAD MOVE.
CrAP.
Thursday, December 23, 2010
Ready, Set, FILE! Sealing the nail plate
I am super excited! BlAAAHH. I just uploaded a You Tube video and the endorphins are still kicking, lol. I thought it would be a good idea to start doing videos some time ago in addition to the posts because sometimes pictures aren't enough. Anyway, my hope is that they will be a nice compliment to the written posts. So, here is the first meaty video ....
There is another introductory video which you can watch, but don't let me bore you.
My channel (if you're into that sorta thing):
There is another introductory video which you can watch, but don't let me bore you.
My channel (if you're into that sorta thing):
http://www.youtube.com/user/loodieloodieloodie
Other posts of interest:
Nail files I prefer: X-Files
What shape is best for your fingers: Nail Shape and Balance
Taking down length: here
Square: here
Oval: here
Squoval: here
Other posts of interest:
Nail files I prefer: X-Files
What shape is best for your fingers: Nail Shape and Balance
Taking down length: here
Square: here
Oval: here
Squoval: here
Thanks to Lena from The students guide to nail polish :)
Labels:
How to,
Nail Files,
Nail Shape and Balance,
Polish adhesion,
Ready Set File,
Tutorial,
Video's,
YouTube
Tuesday, December 21, 2010
Color Club Red Velvet
I feel like another dark this week. China Glaze's Lubu Heels was on my mind. Unfortunately, I was not happy with Lubu Heels several months ago since it needs like 3 coats (or 2 thick coats, which takes for ever to dry) to get opaque, so I added black pigment to it. Now the formula is all off and I have not really worn it since. I do however have Color Clubs Red Velvet which looks like a decent dupe. So here it is.
Base: L.A. Colors base/top
Color: Color Club Red Velvet x3
Top: Seche Vite (x2, one each on different days)
In terms of application, it was really easy, but still took 3 thin coats. Eww, oh well. Since application was so easy I did absolutely no clean up, so be nice if you notice anything.
It basically looks like a black, except for the awesome red glitter in it. It's not as visible farther away, but up close its pretty sweet.
From what I remember Lubu Heels looked black most of the time without as much glitter, but then again its been like a year since I've worn it. A comparison of the bottles......
I want to say Color Club has more red glitter, but I don't know since I f*up my bottle of China Glaze :/
I like Red Velvet in general, but it does annoy me. In all fairness, glitter in general annoys me. I find it hard to get past the longer removal time and I can't stand the texture. I used several coats (on different days) of Seche Vite to smooth this baby out.
For this reason I avoid many glitters, my loss I know.
You see what looks like tip wear? Nope that's Seche Vite being stupid. More on that in another post.
What glitter is worth putting up with for you?
Labels:
China Glaze,
Color Club,
Vampy
Sunday, December 19, 2010
Ready, Set, FILE! - Squoval
Here is another addition to the series discussing how to shape the nail free edge. I have previously covered, taking down length, square shape, oval shape, and the files I prefer to use (links below).
If you missed the other posts.
1. Become familiar with different nail shapes and what free edge nail shape suits your nail bed shape here.
2. You need the right nail file for the job. Here I discuss what I prefer and why.
3. Even if you are not interested in certain free edge nail shapes I recommend you peruse the following posts for general useful advice:
Taking down nail length
Square
Oval
Sealing the nail plate
Personally, I prefer the squoval shape on my hands and nail bed so I am uber excited about going back to this shape :)
As always lets look at what I started with and the finished look of the nail.
Pardon the scratched up surface, the file slipped in this long night of filing from square to oval to squoval!
The before nail on the left is round/oval shaped, at least my best version of such since I have a pretty high C-curve on that particular nail.
The squoval has rounded corners and a semi-flat to flat top, depends on your preference I guess.
So to go from one to the other you just need to make the top less oval/round like by filing straight across in one direction with your file of choice. My file of choice is 320 for thick hard nails or a 400 file for thin weak nails.
If you are going from square to squoval, just round the corners, as pictured.
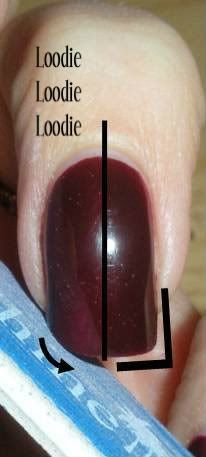
Start with the file at a 45 degree angle and file from corner to middle. By bringing the file perpendicular to the nail at the end of the sweep you can achieve a more flat top tip while keeping the corners rounded.
Thus far this series of posts have showed how to file a healthy nail free edge into different shapes. If your nails are problematic, peeling, cracking, chipping, etc you will need to be careful with the types of files you use to shape, i.e. the higher the grit (the more fine) the better in order to prevent further nail plate damage. I will however, do a proper post later.
After you have shaped your nails free edge, you will want to seal it after taking off the polish. This will be the next and final post in the series and can be found here.
What shape do you like best on your nails?
Labels:
How to,
Nail Files,
Nail Shape and Balance,
Ready Set File,
Squoval,
Tutorial
Thursday, December 16, 2010
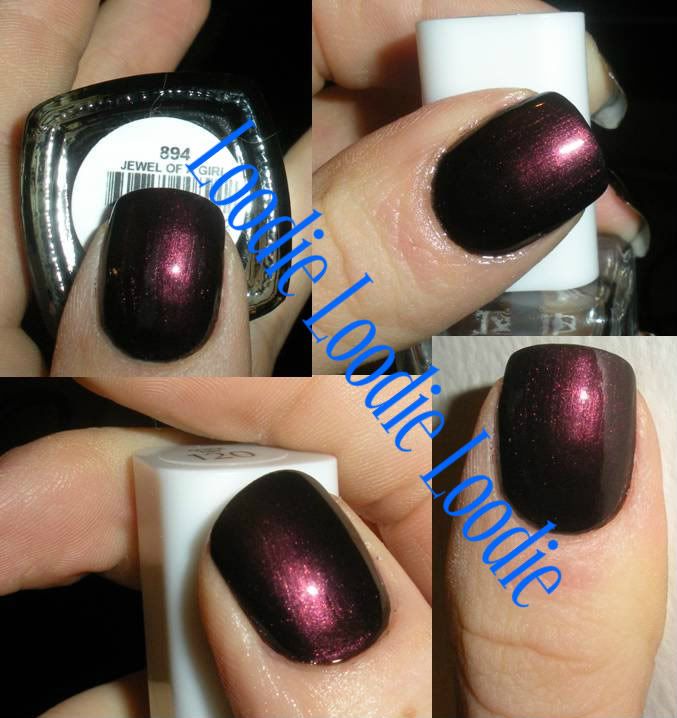
Color Club Jewel of a Girl
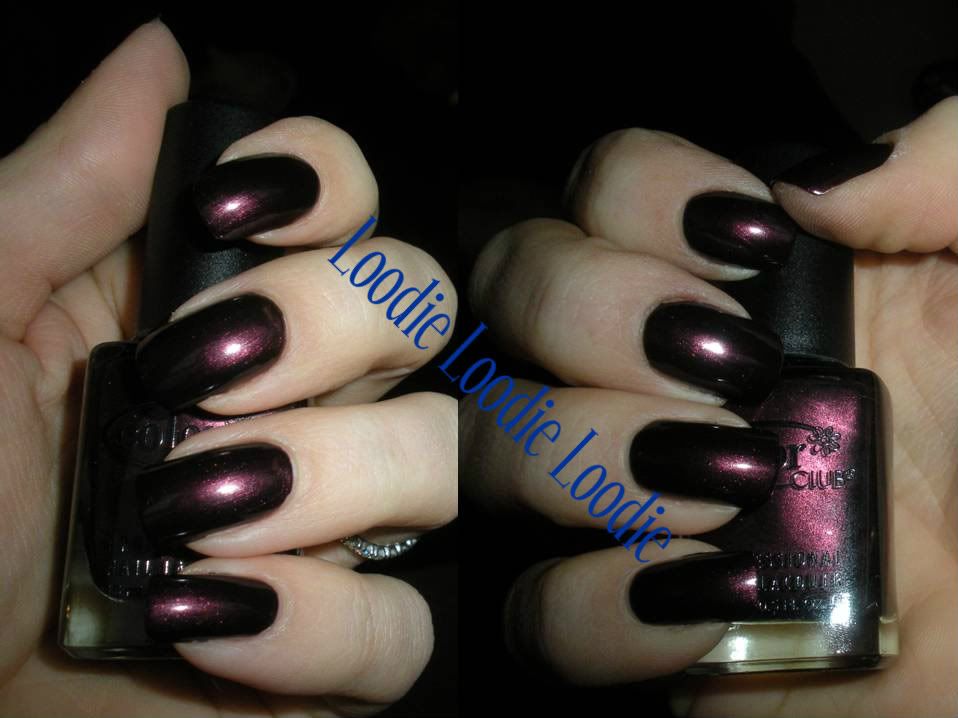
I love this color so much I want to marry it, especially if a flash is involved :)
Who doesn't love a collage of thumbs. Here is mine.
What a great dark, vampy, purply brown. It's somewhat frosty, but a high gloss topcoat makes it less frosty like.
This color is pretty dark. Here is a picture with flash holding the bottle.
You can barely see the tips, so I decided to take another one with a lighter bottle.
I LOVE IT!
Maybe it's just the season for this kind of color, but I just love wearing it.
It applied nicely and was so easy to control that essential no clean up was necessary.
Base: Rando L.A Colors base/top
Color: Color Club Jewel of a Girl x2
Top: Sally Hansen Salon clear
A couple days later I put on a refresher of the color and seche vite to refresh it. We'll see if this affects the wear.
Do you have a vampy you love?
Monday, December 13, 2010
Performance Test - Sally Hansen Sweet Tulip
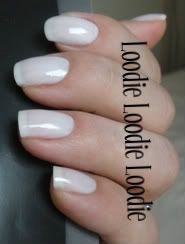
This post shows the performance of Sally Hansen - Sweet Tulip
As I have already mentioned sheer whites are one of my favorites :)
holy moly! My thumb looks weird, lol
This post will show the typical wear (on average) I can get out of this particular polish. Sometimes I get more, some times I get less. I find one of the biggest factors in performance with Sally Hanson Sweet Tulip (or any polish for that matter) is the health and condition of my own nails, assuming proper nail preparation before polish application. If I have any damage, i e. a peel, crack, then the polish will peel or chip there first. Always! It doesn't matter what base coat or top coat I use, whether I wrap the tips or not, and even if I apply refresher top coats throughout the life of the manicure; the chips will always start at the damaged area first.
In the case of this color I skip base, I know how hedonistic of me. This color is a white sheer and I have found that it doesn't stain and wears the same with or without base.
I have a love/hate relationship with fast dry top coats and as such only use them when I am in a rush, know I won't be wearing a color long, or when lots of layers of polish are necessary and feel impatient. I will do a separate post with a more detailed description and pictures describing my frustration :) You can find it here.
In this particular performance test I did not use a fast dry top coat and unfortunately this Sally polish takes FOREVER to dry, so I have devised an application technique, which works well since its a sheer or any other polish if you have the time.
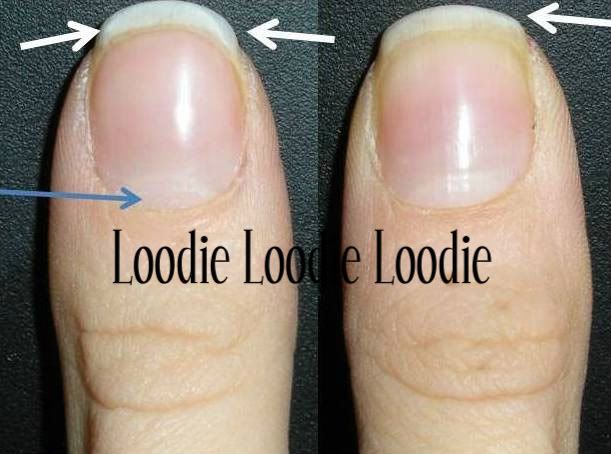
So first let's look at me NAKED ... my nails that is.
You can learn a lot by looking at naked nails. You can even predict where your polish will chip first. As proof of concept let's take a look where issues may arise.
The white arrows show where my nail is recovering from some trauma. I believe the nail was peeling so I buffed it a bit to even out the nail plate and sealed it. I find that if I buff/seal properly it prevents the peel from going further down the nail plate. I find this is the best technique if I don't want to loose length; otherwise, it's best just to take the length down below the peel. I will eventually show a proper post when this happens again.
Below are my sad thumbs.
Again the white arrows show the same situation described above. The blue arrow shows that I have not removed the ptygerium (aka True Cuticle) and we will see that has a big affect on polish adhesion at the base of the nail.
Okay let's polish. A proper tutorial on how to polish and make mani's last will be a separate post, but lets just say we need to start with a clean dry nail plate.
Here is a good way to apply polish that takes forever to dry without the use of a fast dry topcoat. Warning: I hope you've got some time on your hands so plan ahead, lol. Okay it's not that bad, but it does take over two days to do. 0_0
Step #1:
I applied 1 coat of color and let dry for 30 minutes. Yes, I know an eternity. Watch a movie, surf the net, etc., to pass the time.
Excuse the dry fingers and cuticles. I did a swipe with acetone right before application. Oh, and did absolutely no clean up, so overlook that too.
Step #2:
I then applied a second coat after 30 minutes. Wait at least another 30 minutes before doing anything and make sure this last coat is at least 2 hours before you hit the sack, or you might get sheet marks.
You're probably saying to yourself, "hey you forgot topcoat!"
No I didn't. Remember I said it was a two day process? Well I was serious. Topcoat will be done on another day.
Step #3:
On the second day make sure your nails are clean and dry. I applied a third coat of color since I think it looks best this way. It's a sheer and I realize others don't like visible nail line, but I like it. Anyway, wait another 30 minutes for it to dry (and again 2 hours before you hit the sack).
I don't feel like this particular polish needs topcoat immediately so I don't apply it right away, rather I wait to apply it every other day or two to make the mani last.
Step #4:
On the third day apply a topcoat after making sure your nails are clean and dry.
Look, your mani is 3 days old and looks fresh and is without sheet marks! wooo hoooo
Not wooo hoooo if you need color change everyday, but hey this is not that kind of post.
And now on to performance. Since I already showed you the first three days, moving on to:
Day 4:
Left Hand:
No problems so far.
This is the right hand, also no problems.
Day 5:
Left hand:
Uneventful
Left thumb:
I realize this is blurry, but you can start to see some chipping at the base of the cuticle. This is the nail I showed earlier in the post where the ptygerium (aka True Cuticle) was not removed. Nor was it removed from the rest of the nails and you will see as we go along the performance test this has quite an affect on nail polish wear.
Day 6:
Left hand:
You can start to see the middle finger has a slight start of a chip at the base of the nail near the cuticle area. Otherwise all else is fine at the tips.
Excuse the dryness.
The right hand is starting the same problems.
Day 7:
Left hand:
Finally some oil on these fingers. Again another uneventful day. The moisture probably prevents you from seeing the nail polish at the base of the nail lifting a bit.
Maybe there is some growth visible at the cuticle, nothing drastic. This is actually one of my pet peeves. If I have too much gap, I feel like I have to take it off and redo it even if there is no wear at the tip.
Right hand is also fine, and not dry looking for once, lol.
Day 8:
Left hand:
From afar they don't look too bad, but let's take a closer look. The middle finger is chipping.
See. This chip is directly related to that trauma I pointed out earlier. All the others are in good shape.
Thumb is also having issues for the same reason.
Amazingly, the right hand is still uneventful.
Day 9:
Right hand:
I am itching so hard to take this polish off!!!!!!!!!!! Ewwww the growth and the chipping at the base of the nail on the middle finger. Driving me nutso.
Left hand:
Middle nail is really chipping at the base and the chip at the tip is holding steady.
Right thumb:
Chip city at the base. Small slight chip at the tip as previously pictured.
Left thumb:
Chipping at the base. There is slight chipping at the tip on the sides. Another thing you will notice in this pic is the polish is cracking a bit on the surface.
Even though I seriously want to take the polish off, I figured I was only one more day away from 10 days, so I waited.
Day 10:
Left hand:
Not much more to report from day 9.
This looks horrible at the base; proof that pushing back the true cuticle is necessary if you want a mani to look good after 10 days (and if you can stand the regrowth). The tip is only slightly chipped.
Right hand:
Aside from some chipping at the base of the middle and ring fingers the right hand had NO chips at the tips.
TIME TO REMOVE.....NOW.
In this situation a polish change was in order not because of chipping, but the nail regrowth and chipping at the base. I do admit a real performance challenge is best done with dark colors where little imperfections are obvious. I will have more in future posts.
Friday, December 10, 2010
Do you want longer nail beds?
Okay, in my strange world, one of my favorite things to do, besides shoving my face, is pushing back my cuticles. In today's post I am going to demonstrate why it's so gratifying.
When I first started caring for my nails, I didn't know how take care of my cuticles, paint very well or barely file, but one thing I did do, which completely (in my opinion) changed my nail beds, was push back and massage my cuticles. I had very short wide nail beds that were pretty triangular in shape. I wish I had a before picture. The best I can do is a scanned image from 5th grade, but it would be so blurry it would be pointless. So, just close your eyes and think hobbit fingers.
Alas, I do have pictures to show you. Maybe I can convince you of getting into the habit. It's addicting!
Here is a before and after shot of pushing back the cuticle area. How can you not love gaining some nail bed??!!
I admit at this point my nail bed revelation is not as dramatic or permanent, but still useful. I will push back cuticles right before I paint them to get closer to the cuticle without flooding it. Although I say this trick is not permanent per say it was at one point. Compared to what they looked like before I started doing this on a regular bases till now, I have seen a complete change in my nail shape and nail bed length. At this point this seems to be the maximum to where I can take the cuticle.
Here is a before and after of my pinky.
Massaging this area as you push them back will stimulate an important part of the nail where the nail grows out. Massage stimulates more blood flow to the area and promotes healthy growth. Your nail tips and toes are the farthest away from your heart so the more you can help them out the better. It may even promote faster nail growth, but I have absolutely no scientific proof of this, I just like to believe it.
I massage and push my cuticles back a couple times a day. I know a bit obsessive. You don't need anything special and can do it pretty much any time. If you are new to this, I would suggesting being gentle since your cuticle area may be sensitive. The best time to push them back is after a shower. They are soft and pliable. You can use either just the pad of your finger or place a towel between the cuticle area and the pad of your massaging finger. The towel will create some friction to help push back the eponychium and may help remove some of the true cuticle. You can also do this with or without cuticle moisturizer through out the day. Again, I caution being gentle if you are new to pushing back cuticles. Massage the area in circular motions, C motions following the shape of your cuticle or up and down the nail shaft. Go WILD! Until you are comfortable with this skip the implements to avoid poking yourself unnecessarily or injuring the nail matrix. The more often you do this the less they will move each time and the more permanent the revealed nail bed will be.
Do you want the opposite of longer nail beds? Crazy right? Why would you want that? Find out why and how in this post.
Labels:
Before and After,
How to,
Longer Nail Beds,
Tutorial
Wednesday, December 8, 2010
QVC HSN JTV this one's for you
Okay everyone, I'm going to tell you a secret. Don't laugh.
I watch QVC, HSN, and JTV on purpose and it's not for the shopping. Okay ready it gets worse? .... The real reason is that I like to check out the host's nails. I am sure I am not alone, so if everyone would please raise their hand. Please someone, anyone.
One day my dad ousted me.
He was point blank, "I know why you watch that channel."
And I was like, "Oh okay, why"
He said, " you like to look at nails"
I felt like I got caught watching something dirty. I was ashamed for a good 2 minutes, then he left the room and I continued gawking.
The best part these days is HD. Before it all looked good, now I get to see the good, the bad, and the "how the hell are you gonna let that slide on national TV." It can be quite entertaining. Aside from nails, these gals can be so fake sometimes, shoving crappy products down your throat, the up-sell is HILARITY. I like how they LOVE and use every single item they sell, what do they live in a warehouse?
Look at this piece of crap ornament Adrien Arpel tried to sell for charity.
wtf.... actually the face kinda looks like GAGA, no? Her make-overs in HD are 0,0 Must see, you will lol for sure.
Seriously though, it's my weird liking of QVC that I discovered one nail product that I still use intermittently to this day. I will include my description of that product in the Nail Hardeners series.
Subscribe to:
Comments (Atom)


